Helpful information
Timing: Late spring to early summer
Where to do it: Outdoors / indoors
Garden space: Large garden, small garden, balcony
Timing: Late spring to early summer
Where to do it: Outdoors / indoors
Garden space: Large garden, small garden, balcony
There are a number of different ways to propagate plants - meaning, to grow new plants from existing ones. Depending on the particular plant, you may be able to save and sow seeds, propagate succulents from offsets, or take cuttings.
What is a softwood cutting?
The type of cutting you can take depends on the plant and time of year. Softwood cuttings are taken the earliest. Semi-ripe cuttings or hardwood cuttings are taken later in the year.
As the name suggests, a softwood cutting is made by snipping a section of new, soft growth from the end of the plant.
As the step-by-step guide below shows, taking a cutting essentially means placing a section of plant stem in compost and allowing it to take root.
When to take softwood cuttings?
From late spring into early summer.
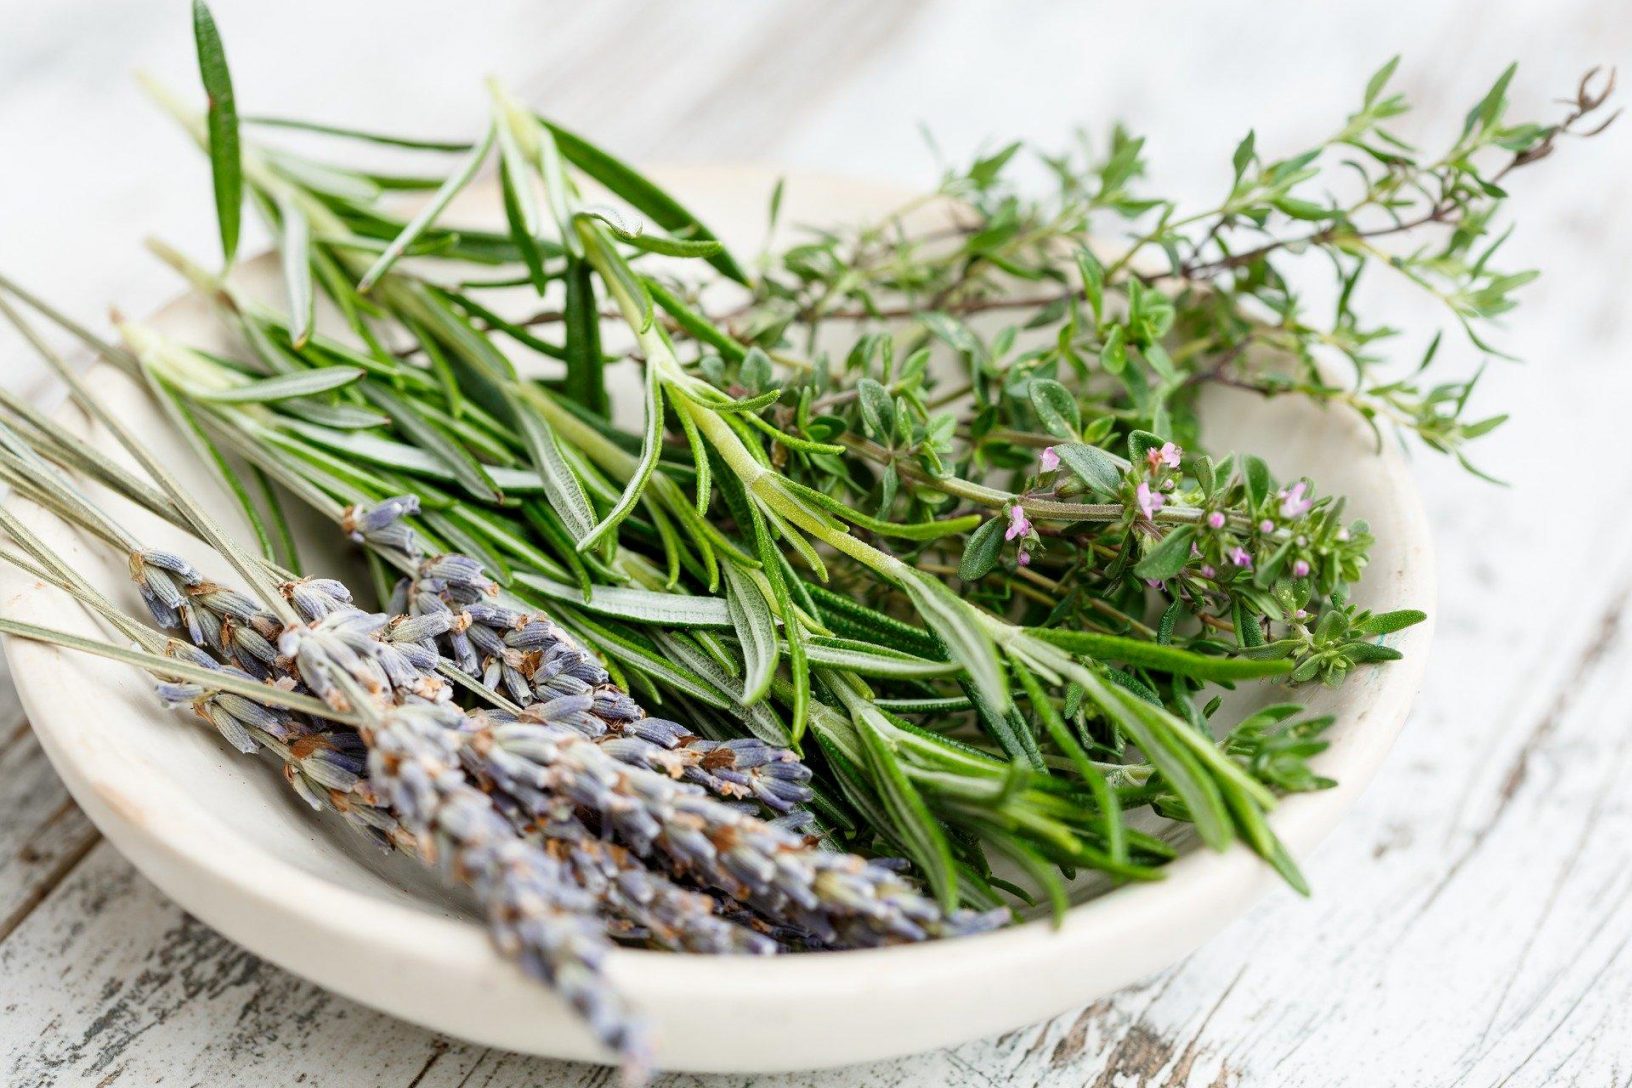
What plants can you take softwood cuttings from?
The guide below shows a method to increase your chance of success with cuttings. But, you could just take a hedge cutting for example and push it straight into the ground. Have a go and see what happens!
Essential tools
Optional tools
Follow these steps to take softwood cuttings with ease:
Step 1: Find plants to take softwood cuttings from
Find a plant that is suitable for softwood cuttings (see above for suggestions). You want the plant to be healthy and disease-free.
Check the plant to find this year's soft growth. This will most likely be at the end of the stems.
You can use secateurs or scissors to take your cuttings. Or, if you find it easier, in some cases you can just pinch the cutting off with your fingertips.
Step 2: Take your cuttings

To make a cutting, cut in a straight line below a node. A node is any point on a stem where buds, leaves, and branching twigs grow from. A node looks like a small bump on the stem.
You want your cuttings to be roughly 7–15cm long.
Nodes on plants are miracle growth points! When the node is above ground it will produce leaves or stems. But, but when a node is in soil it will produce roots. This is how cuttings work.
Step 3: Remove any leaves on bottom half of cutting
If there are any leaves on the lower half of the cutting, remove them.
It's a delicate balance between too many and too few leaves on a cutting! Leaves allow the plant to photosynthesise (use sunlight to produce nutrients). But plants can also lose water through their leaves, so you don't want too many on a cutting.
Step 4: Fill your pots with compost
Fill your pots with seed & cutting compost. If you don't have this, you could use an equal mix of multi-purpose compost and sand/perlite.
Step 5: Plant the cuttings
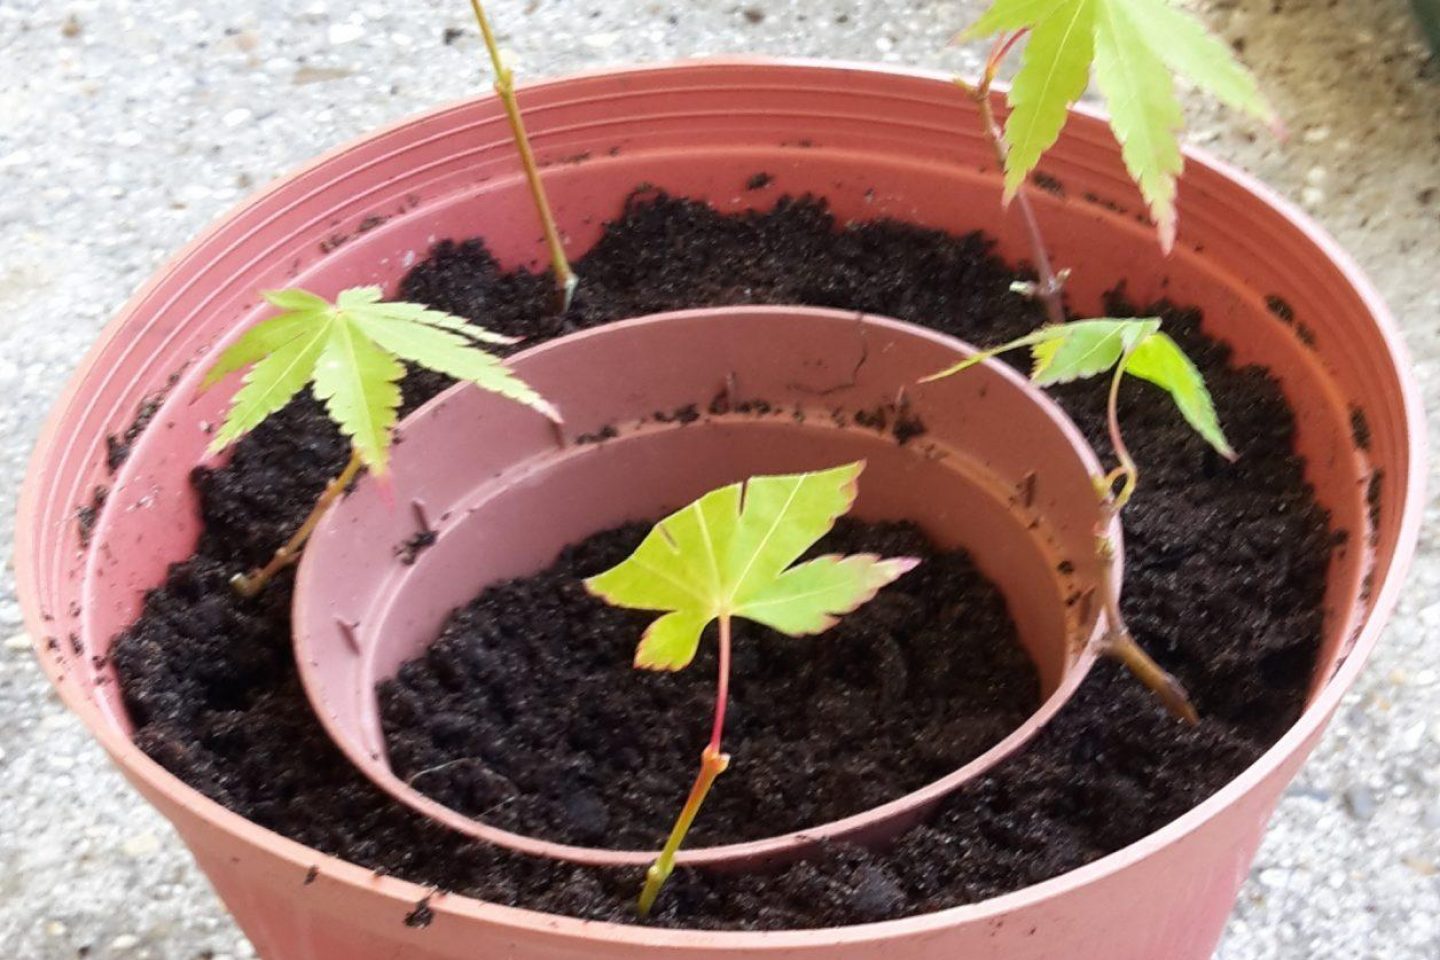
Create holes in your pots for your cuttings. You could use your finger to do this, or a dibber if you have one.
With larger pots, you may be able to put several cuttings in one pot. With smaller pots, have one cutting per pot.
Plant your cuttings around 2-4cm deep. The end where you have removed the leaves will be the one that goes into the soil. Any leaves should be at least 1cm above the compost. If you have several cuttings in a pot, space them so they do not touch each other.
Some people dip the base of each stem in hormone rooting powder before planting. This can help speed up the rooting process, but is optional and not essential.
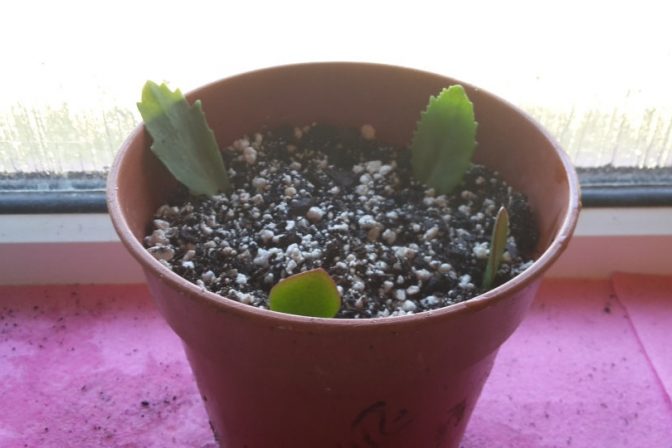
You could put a smaller pot inside a bigger pot for your cuttings. This will provide extra stability and support for the cuttings and a boundary for the roots to divide at. It also makes checking the roots of the cuttings easier as you can simply lift the inner pot out to see if any roots have grown yet.
Step 5: Water the cuttings
Once planted, gently water.
Step 6: Label your cuttings
Add a plant label with the plant name and date the cuttings were taken
Step 7: Cover and position
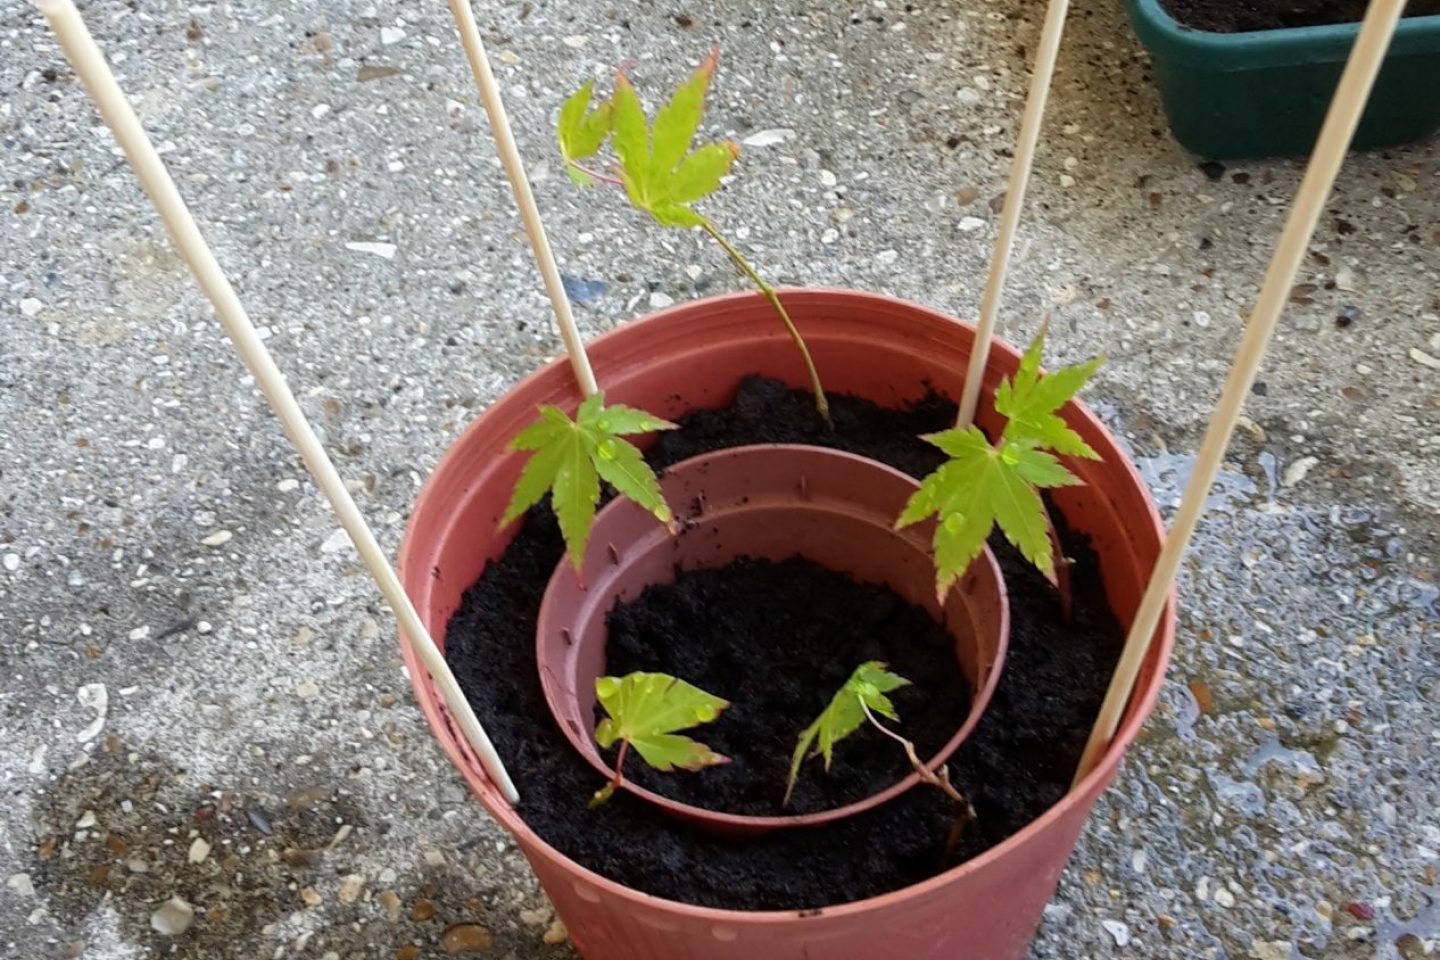
To help the cuttings take root, they want to have warmth and humidity. To help give them this, make them their own growing zone. Place four canes or sticks around the edge of the pot. The canes want to be taller than the cuttings. Put a plastic bag over the top of these. To keep the bag tight against the base of the pot, use an elastic band to hold it in place.
Put your pot in a bright area, but not in direct sunlight.

Take the following actions to look after your softwood cuttings:
Air
Remove the plastic bag often to allow air to get to the cuttings.
Water
Make sure the compost stays moist, but not waterlogged.
Check on the roots
Softwood cuttings generally form roots in 3-6 weeks, although this can vary. To check if the cuttings have rooted, gently tug one of the leaves. If the plant lifts easily it probably hasn’t rooted yet. Another way of checking with small pots is to carefully lift and look underneath. You may be able to see roots growing through the drainage holes.
If the cutting looks healthy but hasn't rooted, give it a few more weeks.
Potting on
Once you cuttings have successfully rooted, you can pot them on into a bigger pot to keep growing.

Some of your trees and shrubs may need pruning to keep them healthy and manageable . We look at tools and techniques to help you prune in your garden.

For as little as £1 a week, you could be in with the chance of winning up to £25,000 every week!
Play now