Helpful information
Timing: Mid-summer to mid-autumn
Where to do it: Outdoors / indoors
Garden space: Large garden, small garden

Timing: Mid-summer to mid-autumn
Where to do it: Outdoors / indoors
Garden space: Large garden, small garden
Propagation is one of the more scientific gardening terms. It simply describes the idea of growing new plants from existing ones. There are different ways to do this, including by sowing seeds, by dividing plants or by taking cuttings.
What are semi-ripe plant cuttings
There are different ways to take plant cuttings. The type you choose will generally depend on which plant you are taking it from and when:
There are other ways of taking cuttings that doesn’t involve the stem of the plant. For example, leaf cuttings or through suckers or offshoots. Stem cuttings is the most common type.
Why choose semi-ripe plant cuttings
Taking semi-ripe cuttings can sometimes be more successful than softwood cuttings. This is because the stem structure of the plant is more developed and resilient. It may be less likely to wilt.
Once you get into the swing of taking cuttings, it can be fun to experiment with different plants and types to see what you have most success with. Any that don’t work out so well are simply part of the learning process!
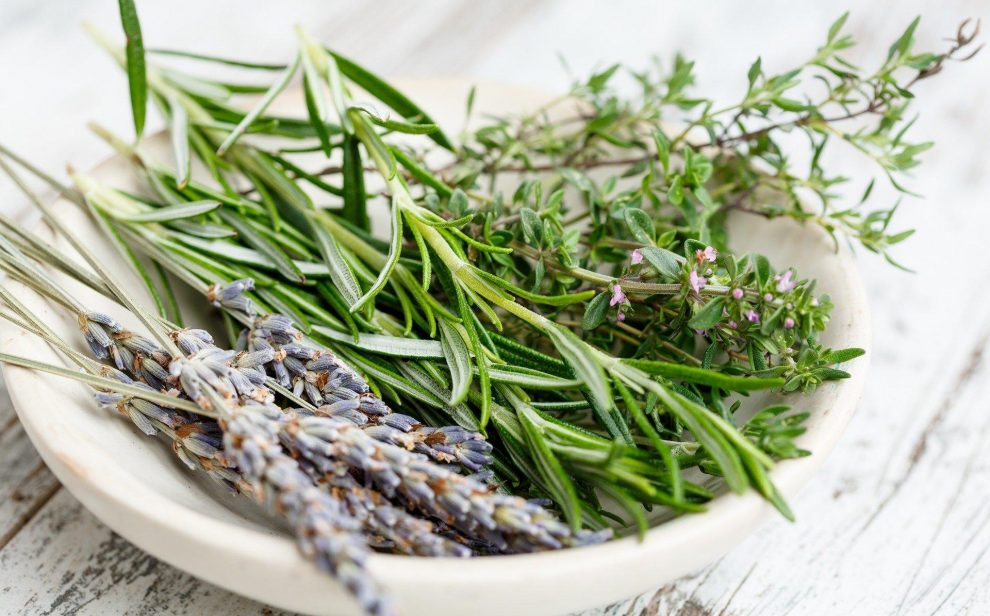
What plants to take semi-ripe cuttings from
Lots of plants are suitable for taking semi-ripe cuttings. These include:
You can always look up the specific plant you are thinking of taking cuttings from online and see what is most recommended. Or, try it and see what happens!
Essential tools
Optional tools
Follow these steps to take semi-ripe cuttings with ease.
Step 1: Find a plant to take cuttings from
Before you begin, you want to be happy that you have a plant that is suitable for semi-ripe cuttings. It should be a healthy, disease-free plant that is not currently flowering.
Check the plant to spot growth from this year. This will most likely be at the end of the stems. Remember, semi-ripe cuttings are partially matured. So, you want stems that are firm but not yet woody. It can be very interesting to note the change in colour and woodiness of growth through the year!
Get an idea of how many cuttings you think you will take from the plant.
Step 2: Gather your equipment
When you are happy you have found a plant and the time is right, gather everything you need.
The cutting itself will probably be made outdoors from the plant. However, the rest of this activity can be done from a seated position. You could choose to do this at a table inside or outside.
Arrange your working area so it is comfortable to use. Aim to have your shoulders and elbows at right angles to reduce any strain.
Step 3: Fill seed tray with compost
Preparing your seed trays before taking cuttings means you can get the cuttings in the soil more quickly. This helps them keep precious moisture.
Fill your seed tray until the compost is a few millimetres from the top.
A modular seed tray, or potting tray with small pots, may be easiest. This will ensure space between cuttings.
Step 4: Water compost
Gently water the compost so it is moist, but not soaking wet. Doing this now means your cuttings will spend less time away from moisture.
Bottle top waterers for plastic bottles are useful and good for reusing old bottles.
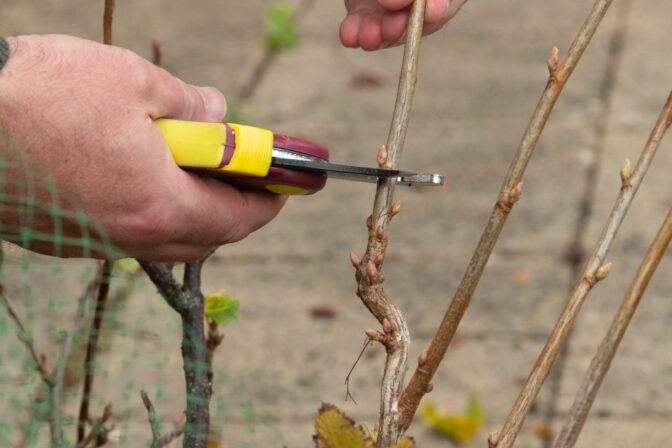
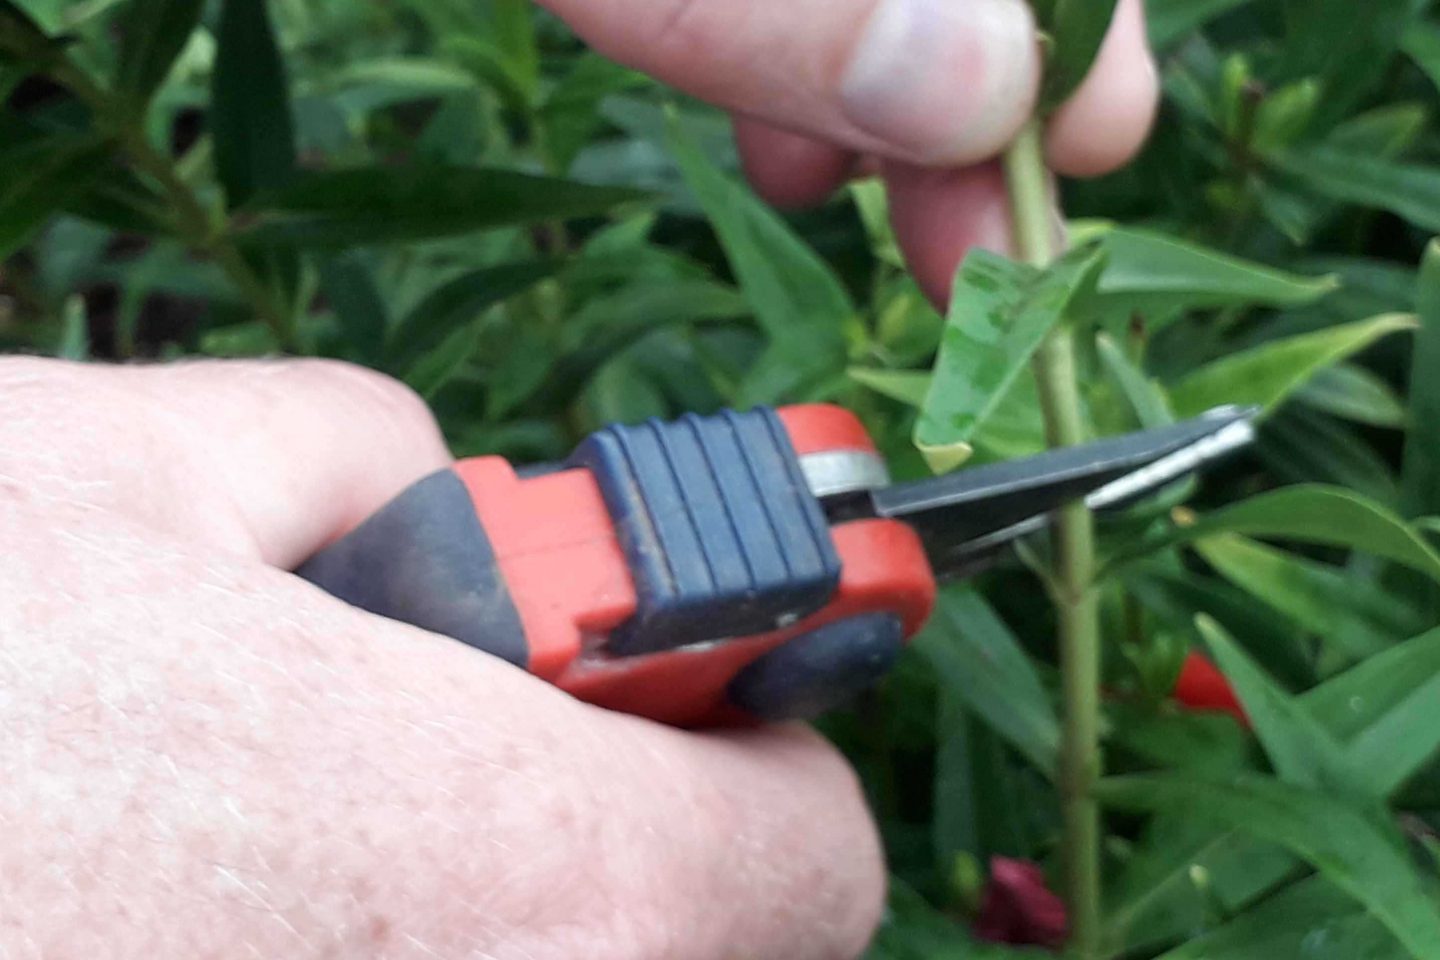
Step 5: Take cuttings
Now your compost is ready, go to your plant you are taking cuttings from.
Your cuttings should ideally be around 10-15cm long. You want to cut just below a leaf node. A node is a point on a stem where new growth sprouts from. You should be able to see and feel it – it’s basically a little bump on the stem.
Use sharp, clean secateurs to take cuttings. For smaller stems, you could use snips.
It is important your cuttings keep moist. You may want to have a small plastic bag with a few drops of water inside to put the cuttings in. This is especially helpful if it will take 5 minutes or more to take cuttings.
You may find ratchet or anvil secateurs best, especially if you have a weak grip.
Step 6: Prepare cuttings for planting
Return to your seated work area with your cuttings. Now, you want to prepare them for planting. To do this, strip any leaves from the bottom half of the cutting. This is the end that will go into the compost.
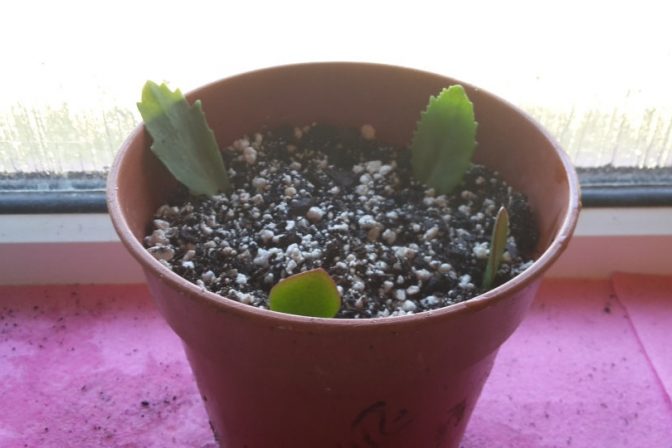
Step 7: Put cuttings in compost
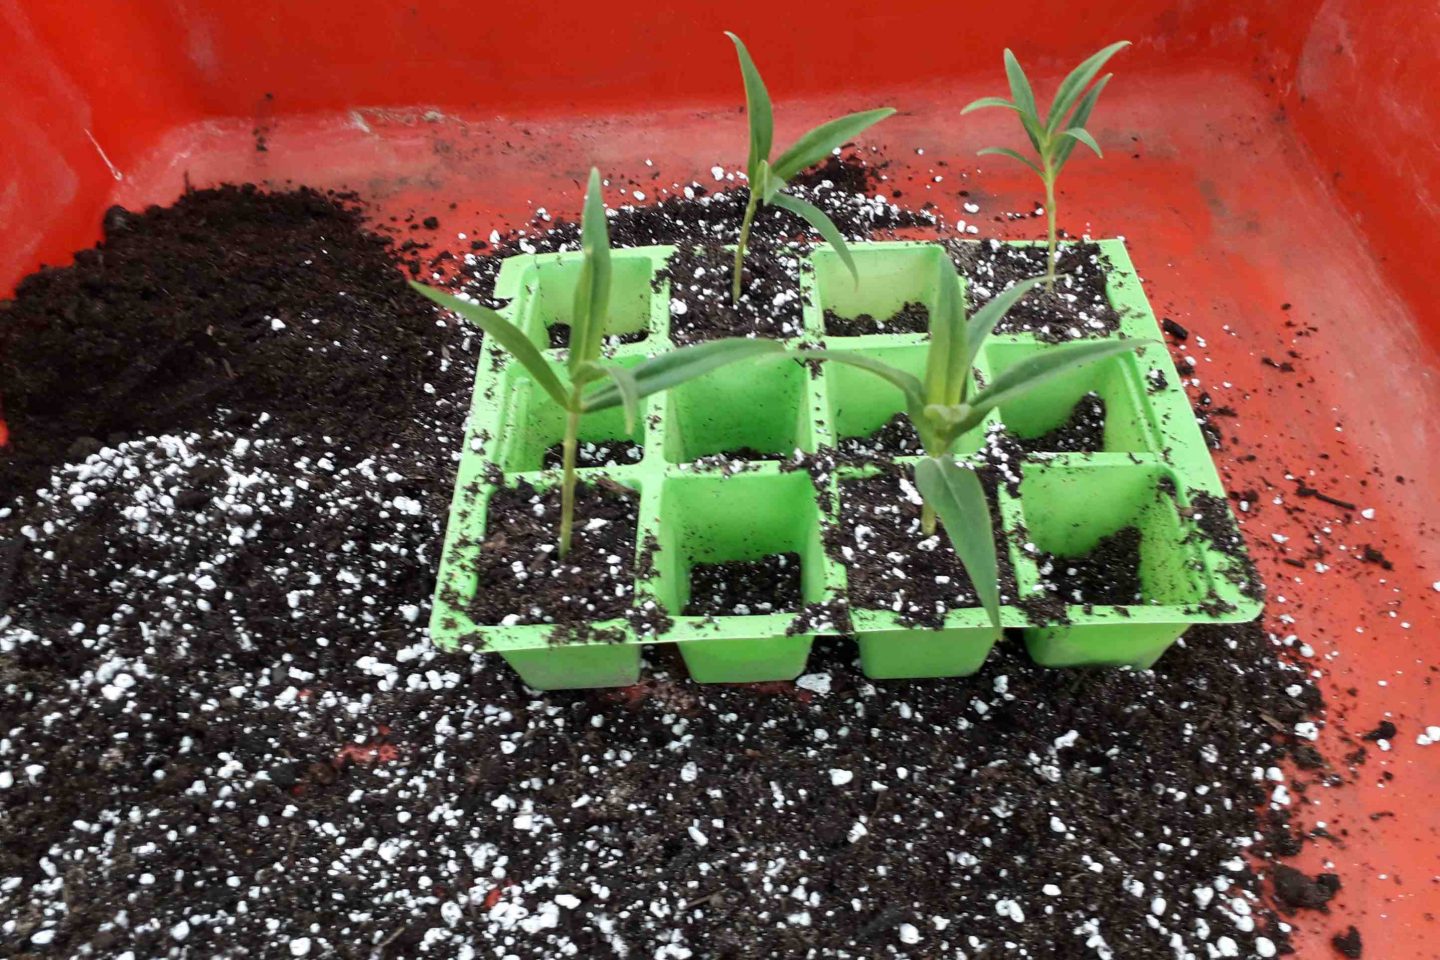
To plant each cutting, gently push it into the compost in the seed tray. You want around one third of the stem in the compost. Depending how firm the stem is, you may need to make the hole for it to go into first using a dibber or small stick.
If you are using a modular seed tray, place one cutting per section.
Some people choose to dip the bottom of the stem in hormone rooting powder before planting. This may help the stem to root but is optional and not necessary.
Step 8: Label your cuttings
Add the plant name and date the cutting was taken to a plant label.
If you have sight loss, there are a variety of options available to help you create larger or easier to read labels. Some gardening companies produce extra-large labels. A range of large clear print, coloured, tactile and braille labels are available from the RNIB.
Step 9: Position your cuttings
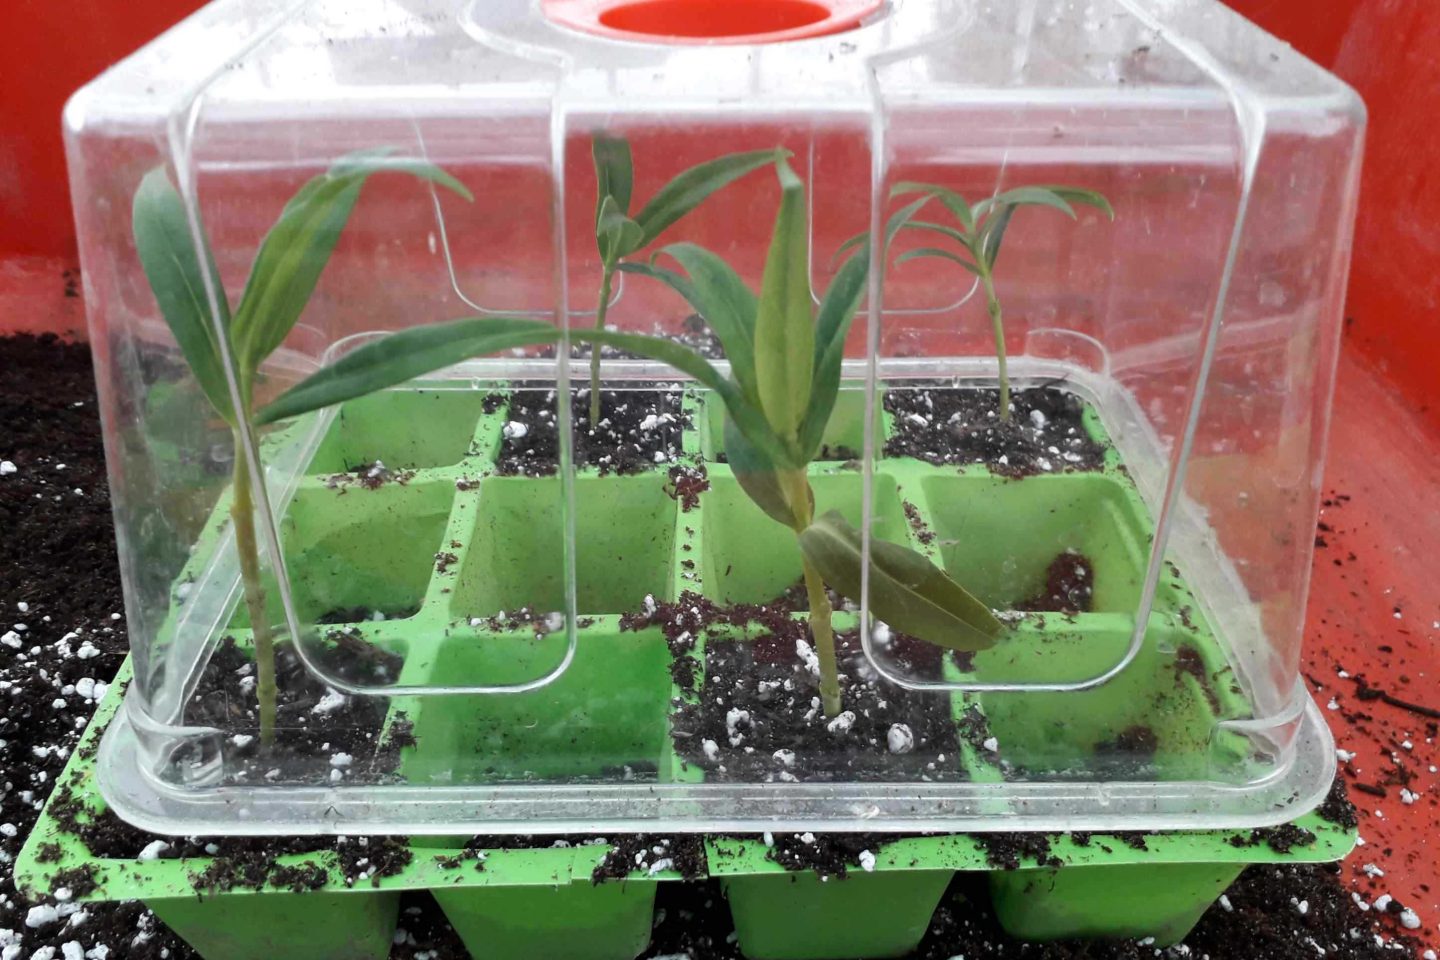
Place your cuttings somewhere warm and bright but away from direct sunlight, like on a windowsill or in a greenhouse if you have one.
Cuttings need a high level of humidity for the best chance of success. Cover them using a propagator if you have one. If not, you could use a clear plastic bag.
Check your cuttings every few days to ensure they are moist and disease free. Water gently if the soil has dried out. You want it to stay moist, but not soggy.
If any cuttings look as if they are wilting or dying despite good moisture, then remove them. They could infect other healthy cuttings.
Taking softwood cuttings is a cheap way to increase your number of plants. We offer advice on how to do it and tips to make it easier.