Helpful information
Timing: Spring to early summer
Where to do it: Indoors
Garden space: Indoor space

Timing: Spring to early summer
Where to do it: Indoors
Garden space: Indoor space

There are lots of different ways to propagate plants (grow new plants from existing ones). This includes by sowing seeds, taking cuttings - including leaf cuttings - and growing from offsets.
How do leaf cuttings work
Leaf cuttings are another example of nature's miracle. For a select number of plants, when you cut and care for the leaves, they can produce stems and roots, resulting in a new plant.
What plants are suitable for leaf cuttings
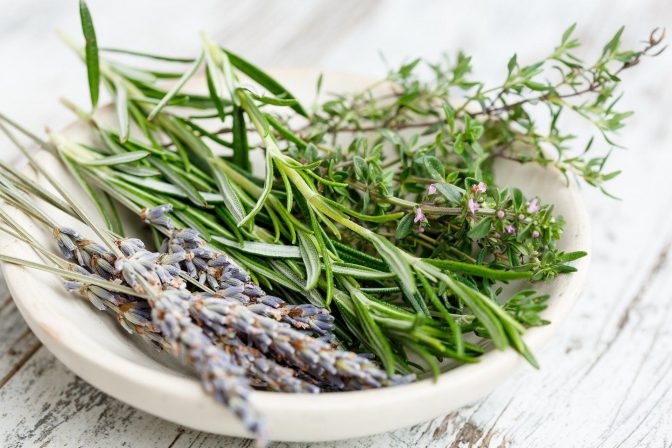
Leaf cutting only works for a limited number of plants. These are mainly houseplants. Some suitable houseplants for leaf cuttings are:
With some plants, you can take leaf cuttings by chopping a leaf into pieces. In this guide we are just looking at taking whole leaf cuttings
Follow these steps to take your leaf cuttings with ease.
Step 1: Gather what you need
Gather all you need to do this activity and find a comfortable spot to work. A table inside is ideal.
Make sure your working area is at a comfortable height, especially if you have difficulty bending. Make sure it’s easy to reach everything you need.
A compost tidy tray or large washing up bowl is very helpful to keep all mess contained.
Step 2: Fill pots with compost
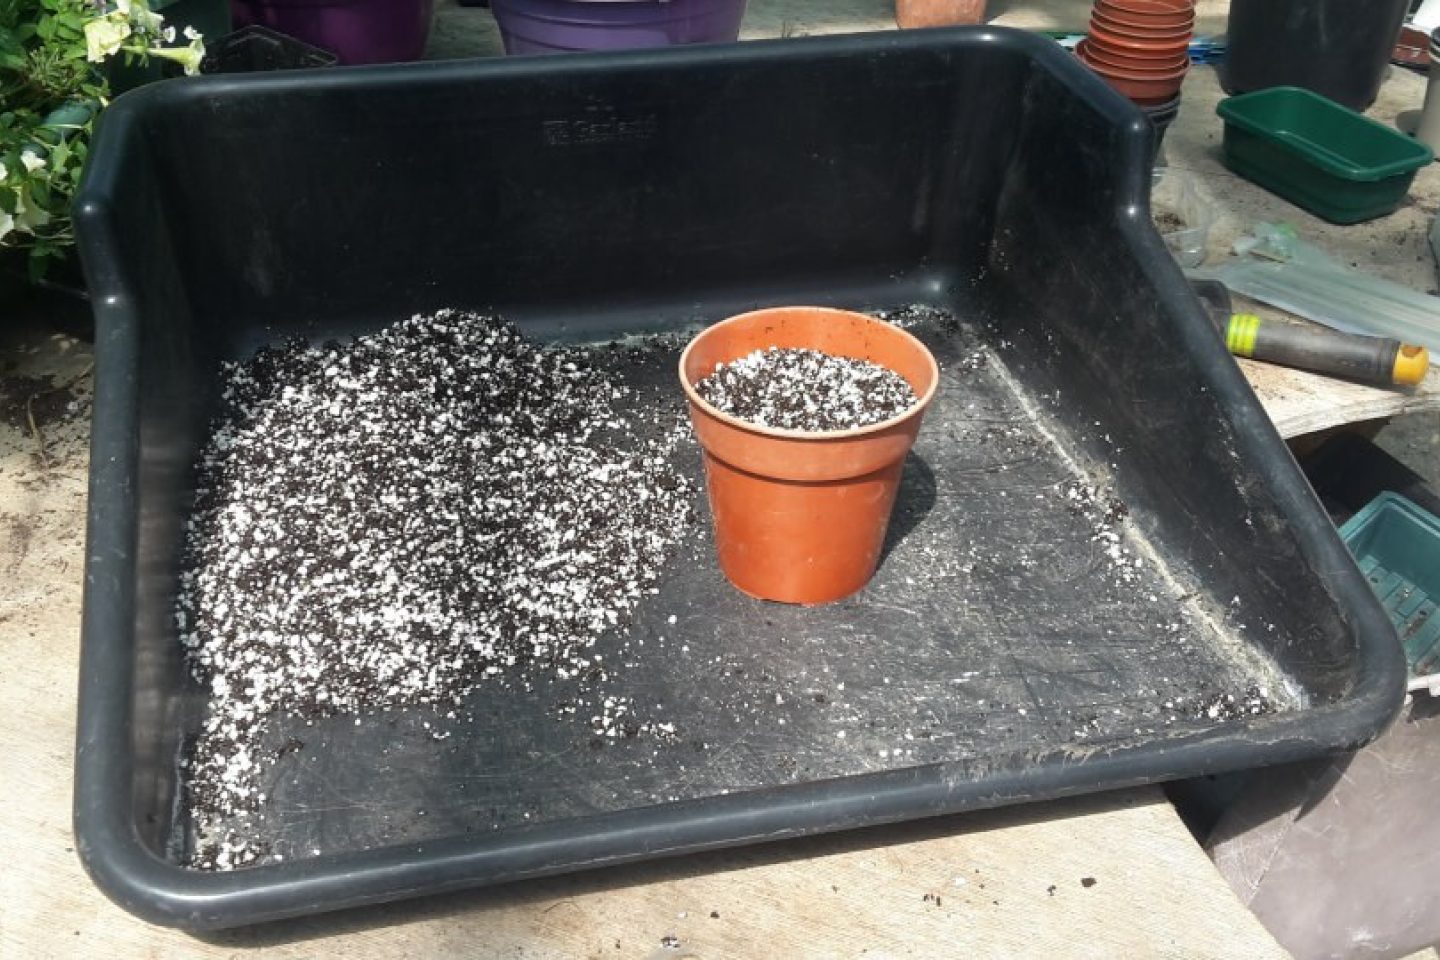
Fill your small pots with compost almost to the top. If you are using a multi-purpose compost and perlite combination, first mix these together. You want roughly equal amounts of each.
You may find a modular seed tray easier to use than individual pots. You can then place one leaf cutting per module.
Step 3: Take your leaf cuttings
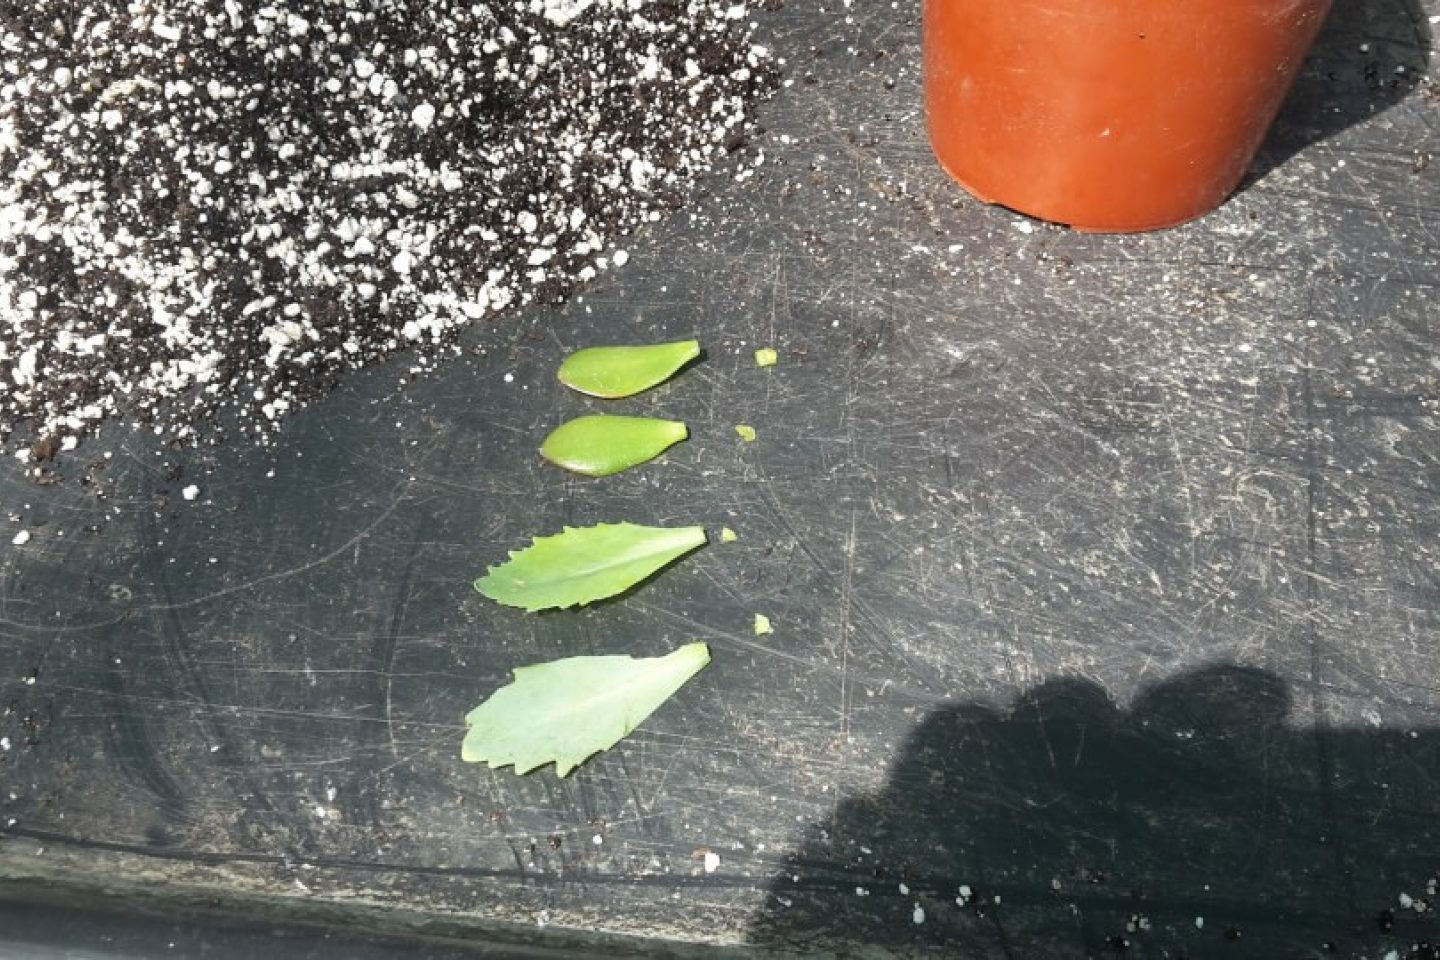
Select and cut whole leaves from your selected plant. You want to choose leaves that are young, fully grown and healthy. A small clean, sharp knife is ideal to make a good cut.
If you are taking leaf cuttings from succulents, pause at this stage. Pop your leaf cuttings on a board and leave them for one or two days. In this time, they will grow a callous over the cut part. This is a bit like a scab over an injury. It will help prevent the plant drawing water into the leaf cutting and rotting.
Step 5: Place your leaf cuttings into pots

Insert your leaf cuttings into the compost. You should be able to just gently push them in. The leaves should remain the same direction as they were on the plant, so the cut part goes into the compost. Place the cuttings just deep enough that they will stay in place.
Depending on the size of pot you are using, you may have one cutting per pot, or you could have several cuttings in one pot.
Step 6: Add labels
Write the plant name and date the cuttings were taken, so you can see how long the new plants take to develop.
Step 7: Water if needed
With leaf cuttings, you want compost to be moist but not too wet. Leaves can rot in wet compost. Water lightly if needed.
Step 8: Put in place
Place your leaf cuttings in a light, warm spot - like a sunny windowsill. For them to reach the ideal temperature for plantlets (baby plants) to develop, you may want to place a plastic bag over your cuttings.
If you have a plastic bag around your cuttings, remove it and air them regularly. Check if they need any more water. Remember, you don't want to the compost to be too wet.
In time, you can hope to see plantlets developing at the base of the leaf.
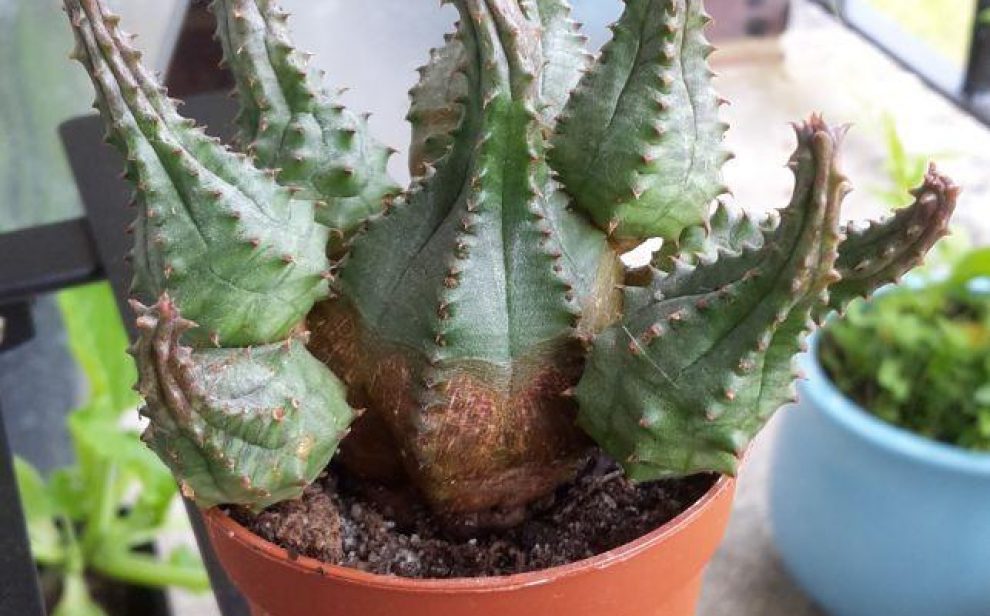
Propagating succulents is a satisfying and low-cost way to get more plants. Here, we look at propagating with offsets.

For as little as £1 a week, you could be in with the chance of winning up to £25,000 every week!
Play now