Helpful information
Timing: Variable (depending when the plant produces offsets)
Where to do it: Indoors or outdoors
Garden space: Indoor space, small garden, balcony

Timing: Variable (depending when the plant produces offsets)
Where to do it: Indoors or outdoors
Garden space: Indoor space, small garden, balcony

Succulents are amazing plants. They come in a range of interesting and sometimes bizarre forms. They make popular houseplants or are often combined together in an outdoor planter.
Succulents are remarkably tough. They store water in their stems and leaves. This allows them to survive periods of drought or grow in very poor soil.
Succulents are also very good at recreating themselves. They do typically produce flowers and then seeds. But there are other ways they can also be propagated (meaning, growing new plants from old ones). This could be by taking cuttings (using their leaves or sometimes stems) or using offsets.
This guide is about propagating succulents with offsets.
What is an offset
An offset, sometimes known as a 'pup', is a miniature version of the parent plant. It is genetically identical to the parent.
Offsets tend to develop at the base of the plant, or sometimes from nodes (points on the stem where buds and leaves grow from). These offsets can develop their own root systems over time. This allows them to be separated from the parent plant and become new plants.
Which succulents have offsets
Many varieties of succulent can be propagated with offsets. Here are some examples:
Succulents are not the only houseplants that can be propagated through offsets. Spider plants, for example, can produce dozens of very visible offsets or 'spiderettes.'
If you are trying this for the first time, you could choose a succulent like Kalanchoe daigremontiana, also known as mother of thousands. It produces masses of plantlets along the edges of its leaves that can be pulled off when ready.
Essential items
Optional items
Gather all the tools you need to complete this task first. Then, follow these steps to propagate succulents with offsets with ease.
Step 1: Remove offsets

Select a parent plant that is healthy and clearly has well-developed offsets.
Gently remove as many offsets as you want to propagate. You may need to brush the soil away a little to get to them. You should be able to remove an offset through a combination of gentle pulling and wiggling.
Be careful not to damage the roots coming from the offset – it will need these to grow!
Place the offsets on a large plate or chopping board, giving each one a little bit of space around it.
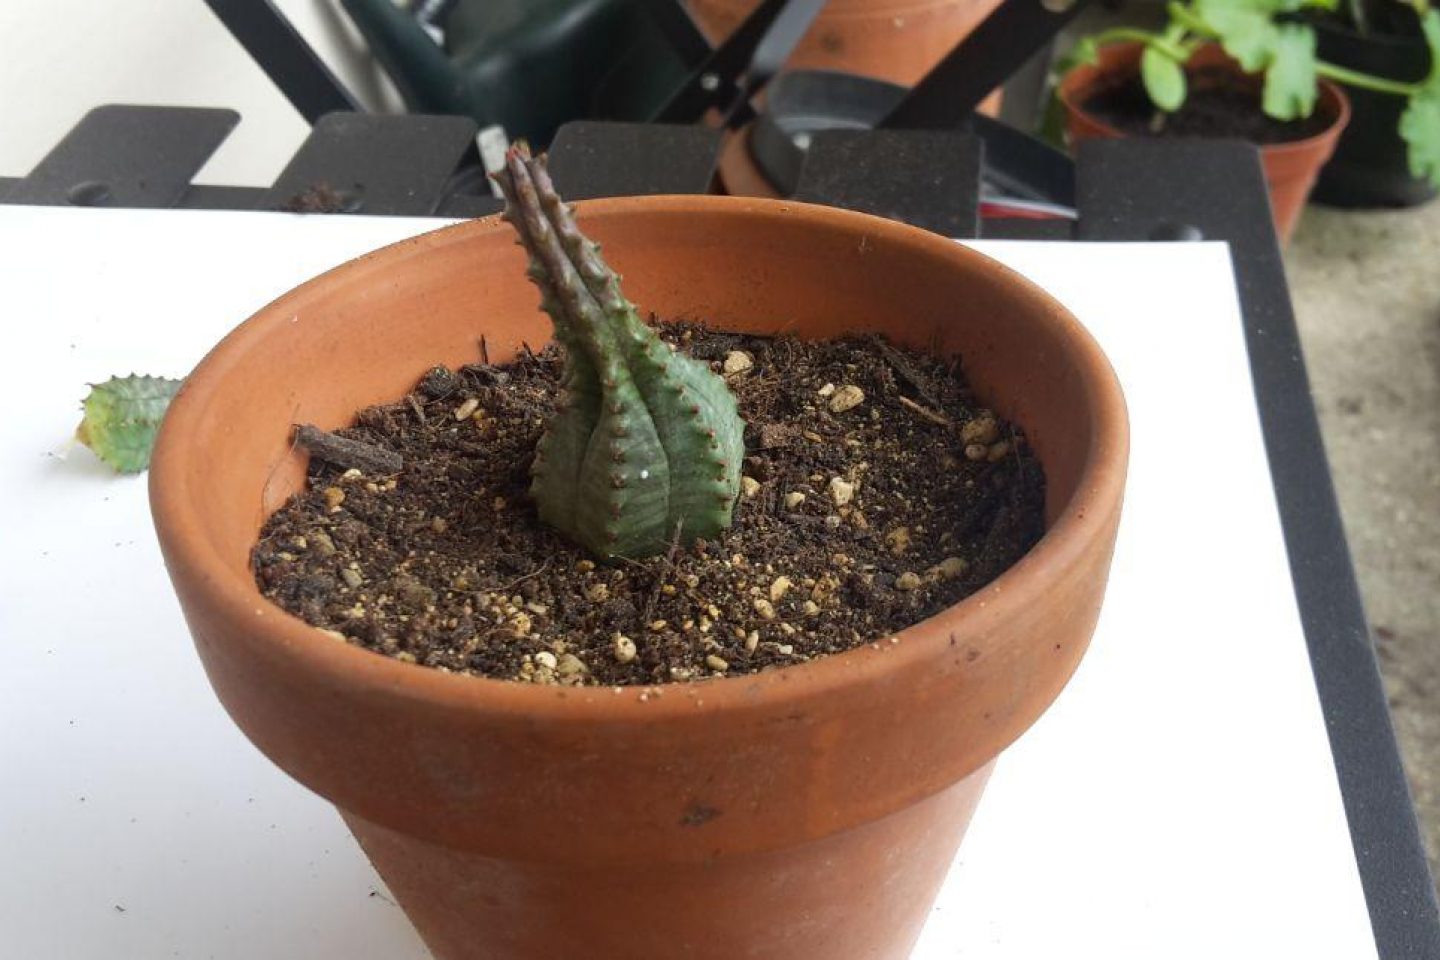
Some plants, like Euphorbia pictured, can irritate the skin when touched. Wear thin gardening gloves, or latex gloves if you are not sensitive to those, when handling the plant.
Step 2: Leave the offsets to dry out
Once the offsets have been removed, you want to leave them to dry out. This allows a callus to form where it was removed. A callus is soft tissue that forms over a cut or wounded surface. This helps protect the young plant from bacterial infection.
The callus generally takes 1-7 days to form.
Another option is to leave the offsets for even longer, waiting until they start forming roots. If you do this, the offset may go yellow and wither. But, young leaves or plants should then grow at the base of the offset.
Step 3: Fill pot with compost

Once your offsets have dried out, you are ready to plant them up.
Fill your pot with cacti and succulent potting compost. Fill to around 2-3cm from the top of the pot.
If you don’t have cacti and succulent potting compost, you could
make your own. Make a mix that is roughly 2/3 regular potting compost and 1/3 sand
or grit.
Step 4: Plant your offset
Place your offset in the middle of the pot. Gently pile up a little more potting compost around the base.
Congratulations on potting up your offsets!
Usually as young plants grow, we keep them well watered. Watering can be a trickier balance with succulents and cacti. Too much water in the soil can cause the plant to rot. You may want to look up your specific plant. Most succulents like dry conditions and are best watered lightly every couple of weeks.
If you have more baby succulents than you can fit in your own home, you could gift some to friends and neighbours.

The leaves of some houseplants can be used to grow new plants. Follow our step-by-step guide and enjoy a cheap way to get extra plants. .


