Top tip
If you have allergy concerns with peanut butter, you can use almond butter, cashew butter, sunflower seed butter or suet instead.

Essential items
Tools to make it easier
If you have allergy concerns with peanut butter, you can use almond butter, cashew butter, sunflower seed butter or suet instead.
Follow these steps to make your peanut butter bird feeder with ease.
Step 1: Gather what you need
Get all your equipment together and find a comfortable spot to work. If you are seated at a table, have everything within arm's reach.
Step 2: Spread the peanut butter

This is the messy bit!
Spread the peanut butter onto the cardboard tube using a knife. If your peanut butter is thick and a little tricky to spread, you may have to get your fingers messy and use them too.
Make sure the peanut butter is spread thickly to cover the cardboard tube. Otherwise, the bird seed will not stick well.
Step 3: Cover with bird seed
Join our Gardening Club. It’s free! We will send you a fortnightly email newsletter with inspiration, tips and activities.
Sign up today
Carefully scoop some bird seed onto a plate. You will be rolling the cardboard tube on it, so the plate needs to be at least as wide as the tube.
Lay the cardboard tube on the plate. Gently hold it at each end. Use your fingers to roll the tube back and forth over the bird seed. You want the peanut butter to be well covered with bird seed all over. You may need to use your hands to pick up and place seed onto the areas that don’t get covered well.
Step 4: Loop the string through the tube

Take the string and push it through one end of the cardboard tube. It needs to go all the way through and out the other side.
You will be using this string to hang the feeder, so you need enough string length either side to make a hanging loop. When you are happy with the length, carefully cut the string using scissors.
Step 5: Tie the string
Bring the two ends of the string together. Tie a knot - you will probably need to do a double knot so it is secure.
This will allow you to hang your peanut butter bird feeder horizontally.
If you wanted your feeder to hang vertically, you could create holes near the top of the tube using a pencil. You can then run the string through the holes. You could always try making both and see if your birds prefer one design over the other.
If you want to avoid fiddly knot tying use a food / freezer bag clip to hold the string together.
Step 6: Hang your feeder
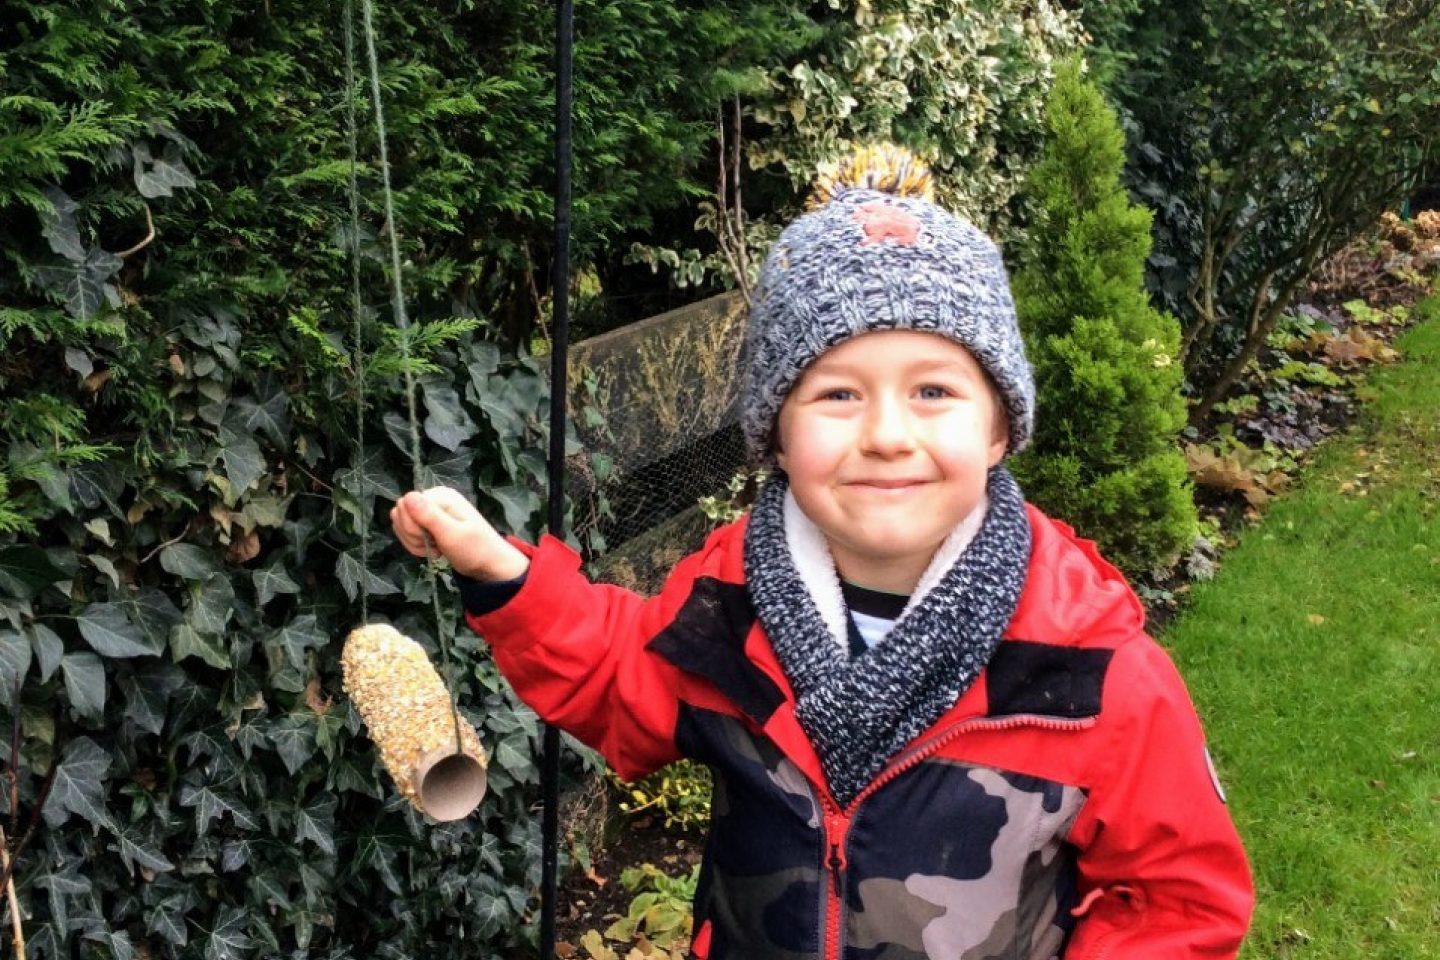
Congratulations, you have made your peanut butter bird feeder!
Now, hang it somewhere for the birds to enjoy. A branch, fence or somewhere the birds like to spend time is ideal. In our example, we chose a hook near the hedgerow.

Home composting is a great way to turn kitchen and garden waste into nutrient-rich soil. If you have limited space, a large plastic bottle can become the perfect compact compost bin!