Helpful information
Timing: Best done in spring or autumn
Where to do it: Outdoors
Garden space: Large garden, small garden

Timing: Best done in spring or autumn
Where to do it: Outdoors
Garden space: Large garden, small garden
Garden beds and borders are, quite simply, any area of soil at ground level that you can put plants in. Borders run around the edges of your garden, while beds could be anywhere in the middle.
Before creating your new bed or border, you need to decide where it will go. It’s important to think about how much sunshine or shade it will get. This affects which plants you can grow in it.
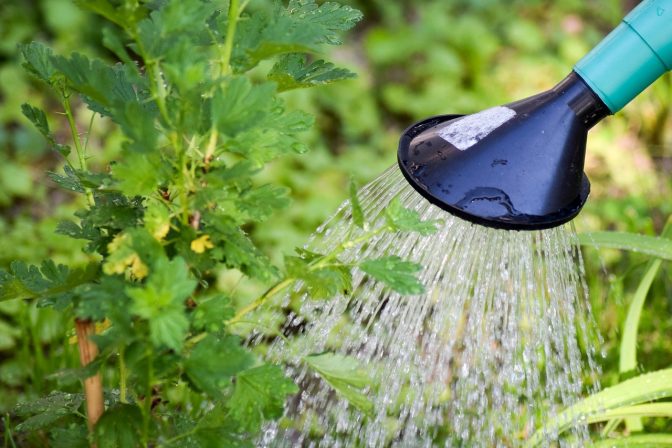
If you are planning to grow vegetables, they want as much sun as possible. Some flowers and shrubs also love the sun, while others will grow happily in shade. When you buy any plant, the label should give you this information. It should suggest placing the plant in either full sunshine, part shade or full shade.
Transforming a bare patch into something beautiful and feeling the soil is wonderful.
Lizzie, home gardener
If your garden is new, it’s a good idea to spend a sunny day outside getting to know your garden. Make note of the areas that get the most sunshine and any that are shady. Big trees or buildings may well cast a shadow in your garden for some of the day.
Take your time deciding where to place your bed or border. It’s quite a workout to create it, so best not to have to redo it!
Some people find it more comfortable to garden at height than at ground level. It is quite hard physical work to create a new bed and border. Read our articles on container gardening and raised beds for helpful advice.
Essential items
Optional items
Gather together the tools you need and follow these steps to create you new garden bed or border.
If you want to refresh an existing bed or border and prepare it for planting, read our dedicated article.
Step 1: Mark out your bed or border

Use a string line to completely mark out the edges of your bed or border. A string line is just a length of string tied between two small posts.
Beds and borders can be dead straight, which is very neat. You could also be creative and have curved edges, which can help your garden look bigger. Curved beds are harder to mow around.
When planning the width of your bed or border, think about what you want to plant in it. If you want a mix of different plants, it is best not to make it too thin.
Gather all the equipment needed for the whole task around you – this will avoid lots of trips to the shed and back!
When planning the size of your bed or border, think about how far you will have to reach. Anything over 50cm wide means you will need to step into the bed to reach your plants. This makes it harder to look after.
It is wise to start smaller. You can always make your bed or border bigger in the future.
If you are using a string line to mark out your bed or border, you can buy brightly coloured string that is easier to see.
An alternative to using string is grass marking paint. This can be sprayed directly onto the grass to mark the edges of your bed or border. It reduces the need for bending and for tying knots.
Step 2: Cut around the edge of the bed or border

Use a spade to dig down all along the edge you have marked. You want to dig around half the spade’s depth. Wiggle the spade as you dig it in to make a clear edge.
Using a sharpening stone to sharpen any digging tools, such as spades and edgers before you begin. This will help them cut through the ground.
Use a half-moon lawn edger to help make clean, neat lines.
Don’t tackle this task when it’s very dry and the soil is hard. It will be difficult to get the spade or edger into the ground.
Step 3: Remove the layer of turf

Start lifting the turf across your bed or border. You want to dig your spade down to about one third of the length of its head. The aim is to remove the grass and its roots, but not too much of the soil below or it will be heavy and hard to lift. Putting the spade flat to the ground will help you do this.
Have a wheelbarrow next to you that you can place the turf on.
Remove any perennial weeds, like dandelions, from the dug-up turf and put them in a bucket or container.
Removing turf is a good workout. There are ways you can reduce potential strain, or energy required.
Step 4: Take your turf away

Once you have dug up all the turf, think about what you would like to do with it.
You could place your turf cuttings in your compost pile if you have one, or garden waste if you don’t. You could also find a corner of the garden to stack the turf. It will gradually rot down, providing a home for insects. Remember to put the turf soil side up so the grass does not get any light and begins to break down faster.
Digging a fairly thin layer of turf will make it easier to move (see above).
Turf is heavy, so use a wheelbarrow to transport it. A two-wheeled wheelbarrow is more stable than a single wheeled one.
When you pick up turf, rest it on your forearms and hands instead of picking it up and holding by your fingers. Keep your elbows tucked in to reduce strain on your shoulders and elbows.
Stand back and admire your work. It’s a physical task creating a new bed, but it makes a big impact!
Next, you need to get your bed or border ready for planting. Read our guide for detailed advice on how to do this.
Are planning to wait more than a couple of weeks before preparing your bed or border for planting? Then, it is helpful to place weed control fabric on top of the soil. This will help keep it weed free. If you don’t have any, you can just weed the area before planting.
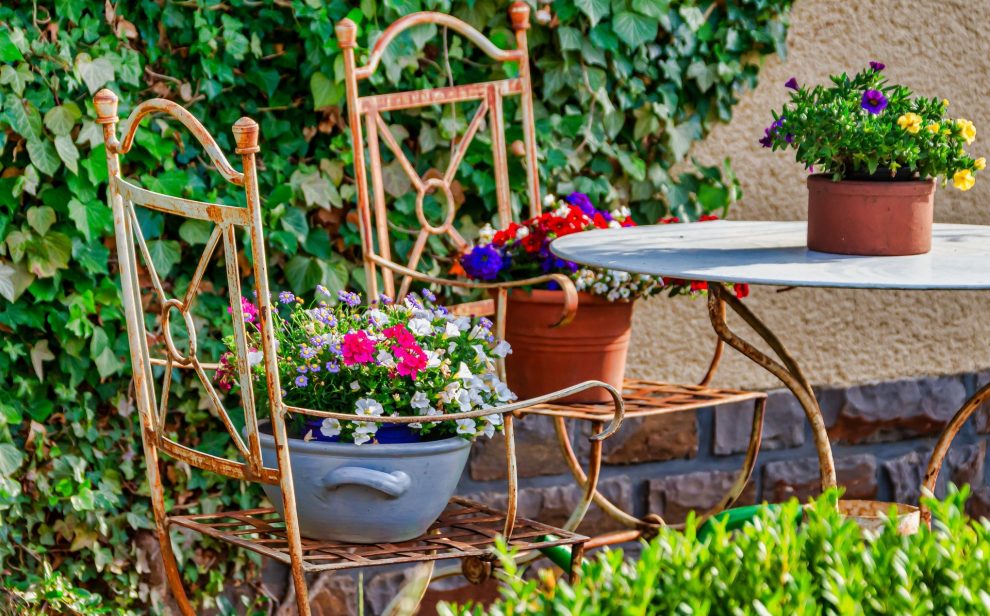
Container gardening is a popular and useful way to garden. From individual pots to barrels, long planters and balcony boxes, you can grow almost anything in containers.