Helpful information
Timing: Best done in spring or autumn
Where to do it: Outdoors
Garden space: Large garden, small garden

Timing: Best done in spring or autumn
Where to do it: Outdoors
Garden space: Large garden, small garden
Available now on iOS and Android, helping you garden your way to better health
Find out moreEssential items
Optional items
You don’t need to dig over your bed to get it ready for planting. So long as it’s not too compacted (solid) there are some good reasons to leave your bed as it is:
Visit the website of renowned no dig gardener Charles Dowding to find out more.
Join our free Gardening Club community to enjoy seasonal tips, inspiration and entertainment.
Find out moreAssuming you are not using the no dig method, follow these steps to prepare your bed or border for planting.
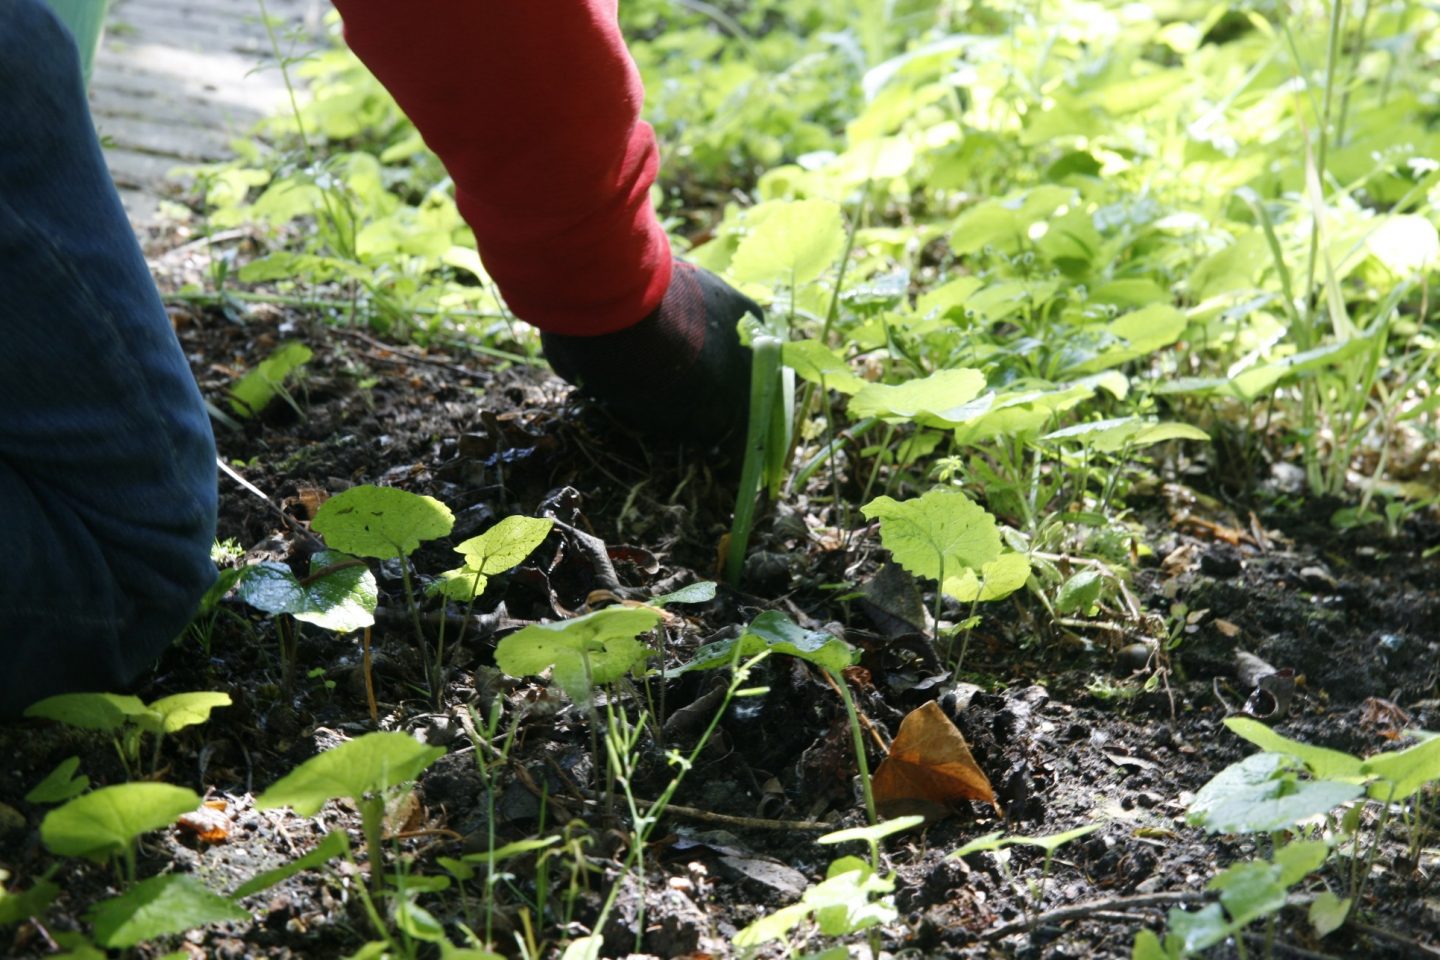
Step 1: Weed and clear debris from bed or border

Carefully remove any weeds and debris such as large stones. Place into a bucket or container.
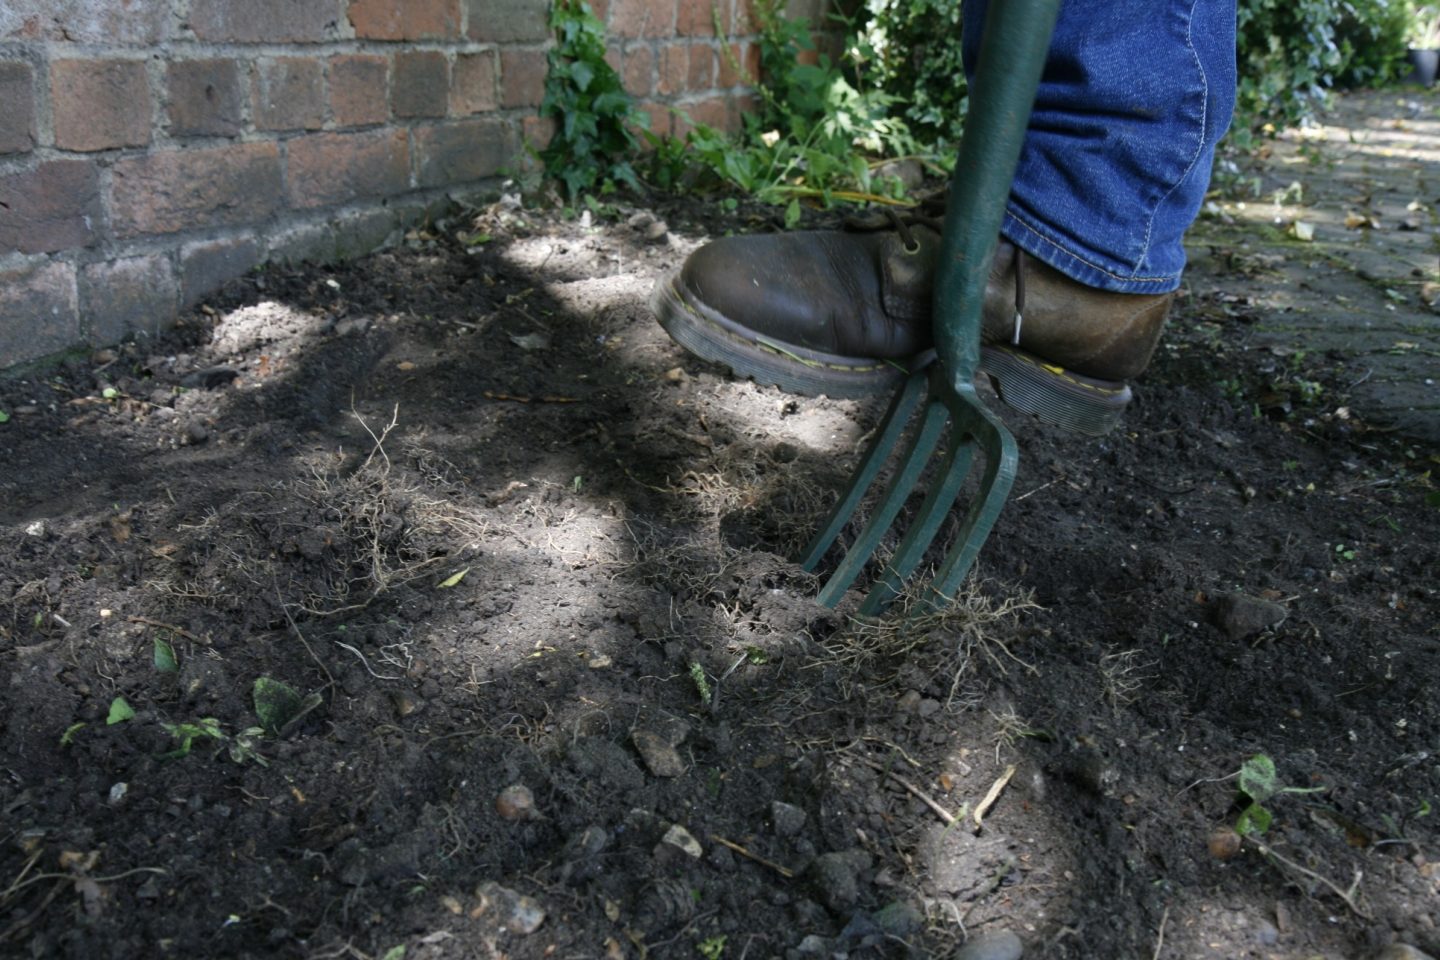
Step 2: Dig over your bed

Lightly dig over the whole bed using a garden fork or spade. Remove any large stones, weeds and roots. Work carefully around existing plants you want to keep.
Continue breaking down the soil until it is in pieces around 5cm round or smaller.
A manual garden cultivator/tiller or soil miller allows you to turn over the soil from a standing position. This reduces bending. Electric versions are available, but they are more expensive and harder to control.
Use a back saving tool grip to reduce strain on your back when digging. You can also use this when raking later.
A litter picker will allow you to pick out large stones or weeds with less bending down.
Step 3: Add compost, manure or leaf mould

You can help the plants in your new bed or border by making the soil more nutrient rich. Fork some multi-purpose compost, well-rotted manure or leaf mould through the soil.
If you are planning to grow root crops, like carrots and parsnips, avoid adding manure. It can make them grow in a fork shape, instead of straight.
Lightweight expanding compost bricks / blocks are available from garden centres. These allow you to avoid carrying heavy bags of compost. Place a compost brick in a container / wheelbarrow at home and add water to expand it.
You could use a packet of dry plant feed instead of compost or manure. This is lighter to carry. Add the required amount to your soil and gently fork or rake it in.
Step 4: Rake over and roughly level the soil

Using a steel garden rake, rake over your newly dug and composted area. Try and get your soil roughly level to ensure your plants grow evenly. Push and pull the rake over the bed being careful not to create any large mounds. This will also provide a chance to knock out any large lumps of soil you may have missed.
A spring tine rake is usually lighter than a steel rake. Dig over your soil a bit more thoroughly first if you are using this sort of rake.
Step 5: Knock air out of soil with a rake to consolidate

Consolidating means getting rid of any large air pockets in the soil. These can make it hard for your plants’ roots to grow.
You don’t want to crush the soil. Use a downturned steel rake and hit the soil surface repeatedly. This will knock any air pockets out plus break up any remaining large clumps of soil.
Consolidating is recommended, but is not entirely necessary. If time allows, you could dig over your bed a few months before planting and allow the soil to settle itself.
Giving your bed a good water with a hose after raking will also allow soil to settle and get rid of air within soil. Allow it to dry before giving a final rake.
Step 6: Give it a final rake

Give your bed or border a final rake to allow the soil to be as evenly spread as possible. Remove any stones from the surface. Break the soil pieces down to a size that is easy to rub between your fingers (a fine 'tilth').
Once again, a spring tine rake is usually lighter than a steel rake.
Stand back and admire your work. It’s a physical task preparing a bed or border for planting but it makes a big impact!
The bed or border is now ready for planting! Try to avoid treading on the new soil, so you don’t compress it. Plants need air in the soil as well as moisture and nutrients for growth.
If you will wait more than a couple of weeks before you add plants, it helps to place weed fabric or weighted cardboard over the soil. This will help keep the soil weed free. If you don’t have any weed fabric or cardboard, you can just weed the area again before planting.