Helpful information
Timing: All year round, or late autumn to early winter if you plan to plant in the garden
Where to do it: Indoors
Garden space: Large garden, small garden, balcony
Timing: All year round, or late autumn to early winter if you plan to plant in the garden
Where to do it: Indoors
Garden space: Large garden, small garden, balcony
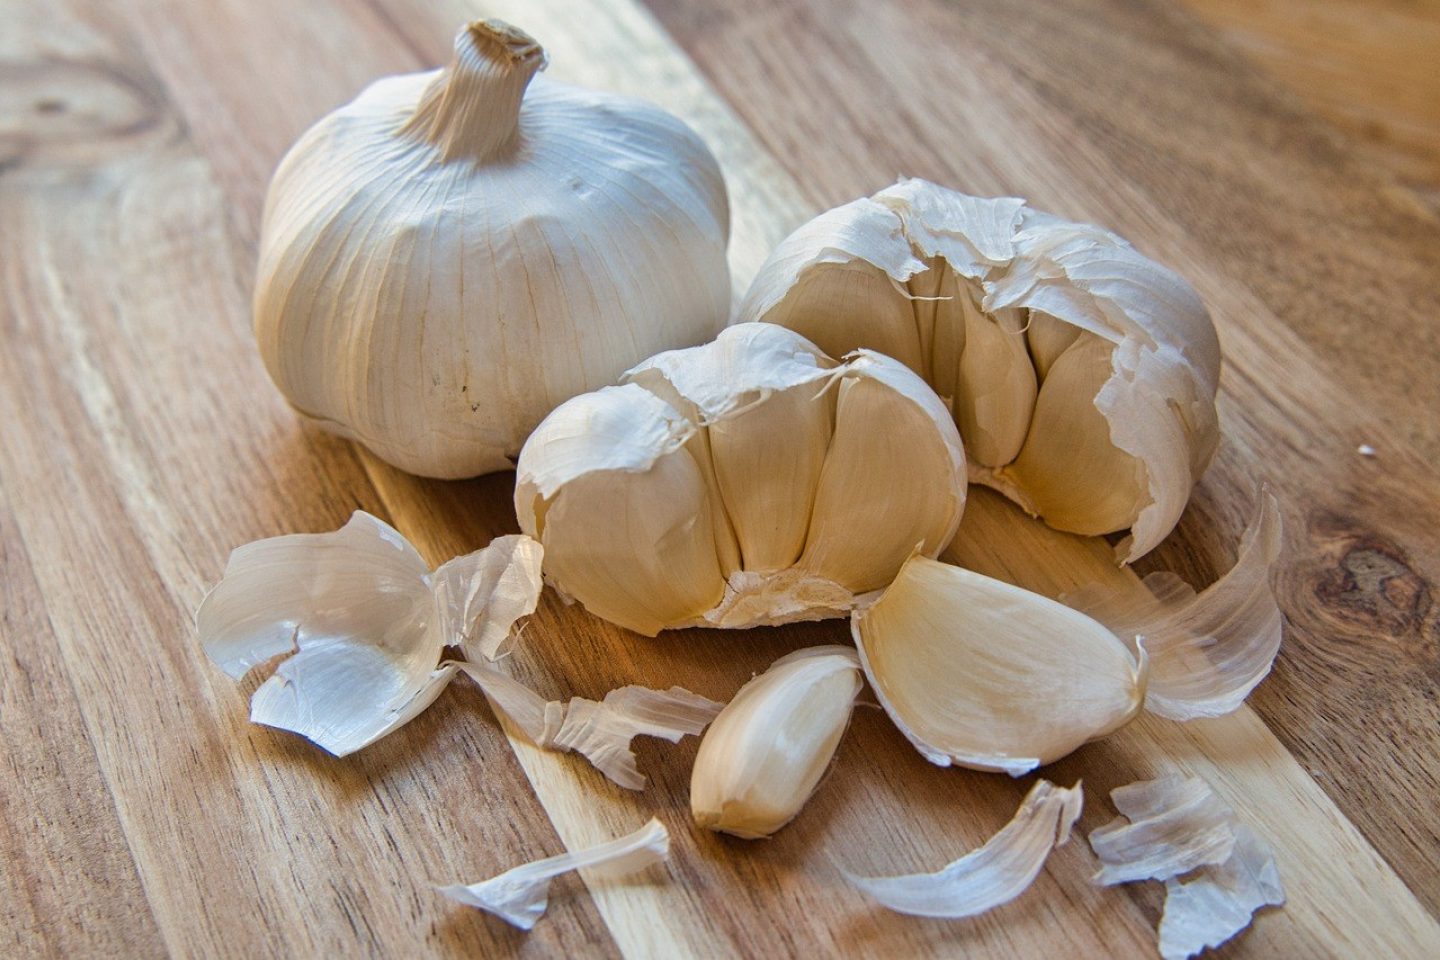
Unlike many vegetables, garlic is generally not grown from seed. This is for many reasons, including it being harder to find seeds, how long they take to grow and the less reliable quality of the garlic that comes from them.
Garlic is typically grown from sets or individual cloves, which are available from garden centres and seed suppliers.
It is also possible to use supermarket garlic. Cloves of supermarket garlic can be a bit less successful at sprouting. But, if you have some spare, why not give them a go! It's a straightforward growing activity you can do inside, using minimal equipment.
When growing garlic from cloves, look for big, healthy-looking cloves. You want the papery outer skin to still be on. Don't use cloves that have gone soft, mouldy or look damaged.
Essential items
Optional items
Follow these steps to grow garlic from a clove with ease.
Step 1: Gather your equipment
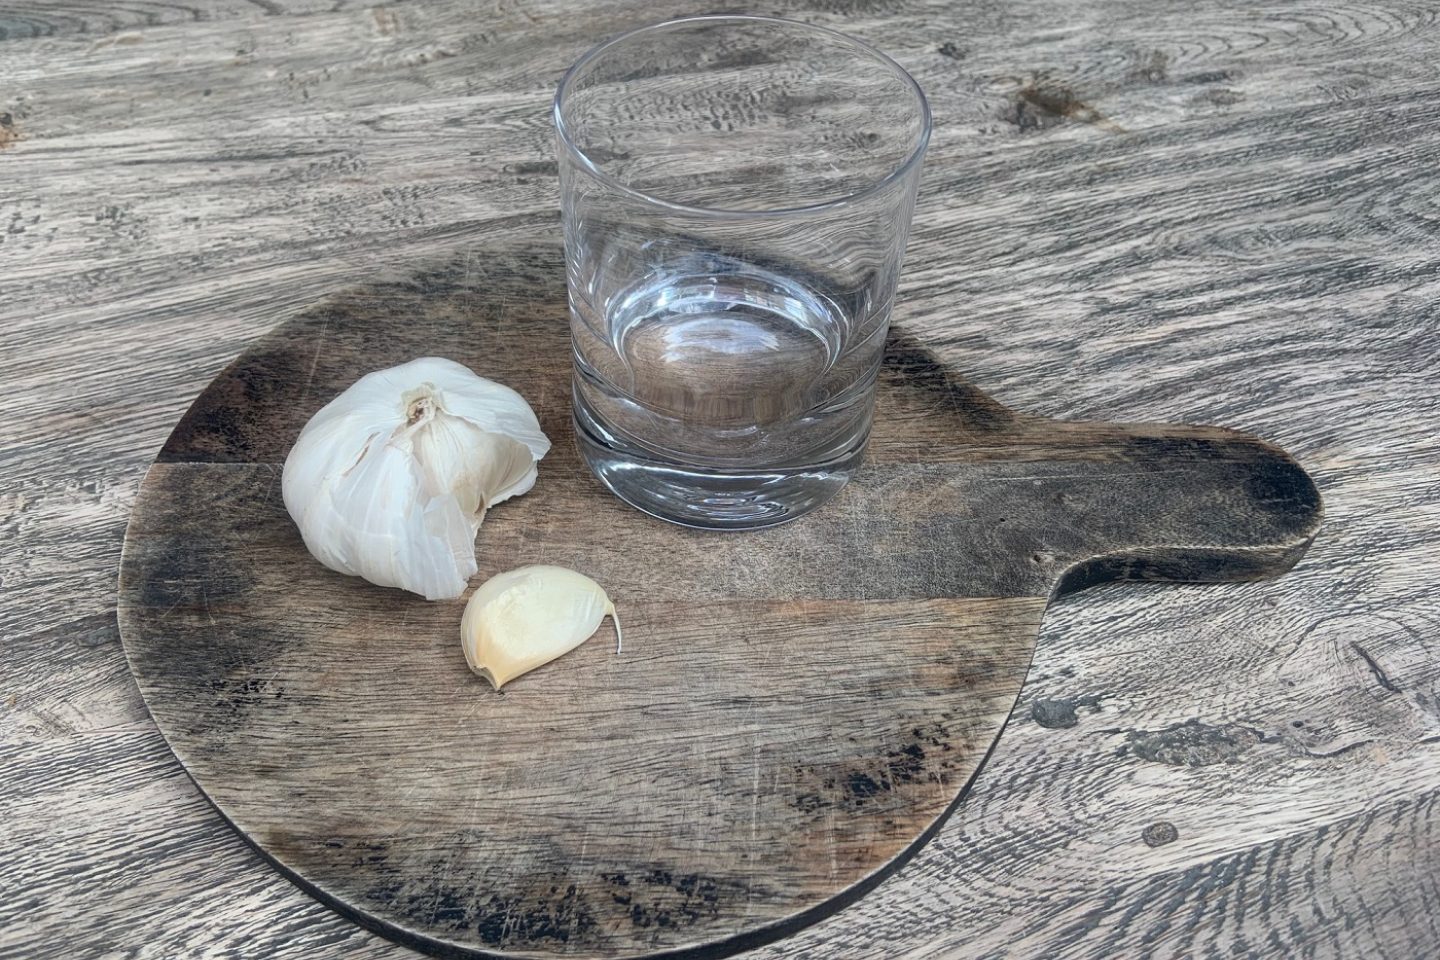
Get everything together that you need and find a comfortable spot to work.
You may find it helpful to do this on a chopping board or other flat surface, like a plate, to contain mess.
Step 2: Separate your garlic bulb into cloves
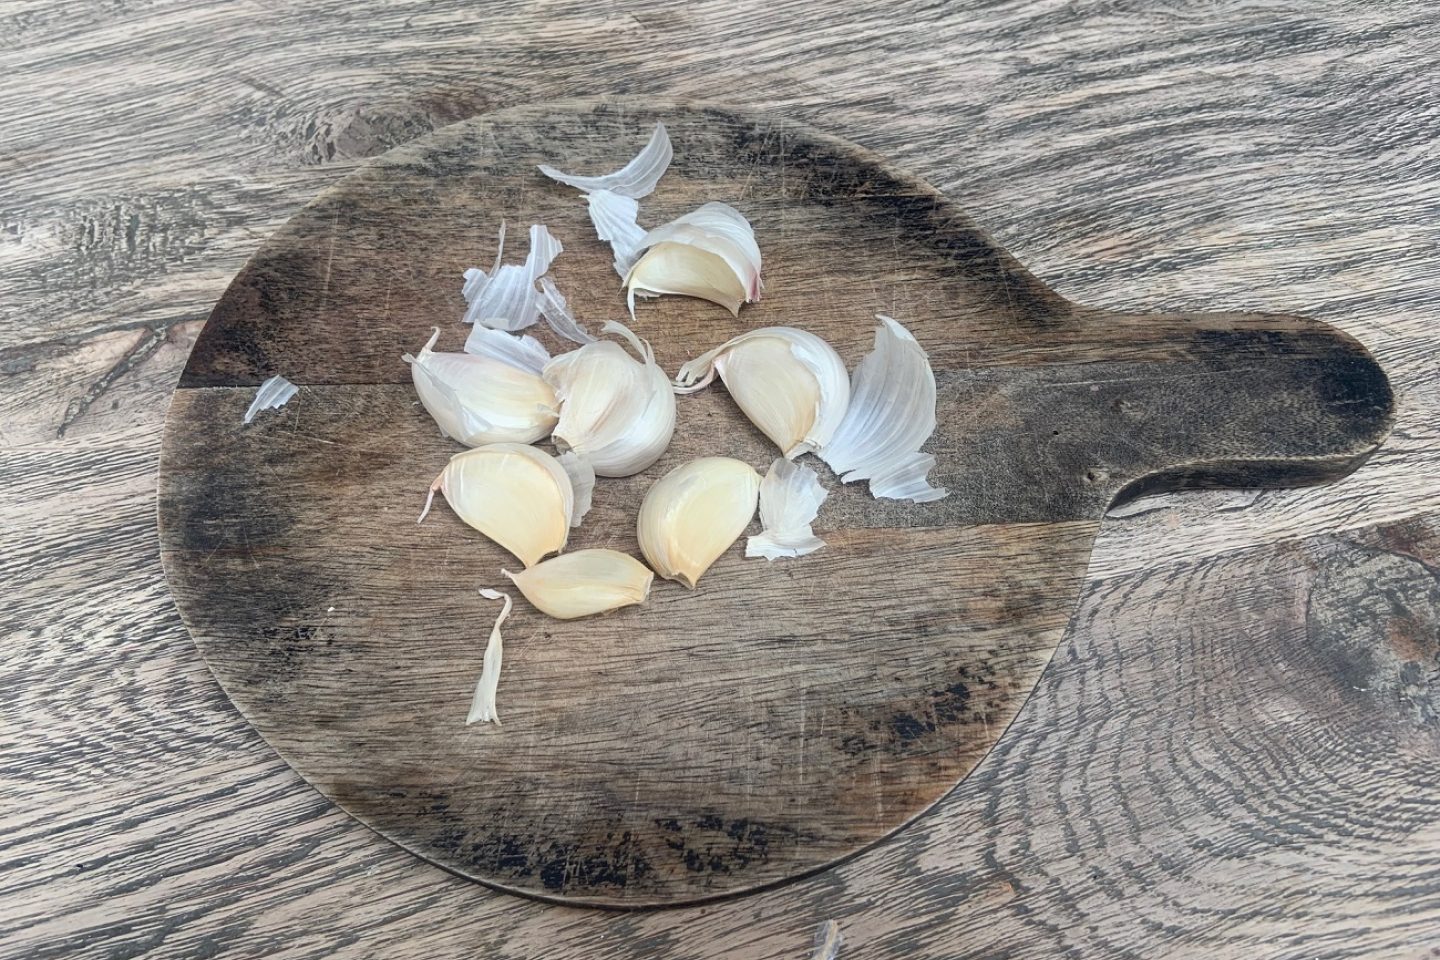
Take your garlic bulb and split it into individual cloves. Put any unhealthy or mouldy looking cloves into your food waste.
Gently remove the outer papery coating from the cloves. Leave on the skin around each individual clove.
Step 4: Place garlic cloves in a glass or jam jar
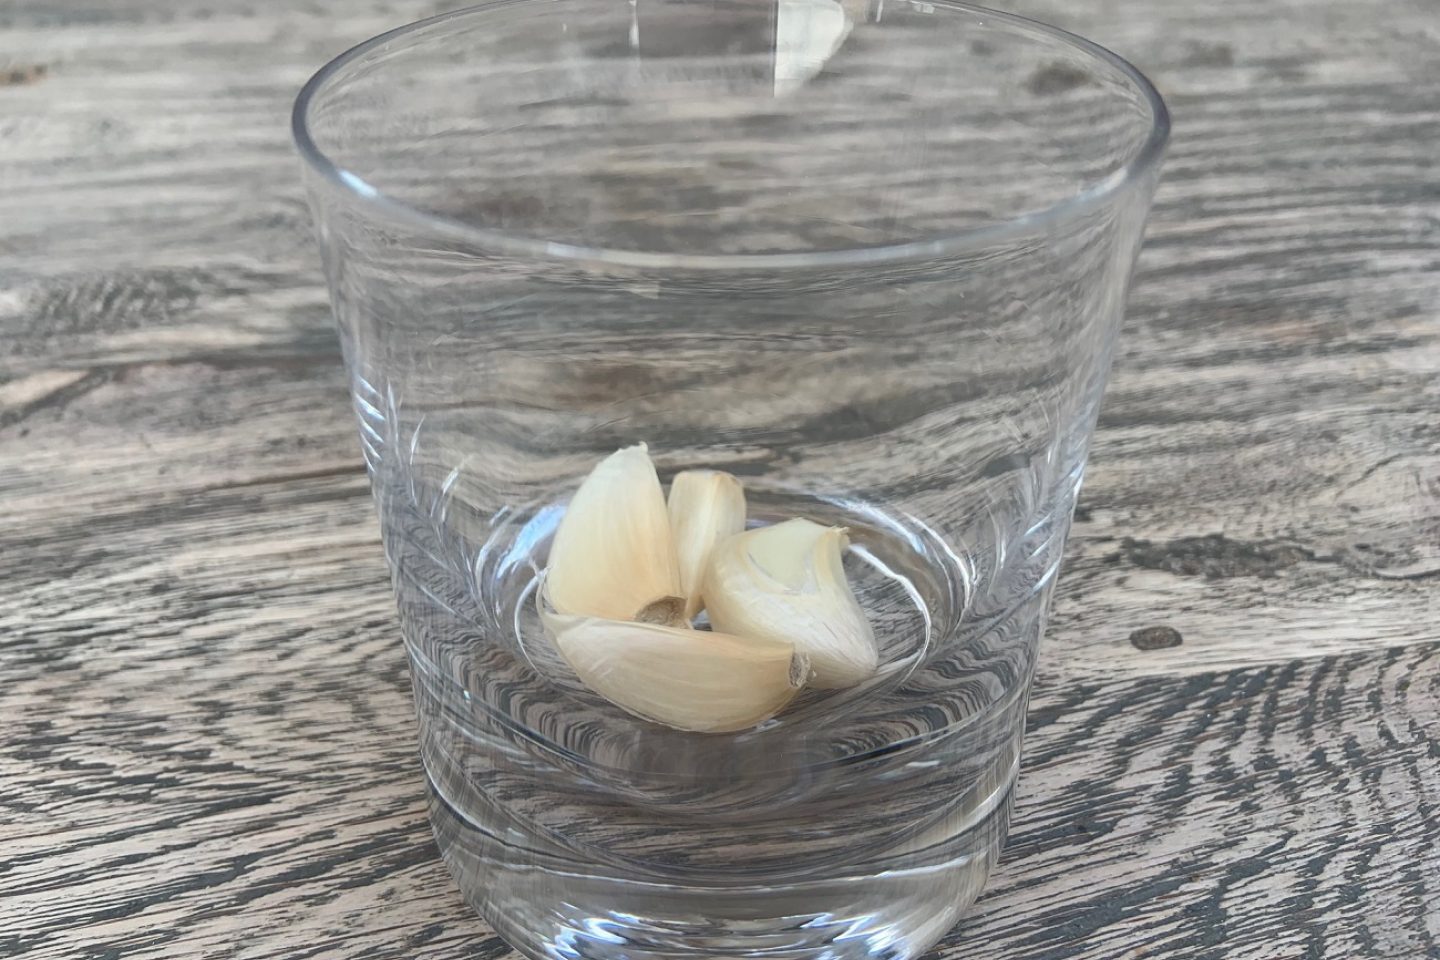
Put your cloves at the bottom of a small glass or jam jar. You could use any sort of cup for this, but glass allows you to watch the roots and shoots grow over time.
You can put as many cloves as will comfortably fit at the bottom of the glass. They do not need lots of space at this stage.
Try to place them so the pointy end of each clove is facing upwards. You may find it hard to get them to stay this way. Don't worry too much, you can always gently reposition them as the roots and shoots grow.
Step 5: Add water
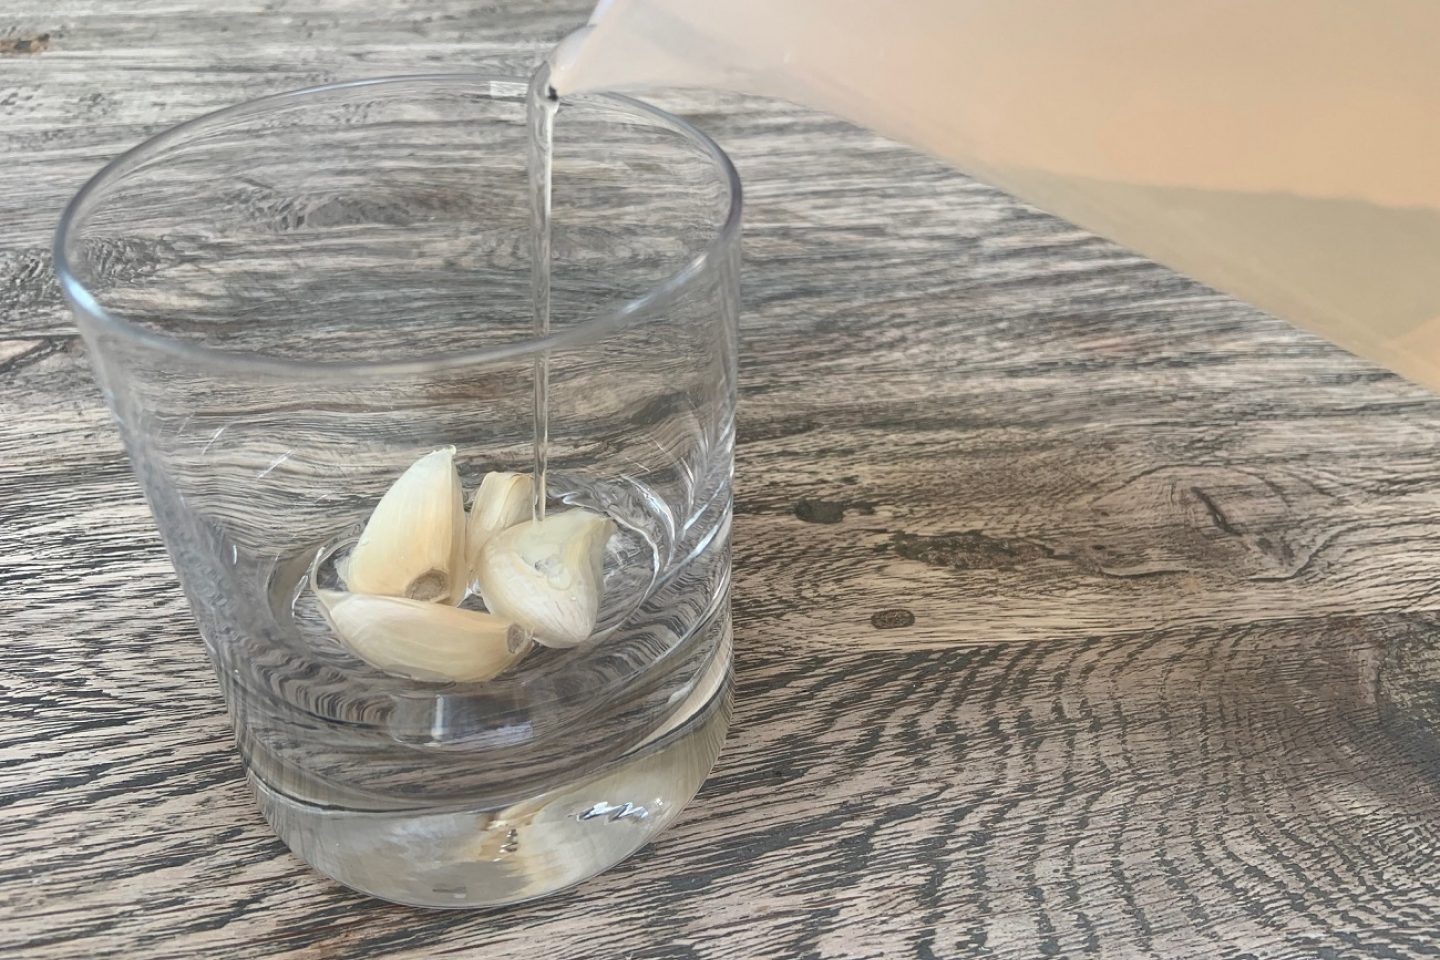
Add just enough water to the glass to cover the bottom of each clove. You may find it helpful to use a small jug, like a measuring jug, to pour in water.
Step 6: Position somewhere warm and light
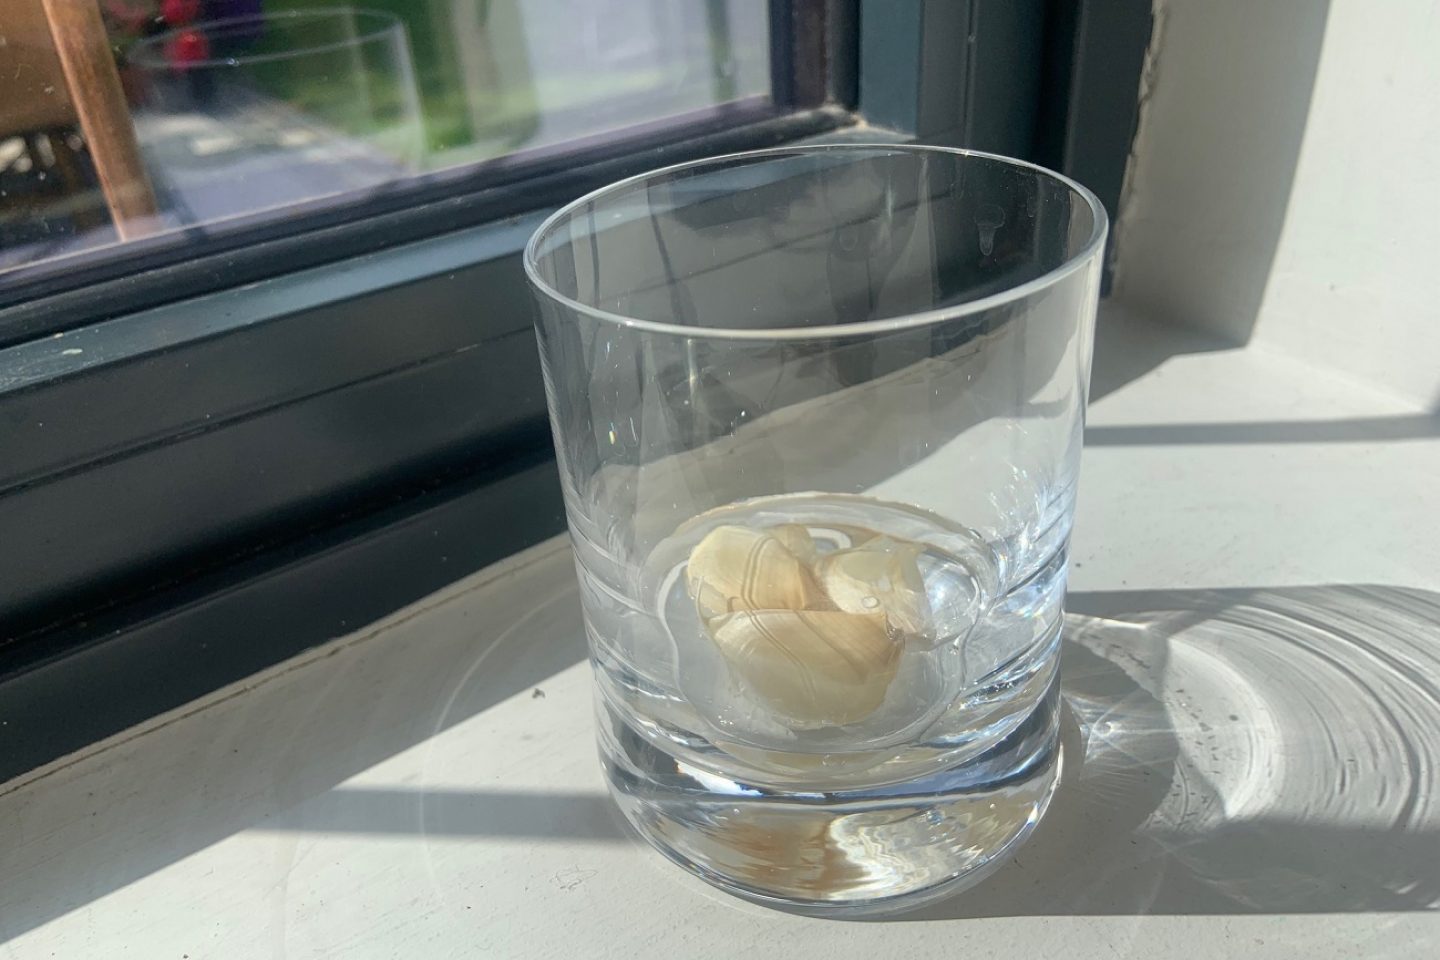
Place your jar of garlic cloves in a warm, bright place, such as a sunny windowsill.

Enjoy checking on your garlic daily to see if anything has changed. Add more water if it is drying out.
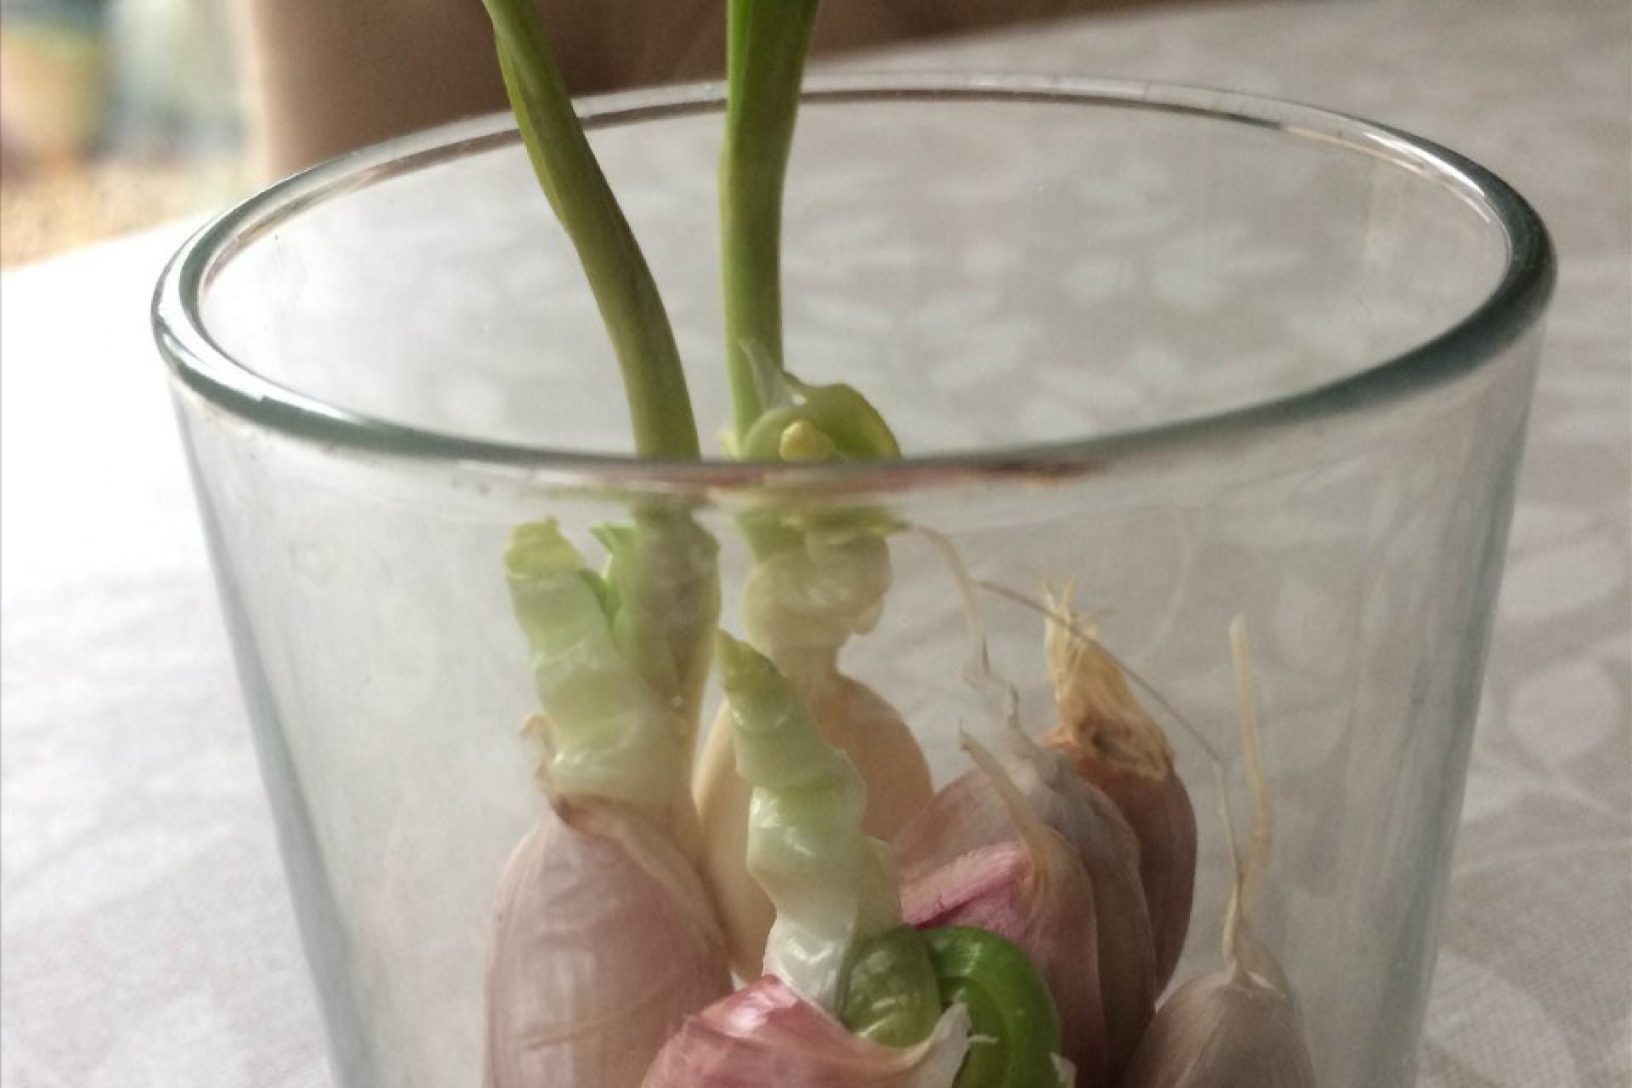
Within a few days you should notice the cloves sprouting. The photo above shows garlic that has been growing for just one week!
Once roots have developed, you could choose to plant your cloves out in the garden. Garlic needs a warm, sunny spot in fertile soil. A large container on a sunny patio or balcony is also good.
Hopefully, your garlic will keep growing successfully. If you plant in the garden in late autumn, it should be ready to harvest the following summer once the leaves turn yellow.
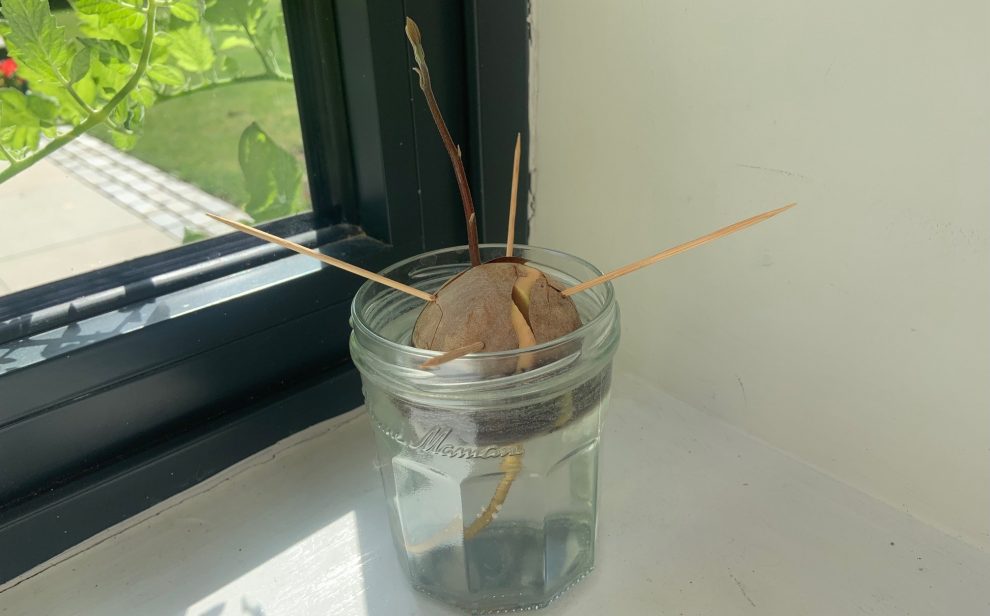
If you would like a fun growing experiment, you can try growing your own avocado from a stone. Even if you don't get fruit, it can be an enjoyable experience to try.