Helpful information
Timing: Autumn (for planting)
Where to do it: Outdoors
Garden space: Large garden, small garden

Timing: Autumn (for planting)
Where to do it: Outdoors
Garden space: Large garden, small garden

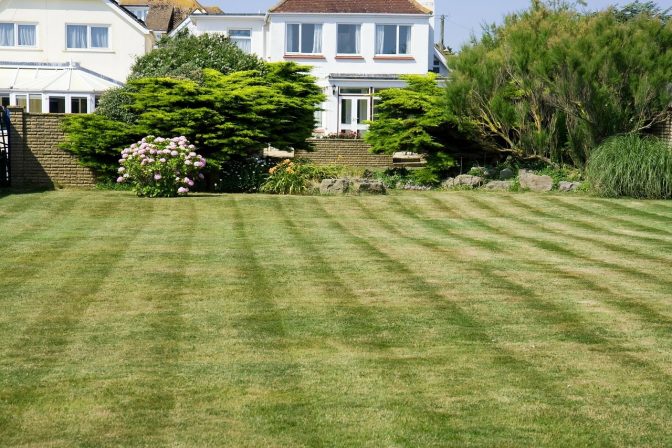
Hedges can be an important part of garden design. They can help divide up a garden, bring interest and provide shelter.
Your choice of hedging will depend on your tastes and needs.
Why have a hedge
Hedges can perform a variety of important roles. You may want a hedge to:
When to plant a hedge
Autumn is the ideal time to plant a hedge. This allows the plants to bed in over winter and have stronger growth next spring.
Autumn is also when bare-root hedging plants are usually available.
Bare-root vs instant hedge
You can grow your hedge in different ways, depending on how much you want to spend and how quickly you want it to get to size.
You don’t need permission to plant a hedge. There are no laws saying how high it can grow. But, it’s a good idea to think about how it will affect your neighbours to avoid grief later.

Lots of different trees and shrubs can be used to create a hedge. These are some things to think about when deciding which is right for your garden:
Here are a just a few of the many options:
Cherry laurel. Also known as Common laurel. Very popular. Grows well in most soil conditions and makes a dense hedge. Fast growing, adding 30-60cm per year. Will need annual trimming.
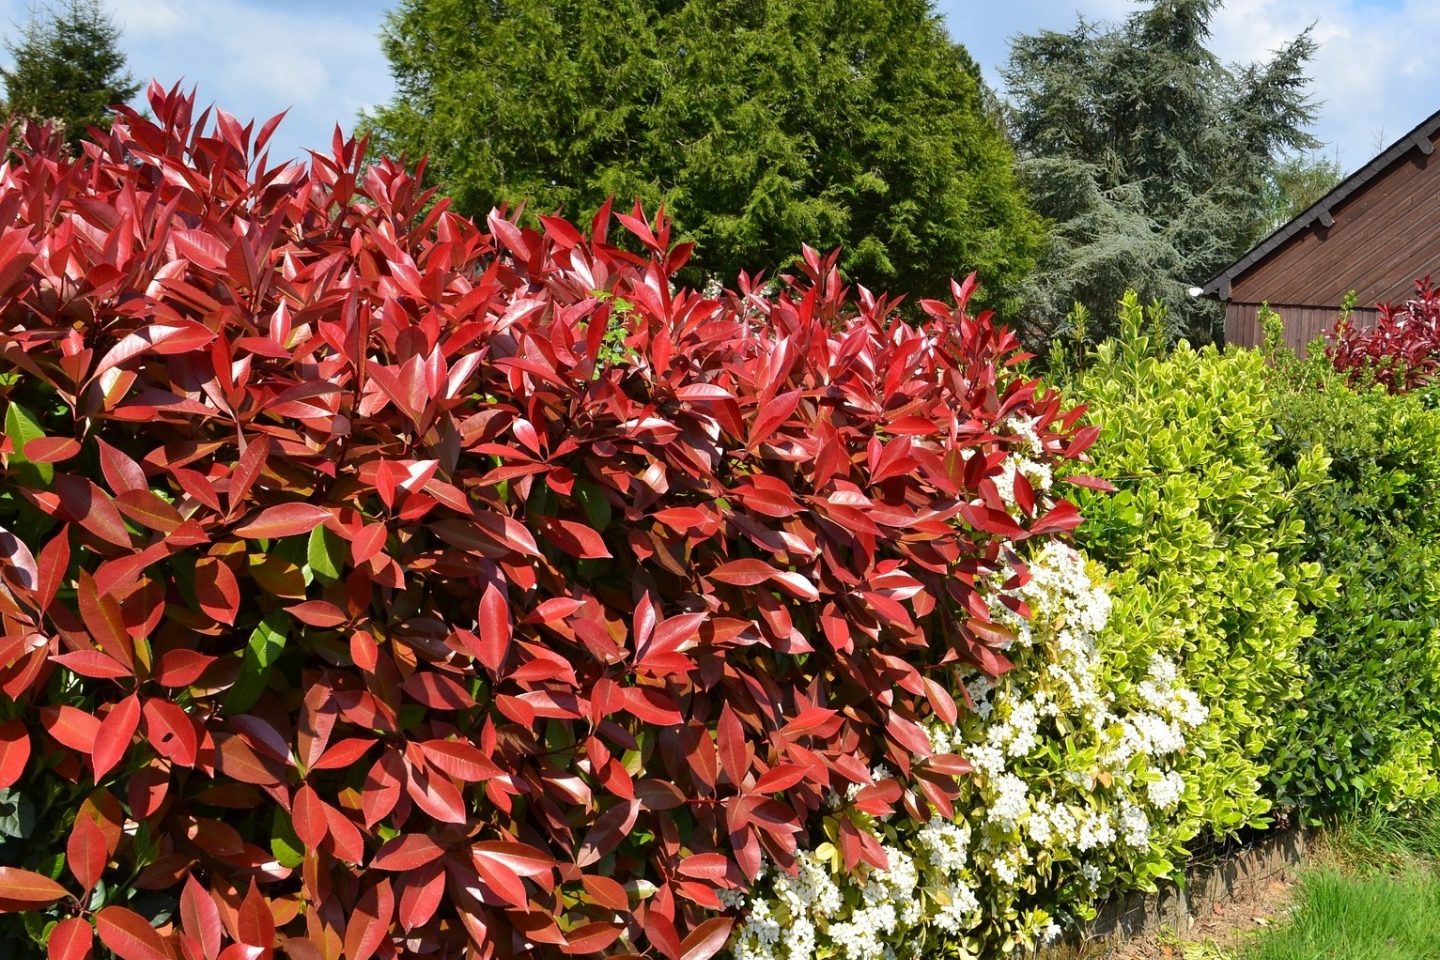
Photinia ‘Red Robin’ Increasingly popular for its bright red new leaves. Evergreen. Not very dense, but will give wind protection.
Privet. Another popular choice. Tough, fairly fast-growing and dense, so good for privacy. Semi-evergreen (most leaves fall in winter).
Leylandii. A very fast growing conifer, so great for privacy. Will need regular trimming to avoid getting too tall.
Holly. Dense, hardy, evergreen, with distinctive spiky leaves. Great for wildlife, especially birds. Native varieties available.
Box. Evergreen and slow growing. Happy in the shade. Good for low hedges, borders and topiary. Be aware it can be badly affected by the fungal disease box blight and the box tree caterpillar.
Beech. Green beech and cooper beech are popular deciduous hedging plants. Green beech leaves change from green to gold. Copper beech leaves are darker. Beech keeps its dead leaves through winter.
Yew Popular in formal gardens. Dark green, dense foliage which can be clipped and shaped. A slow-growing, native evergreen that can cope with most soils.

Hornbeam. Looks a bit like beech. Crinkly lime green leaves turn copper in autumn. Fine in damp and shady spots. Good for wildlife.
There are many more options for hedges, but these are a few of the most popular. You could go for something completely different and create a beautifully scented hedge of lavender or rosemary!
When planting hedges with wildlife in mind, a popular option is to use a mix of native plants. Hawthorn, hazel, alder and hornbeam are just some you could mix into one hedge.

Essential items
Optional items
Follow these steps to plant hedges with ease.
Step 1: Gather what you need
Bring all the items you need to wherever you will be planting.
A wheelbarrow may help to transport everything for this activity. You may find a two-wheeled wheelbarrow more stable to push than a single wheeled one.
Step 2: Prepare the soil for planting
You may choose to do this step in advance of purchasing your hedging plants.
Through digging and weed clearing, you want the soil to become a fine tilth that is free from weeds. Our guide to preparing beds and borders for planting has more advice.
Digging over soil can be very physical work. You could use a no dig method instead. You will ideally need to do this several months before planting. Lay cardboard across the soil where your hedges will go. Add a thick layer of organic matter, such as compost or well-rotted manure, on top. This will smother any weeds and the cardboard will degrade in time.
Step 3: Mark out where you will plant
You will likely have several hedging plants to place in the soil. How far apart from each other they go will depend on the type and size of plant. There may be suggested information for this when you purchase the plant.
A good way to create a straight row of hedges is to first peg in place garden string line. You can then use a tape measure to mark out the correct distance for each plant along this line.
Step 4: Add your hedging plants
Dig a big enough hole for each plant to allow the root system to comfortably fit.
You may need to dig slightly bigger holes if you are planting hedging plants in containers. The hole will need to be comfortably deep and wide enough to fit the plant once removed from its pot.
Backfill with the soil you have just dug out. You may like to add some multi-purpose compost, including on top of the soil as a mulch.
Step 5: Water well
Give each plant a thorough soaking.

Water your new hedging plants regularly and weed around them. This will help them establish well.
Add some general plant feed around the base of the plants in early spring. Fork lightly in.
As your hedge grows, it will likely need trimming to keep in shape. Read our guide to hedge trimming and topiary for more advice.

Trimming and shaping hedges can keep them under control and looking their best. Find advice on when to prune, tools and technique.

For as little as £1 a week, you could be in with the chance of winning up to £25,000 every week!
Play now