Helpful information
Timing: All year around (you may prefer to avoid the cold winter months)
Where to do it: Outdoors
Garden space: Large garden, small garden

Timing: All year around (you may prefer to avoid the cold winter months)
Where to do it: Outdoors
Garden space: Large garden, small garden
Essential items
Optional items
Gather the tools you will need for this task together and follow the steps below to create your DIY chicken wire compost bin.
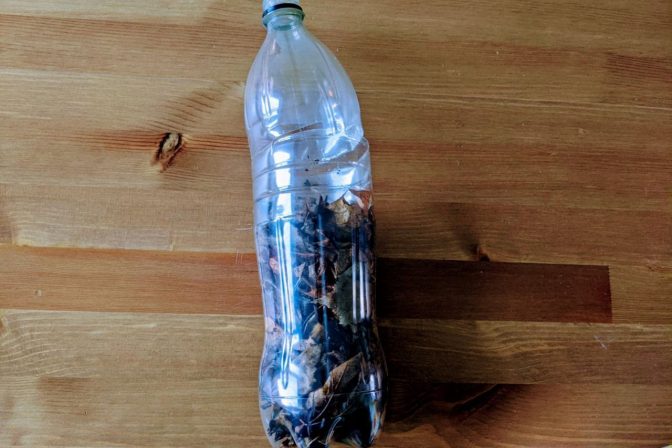
You don’t need to build a bin to compost. You could fill bin bags with leaves, lawn clippings and whatever else you have to hand. Punch a few holes in the bags to allow air to circulate and leave in a corner of the garden to gradually rot down. You may want a ‘bin bag hoop’ to make this easier.
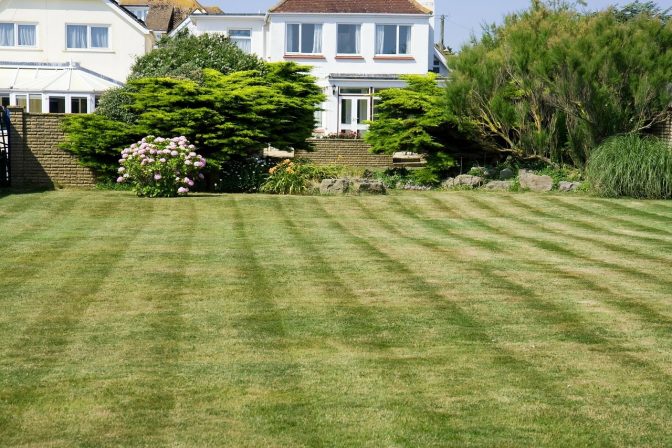
Step 1: Find and prepare a space for your bin

The best place for your chicken wire compost bin is on a flat area of bare soil. Your compost bin will be around 1 metre width all round when finished. Find a space big enough to fit, with room for you to easily access it. You want a spot that gets both sun and shade.
If the ground is uneven, you may need to flatten it first using a spade or rake.
Use a back saving tool grip to reduce strain on your back if using a spade or rake.
Step 2: Lay out your chicken wire

Find a relatively clear and flat part of your garden and lay out your chicken wire. Wear thick gloves to avoid scratches from sharp wire. Use spare pots, bricks or tools to keep the wire flat on the ground, as it has a habit of bouncing back up.
Cut 3 metres of wire using wire cutters. If you want to strengthen your structure, place two equal lengths of chicken wire on top of each other.
If you find it hard to reach the ground, you could do this on a table. Because the wire stretches across 3 metres, though, it is unlikely it will all fit on the table at once. You will need to work with one end, then the other
Step 3: Attach the canes to the wire
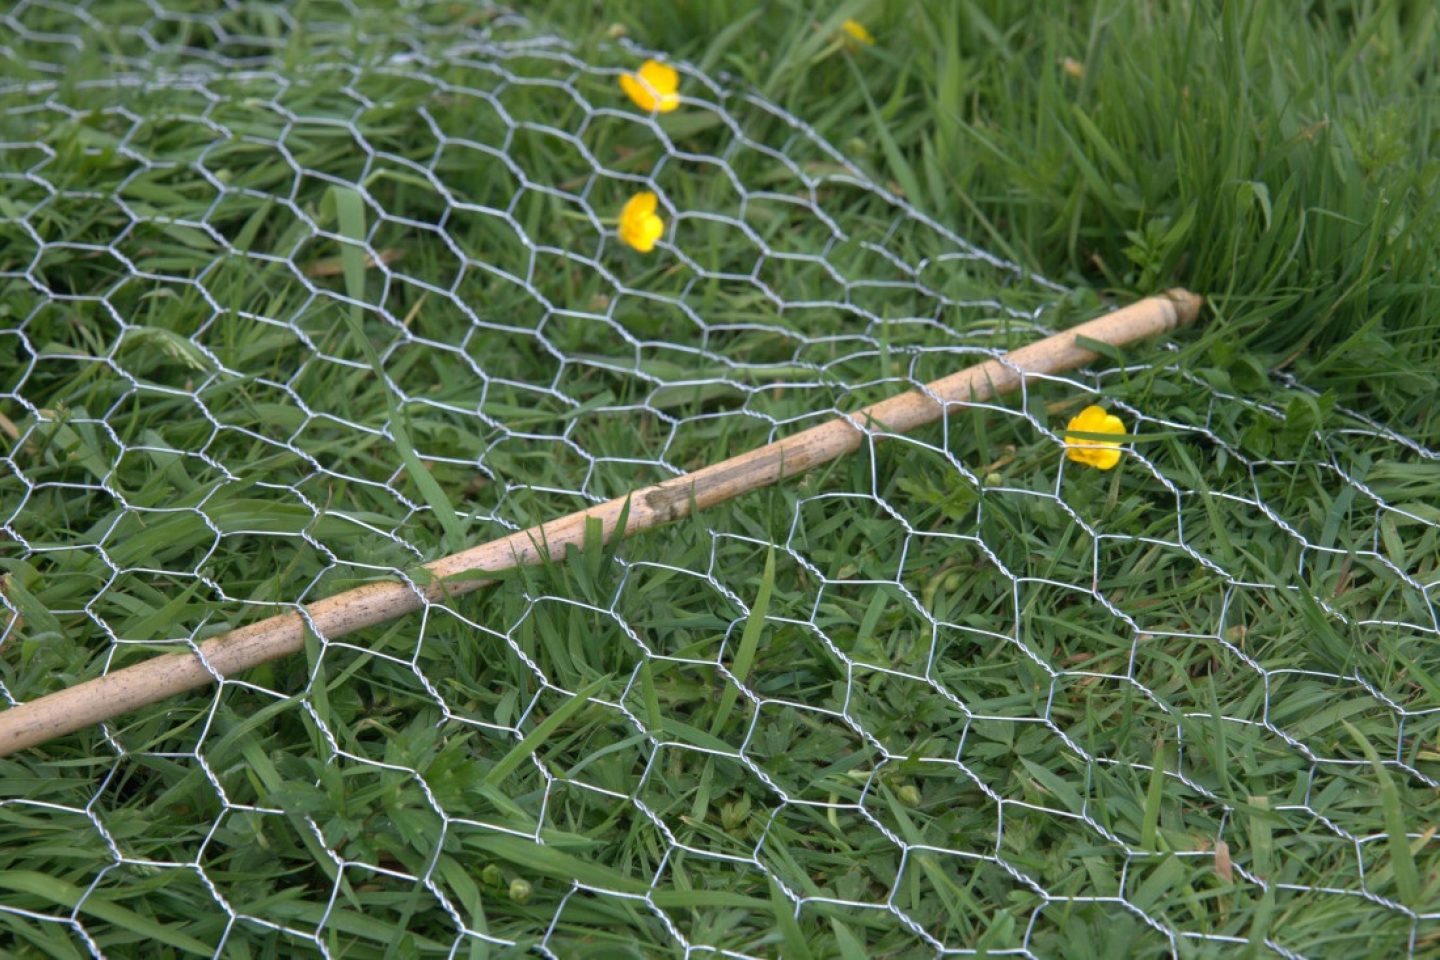
Place a bamboo cane around 20cm from each end of your 3-metre length of chicken wire. If the canes are too long, cut them to size using secateurs or loppers.
Weave each cane in and out of the chicken wire mesh so it is securely held in place. Then, roll the ends of the chicken wire around each cane to completely fasten it in. This is a bit like making two skinny sausage rolls. Tuck in any pointy ends of wire.
If you find weaving the canes in and out fiddly, don't do it. Skip ahead and just roll the chicken wire snugly around the cane. Hold it in place once done using strong wire or gardening twine.
Step 4: Put your compost bin in place

Pick up the wire and bamboo canes and carry to the spot where it will sit.
Bring the bamboo canes at each end of the wire together, holding them upright. This will naturally make the wire form a circular or slightly heart-shaped cage. Push one cane firmly into the ground. Once that is in, push the other one into the ground next to it. There may be some trial and error involved to get the ideal shape.
Once both canes are in the ground, use gardening string or wire ties around the top of the canes to keep them together.
You could use a hammer to get the canes deeper into the ground. Take care not to split the canes when doing this.
You may decide to weave in some extra bamboo canes around the wire compost bin so it holds its shape better. You can do this after the first two are in place in the ground.
If your bamboo canes are taller than your wire, bamboo cane toppers are a good idea for health and safety.
It will be easier to drive canes into wet soil than dry hard soil. If one end is slightly thinner and pointier, push this end into the ground.
It may be useful to get someone to help hold the canes in place if you are finding this fiddly.
Congratulations, you have created your DIY chicken wire compost bin! This is quite a large project, so have a good rest before you do anything else and appreciate your hard work.
The next step is collect material for your compost and layering in your compost bin. Read our guide on how to make garden compost for detailed advice.
It can help to turn your compost (i.e. use a spade / fork to mix it around) occasionally. To get to the compost, pull one of the front canes out of the ground and open up the wire cage. Or, you could reach over the sides and use a long-handled leaf grabber. This will be a bit harder physical work.
Your finished compost will be ideal as a mulch for your beds or as a soil improver.
Creating a DIY compost bin is a rewarding but challenging task. Do ask for help to complete it. If you decide it’s too tricky, don’t worry. There are lots of other ways to compost at home including a wide range of ready-made compost bins you can buy.

Making compost is an environmentally friendly way to give your plants the nutrients they need. This guide shows you how to make it, where to use it plus top tips to compost with ease.

For as little as £1 a week, you could be in with the chance of winning up to £25,000 every week!
Play now