Helpful information
Timing: All year round
Where to do it: Outdoors
Garden space: Large garden, small garden, balcony, no garden

Timing: All year round
Where to do it: Outdoors
Garden space: Large garden, small garden, balcony, no garden
A walk in nature can work wonders at almost any time of the year. This could be a visit to a local green space, or a stroll around your own garden.
We often encourage people to pay attention to their surroundings when in nature. That could be through use of the senses, or just making time to look a little closer.
Creating a nature walk cardboard vase can help you get really close with nature, looking for flowers in bloom that will suit your creation. It's a simple form of flower arranging, allowing you to be creative with your choices.
Make sure you are allowed to pick flowers wherever you are collecting from - for example, don't pick them from an unknowing neighbours' garden or a cultivated display in a park.
Essential items
Optional items
Follow these steps to create your nature walk cardboard vase with ease.
Step 1: Gather everything you need

Find a suitable size piece of cardboard, along with your pencil (or screwdriver) and pen. The flowers come later.
Step 2: Draw your vase

Use your pen to draw the outline of a vase. This can be any shape or style and as simple or detailed as you like. Your vase should take up roughly half the height of the cardboard, leaving plenty of space above to add flowers.
Step 3: Create flower holes

Use your pencil (or screwdriver) to create a number of holes above the vase. When you collect your flowers, you will place one per hole. You want the holes to be fairly wide, so you can easily push flower stalks through. Make sure each hole goes all the way through the back of the cardboard.
It's up to you how many holes you would like to make. The closer they are to each other, the more densely packed in your flower display will be.
Step 4: Collect your flowers

As you go on your nature walk, or garden stroll, collect suitable flowers. You can do this using your hands, or you could have scissors or snips with you. Take care if taking scissors on a walk to carry and store them carefully.
Take a length of stem with each flower, so you can easily push it through a hole and it won't fall out. Flowers with a reasonably flat heads will sit closer to the cardboard. You could experiment with one flower type, e.g. all dandelions or daisies, or you could bring together a mix.
Step 5: Display your collection

Once you have finished your walk and filled in all the holes, put your display somewhere prominent where you can enjoy it.
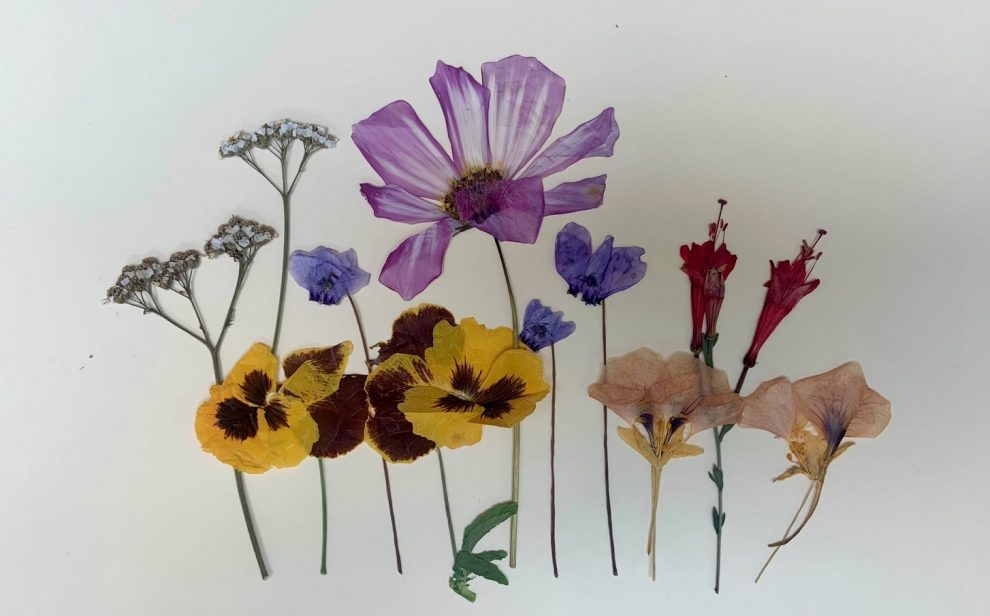
Flower pressing is a wonderful way to create art from your own garden. We share a step by step guide.


