Helpful information
Timing: All year round
Where to do it: Outdoors
Garden space: Large garden, small garden, balcony, no garden

Timing: All year round
Where to do it: Outdoors
Garden space: Large garden, small garden, balcony, no garden

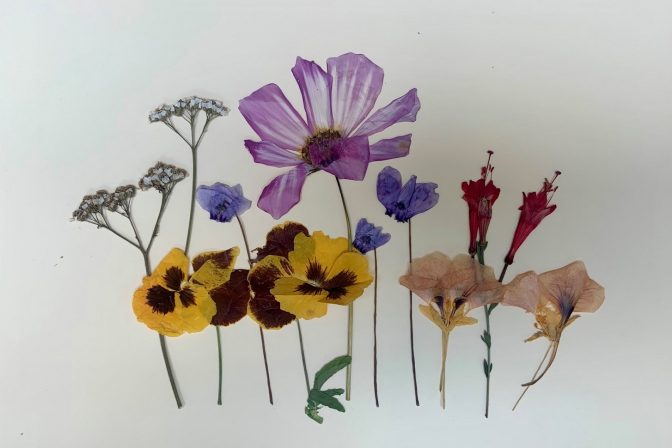
Nature photography is a broad term. In general, it means photographs taken outdoors of the natural world. For example images of plants, wildlife, the sky, mountains and water could all come under nature photography. The key part is the natural elements.
Landscape photography, by comparison, could be a wide image of a natural landscape, or it could equally be a broad picture of a city.
There is so much to love about nature photography. There is the chance to capture something you love in nature. There is also the chance to be creative and make people think or feel something about the natural world.
What camera to use for nature photography
You can use any form of camera when trying out nature photography. It can be the one on your mobile phone - it doesn’t need to be a fancy.
Professionals and serious amateurs will invest in high quality cameras. When you are just doing it for enjoyment, it makes sense to use what is most easily available.
Step 1: Find your source of inspiration
The natural environment is a beautiful thing. We often see many amazing sights when we spend time in nature.
Your nature photo – or photos - can be of anything you like that is natural. To find inspiration, you could take a walk around your local area and think about what you might capture.
Although nature photography is usually done outside, if you can't get out for any reason, you may still be able to find inspiration inside. Do you have a view from a window that might make an interesting photo? Or, do you have any plants indoors that would make a good subject?
Step 2: Get snapping
Taking a photo of something in nature gives you the opportunity to focus on just that in front of you. Really take notice and enjoy being away from the stresses of daily life.
There are lots of different options for your photo, for example:
Try not to overthink it and just enjoy the process of taking the photo.
If you are taking a photo of something close-up, remember to keep it in focus. Most cameras or phones do this automatically. If the subject is too close, you might need to tap the phone screen to help it focus.
Light can make a huge difference to the look and feel of photos. You could try taking a photo at different times of the day, or from different angles, to see what difference the light makes. Sunrise and sunset are very popular times for photography because of the unique way the light looks.
If you can do it easily, you could try and change your camera settings to take a black and white picture and compare to a colour version. You may find certain features of the photo stand out more.
You could repeat your visit regularly and track how the environment changes across the year.
If you are hoping to photograph wildlife, patience is key! You may need to sit or wait quietly with your camera at the ready until the creature you are hoping to photo is in shot.
Step 3: Share your photographs (optional)
Once you have taken your photos, you could share them with family, friends or your local community. Sharing favourite photos is a lovely way to share our interests with others. Those you share with may want to come on another nature walk with you to take their own pictures.
If you want to, there are also many photo competitions you could enter. You may prefer to just keep the photos for you to enjoy.
Another creative option is to turn your photos into a print for the wall – your wall or someone else’s - or a card for someone you care about.

You may be interested in some of these resources for nature photography:

Fallen leaves can be used to create all sorts of leaf art. In this article we share some creative inspiration to get you started.

For as little as £1 a week, you could be in with the chance of winning up to £25,000 every week!
Play now