Helpful information
Timing: All year around
Where to do it: Outdoors or indoors
Garden space: Small garden, balcony

Timing: All year around
Where to do it: Outdoors or indoors
Garden space: Small garden, balcony
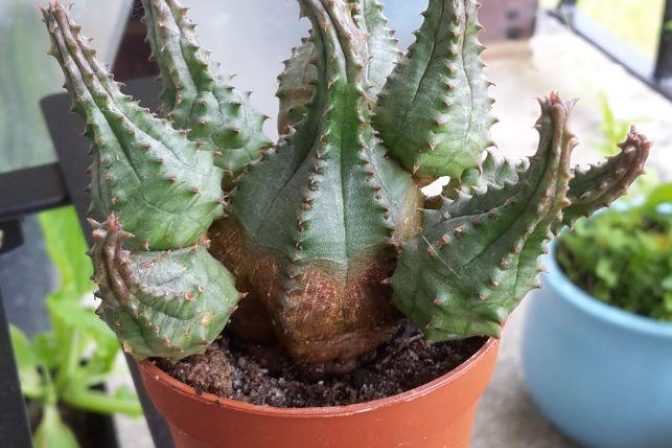
For this activity, you may choose to use a variety of succulents.
Succulents and other plants we grow as ‘alpines’ share some common features. They prefer soil that drains easily and dry weather. They are comfortable growing in full sun. They also tend to be slow growing plants, that don't get too tall. These features mean they're pretty easy to care for. Succulents will even cope with a bit of neglect!
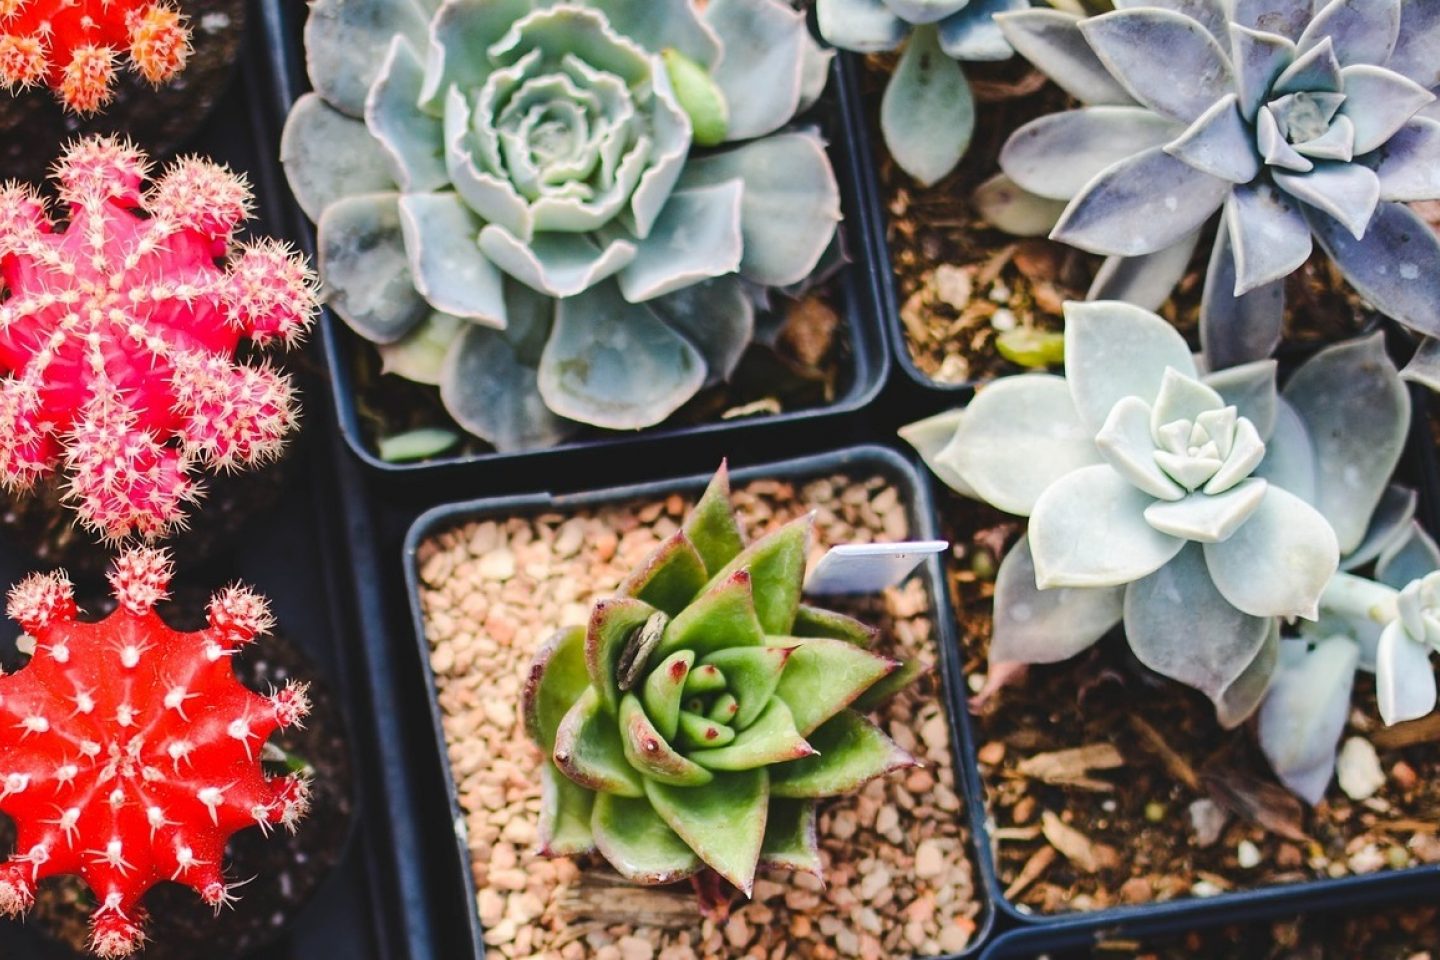
Most garden centres have smaller alpine and succulent plants available throughout the year. They come in a fantastic variety of shape, form and flower. Choosing which plants to use can be an important and rewarding part of the activity!
Essential items
Optional items
Step 1: Gather what you need

Find a comfortable spot to do this activity and gather all you need. This activity that can be done seated at a table if you prefer.
You could choose to do this activity near to where the succulent planter will go. This way, you won't have to carry it too far when done.
Step 2: Mix compost and potting grit
You want to create a mixture that is about 75% compost and 25% grit. It doesn't matter if there's a little more grit than this.
Scoop your compost into a large bowl, or compost tidy tray if you have one. You may find it easier to do this with a trowel. Add grit until it is the right ratio. Mix the compost and grit thoroughly. Add a little water if it feels very dry.
Bags of compost and grit can be very heavy. Try to buy smaller size bags so they are easier to move.
Step 3: Place crocks in planter

Place your pieces of pot ('crocks') or large stones into the bottom of the dish. You want these to cover the drainage holes. This will stop the soil from falling through the holes. It will also help stop the holes getting blocked, allowing water to drain through.
Step 4: Part fill planter with compost mix
Add your compost and grit mix to your planter. Have it deep enough so when you place the succulents on top, their soil level is about 2cm from the top of the planter.
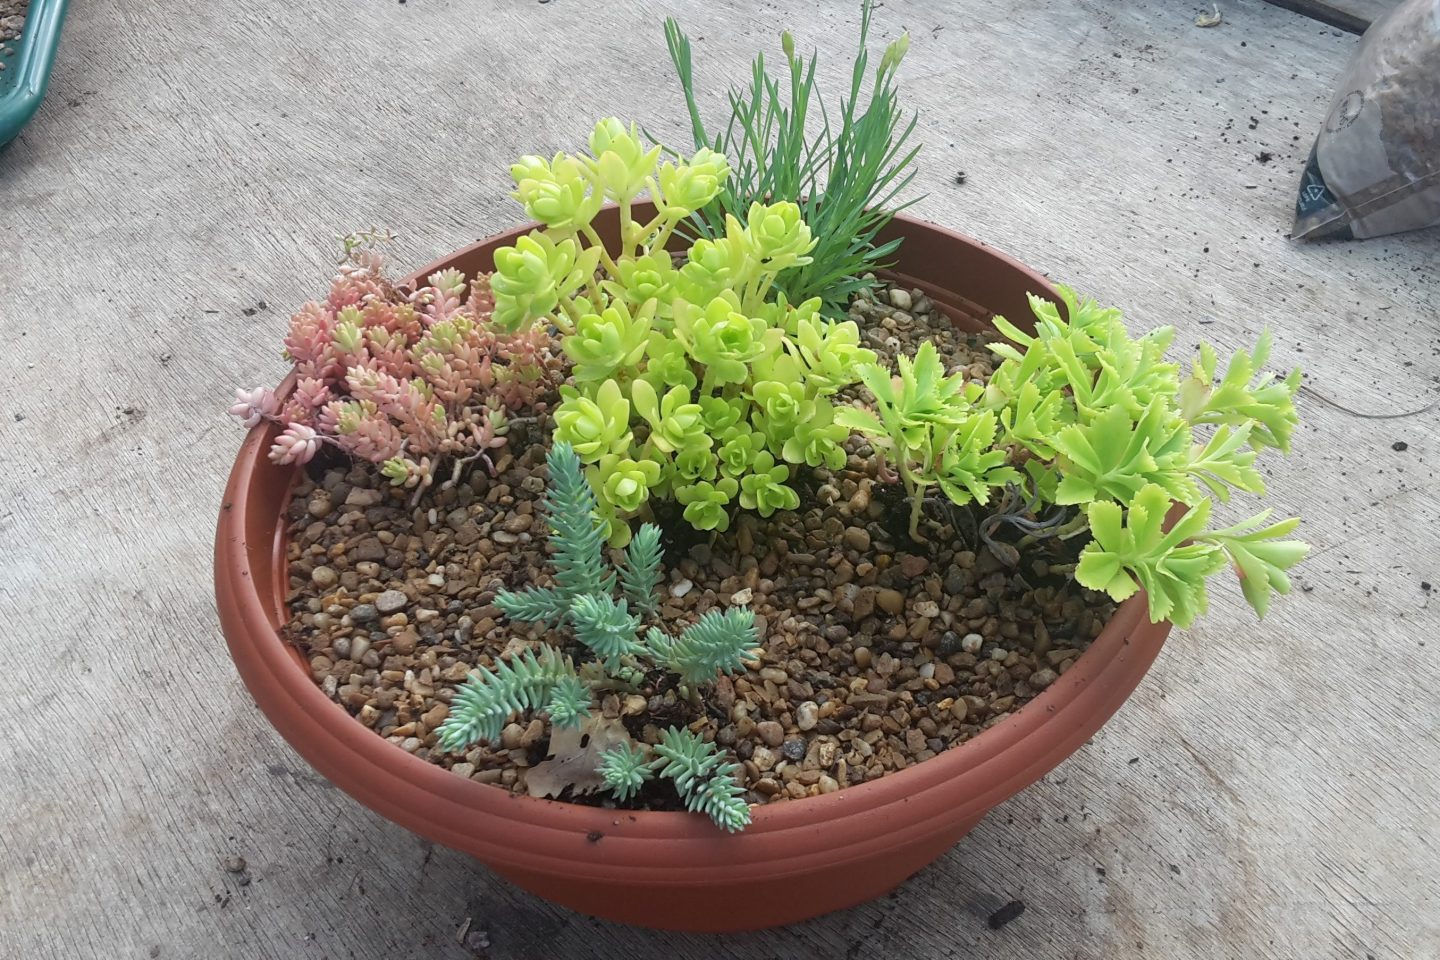
Step 5: Decide how you will arrange your succulents
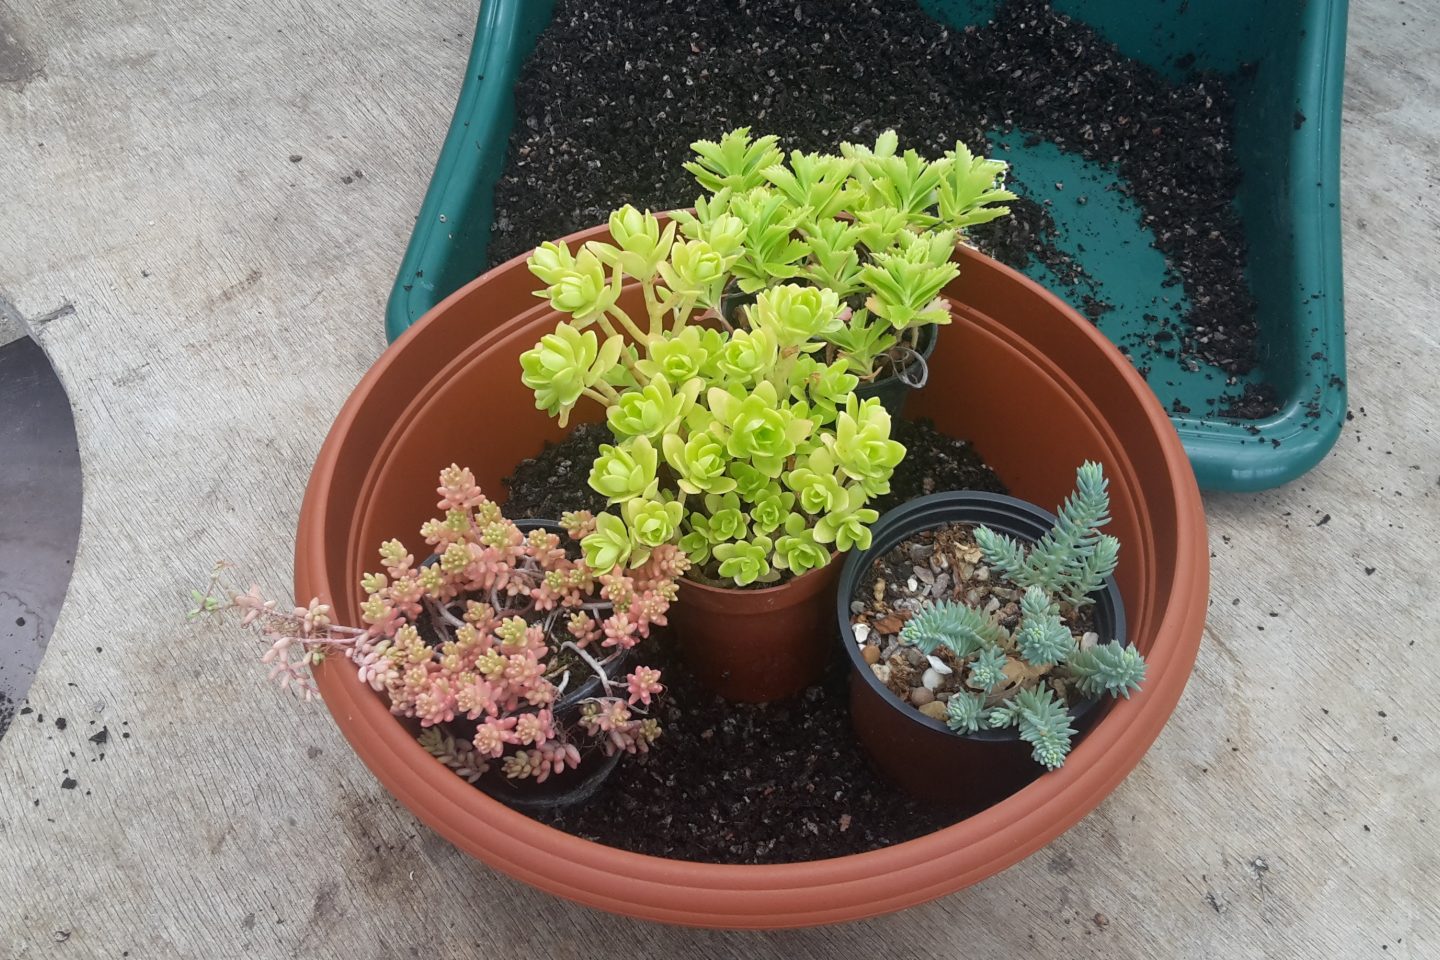
Keep your succulents in their pots and place them on the soil. Experiment with different arrangements until you find the one you like best.
If your dish is round, you might want to a taller or more spectacular plant in the centre. If you have any trailing plants, have them close to the edge.
Step 6: Plant your succulents
There are a few different ways you can add your succulents. Decide which one you would most like to do:
The last method may work best for plants that are delicate, trailing or spreading. This way, they are less likely to get damaged during planting. Some succulent plants like sedums have stems that are quite easily snapped off.
Step 7: Top dish with potting grit
Once your succulents are in place, make sure the soil is level all over. Add a 1cm layer of alpine or potting grit on top of the soil. This makes the planter more attractive. It also acts as a mulch, keeping water in.
Step 8: Put in place
Your succulent planter is complete! You can place it where you like in the garden, on your patio or balcony.
Your succulent planter should need very little care. The plants will need watering sometimes, but let the soil dry out between watering.
Over time your plants will spread. Some may even take the space of other plants. You may also get the odd weed growing. Keep a check on it and do some occasional weeding and trimming as needed so it looks its best.
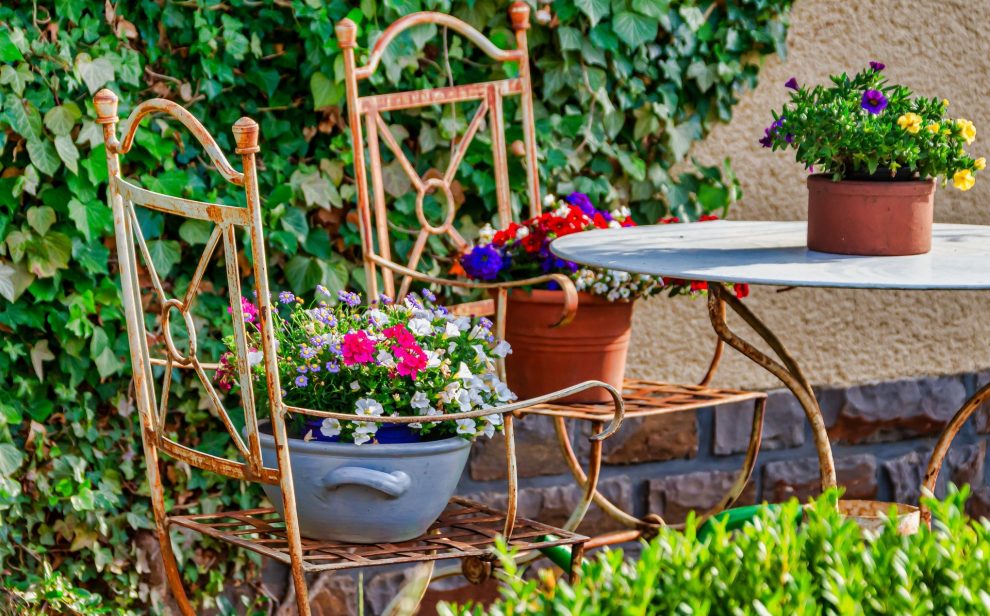
Container gardening is a popular and useful way to garden. From individual pots to barrels, long planters and balcony boxes, you can grow almost anything in containers.