Helpful Information
Timing: Check seed packet for timing. Many seeds are sown in the ground in spring.
Where to do it: Outdoors
Garden space: Large garden, small garden, balcony
Timing: Check seed packet for timing. Many seeds are sown in the ground in spring.
Where to do it: Outdoors
Garden space: Large garden, small garden, balcony
Sowing straight into the ground reduces the chance of the plant’s roots getting damaged. When you sow in trays first, then move plants into pots then the ground, damage is more likely.
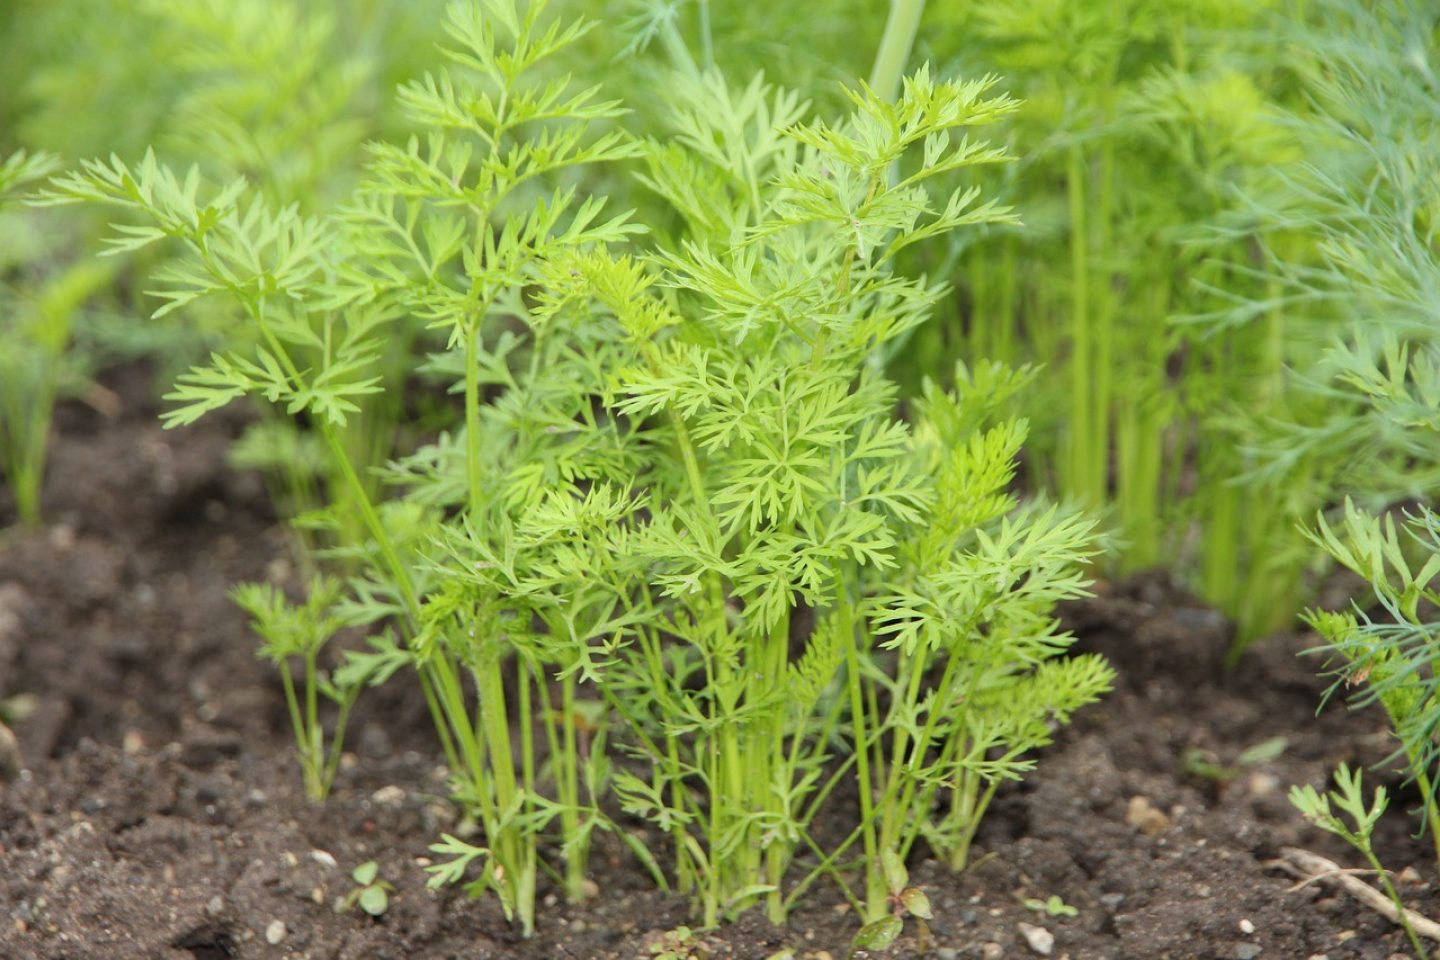
Some plants, such as carrots, don’t like being moved. Sewing into the ground is the best way of getting healthy growth.
Another good reason is if your seeds don't grow well in trays or pots. If you have some fresh seeds left, you can try again but this time sew in the ground. Check the seed packet for sowing times.
There are different ways you can sow seeds directly into the ground. Read the seed packet for advice.
Many seeds you sow directly in the ground can be sown using drill sowing. Our step-by-step guide below focuses on this technique.
Another option is just to push your seeds into the soil at the correct depth and spacing. You could use a stick or dibber for this. This can be simple to do, but it will be harder to know where you’ve planted and tell your plants apart from weeds later.
Another type of direct seed sowing technique is broadcast sowing. You do this when using grass seed to grow a new lawn, or sowing beautiful swathes of wildflowers.

Always read the seed packet. This will tell you if your plant should be grown inside in a tray or pot first, in the ground, or if you can do either.
These are some of the most popular plants that can be sown directly in the ground using drill sowing:
Flowers
Nasturtiums, marigolds, sunflowers
Vegetables
Broad beans, carrots, onions, spinach, lettuce
Essential items
Optional items
Gather all the tools you need to complete this task first. Then, follow these steps to sow seeds in drills with ease.
Step 1: Prepare the ground

Your seeds need to be sown in good condition soil that is the right texture - also known as good ‘tilth'. Read our article on preparing beds and borders for information on how to get your soil ready.
You may want to prepare your soil 2 or 3 weeks before you sow your seeds. That way, you can remove any weeds that appear before sowing. It doesn’t matter if you don’t prepare the soil in advance.
It is possible to do all the steps sitting down / from a wheelchair. You will need good access to your beds and borders – make sure they are not too wide. Using long-handled and telescopic tools will allow you to reach.
If you have a big enough raised bed or planter, you can sow seeds in drills in it. This allows better access, even if it is only slightly above ground level.
Having a really good, fine tilth will make it less effort to create your drill lines. Good quality compost will help at this stage.
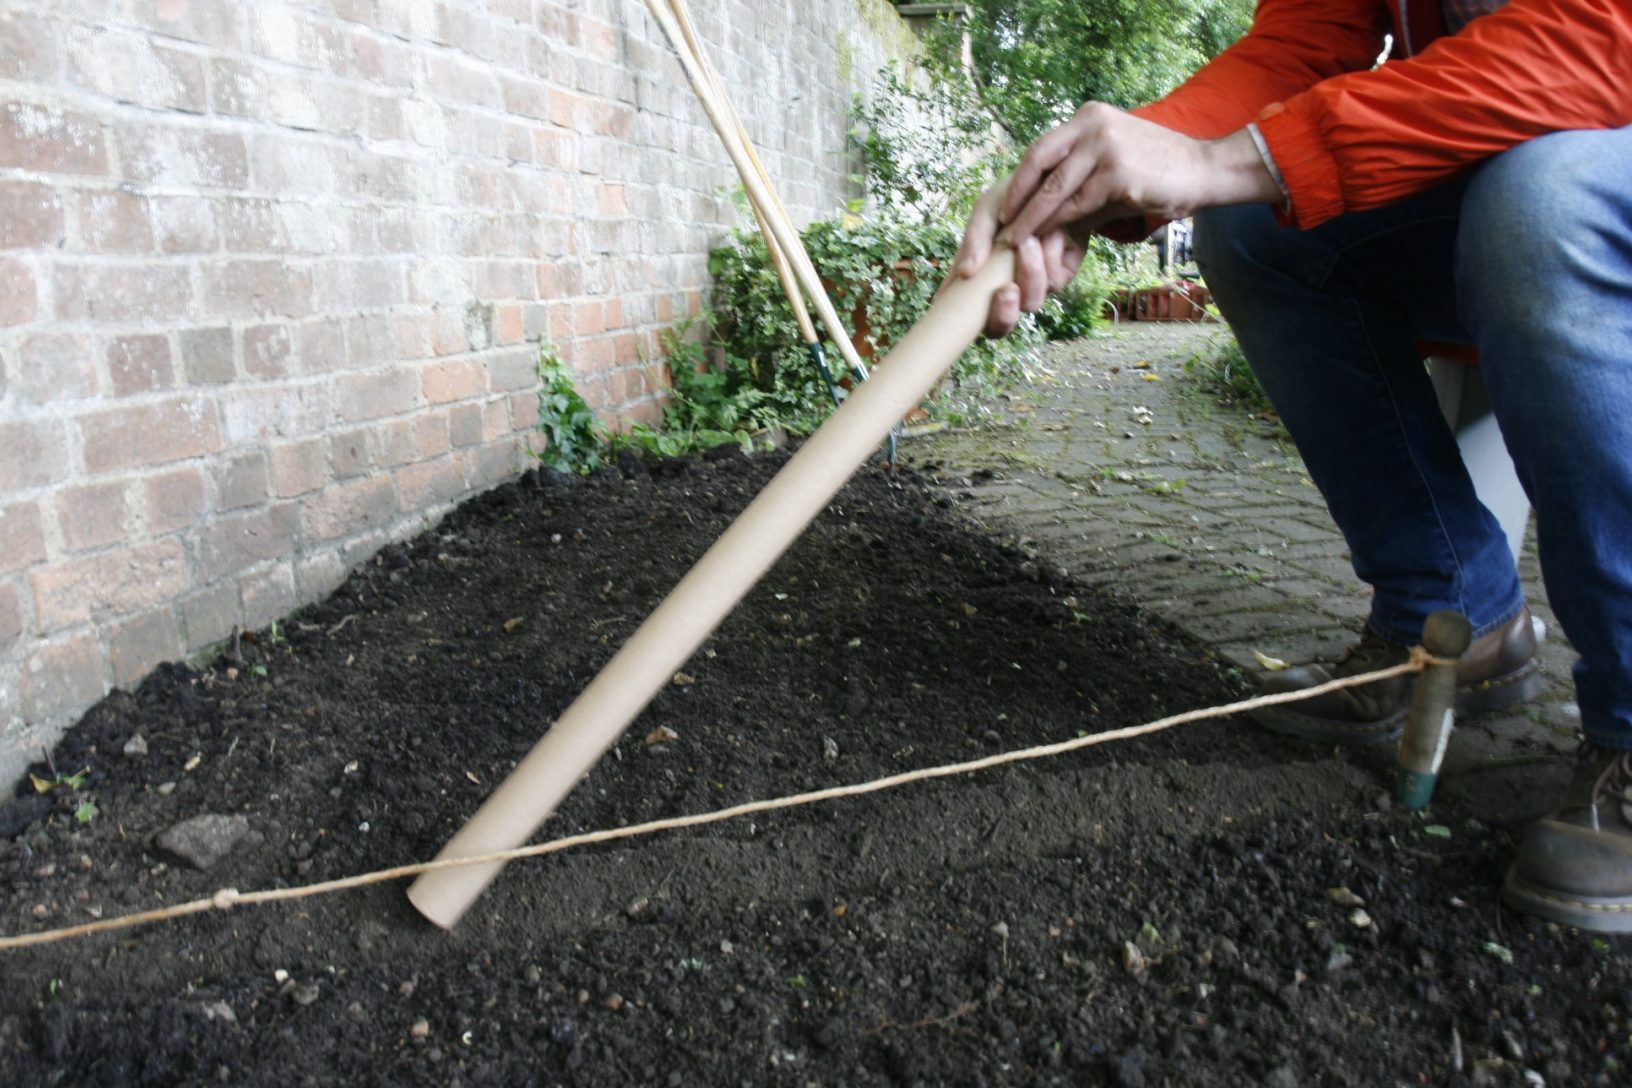
Step 2: Mark where your seeds will go

Mark out where your lines will be. The seed packet may offer advice on how far apart your rows should be if you are making more than one line.
If you want really straight lines, use a string line. Place stakes / bamboo canes with string tied tightly between them at either end of where your line will be.
If you kneel to sow your seeds, a kneeler seat with handles can help. This protects your knees and allows you to get up again more easily.
A wooden plank is an easy alternative to a string line to help you create straight drills. You can also use it as a makeshift kneeler - doubly helpful!
If you have sight impairment, use brightly coloured string – yellow is a good choice.
Step 3: Make drill lines
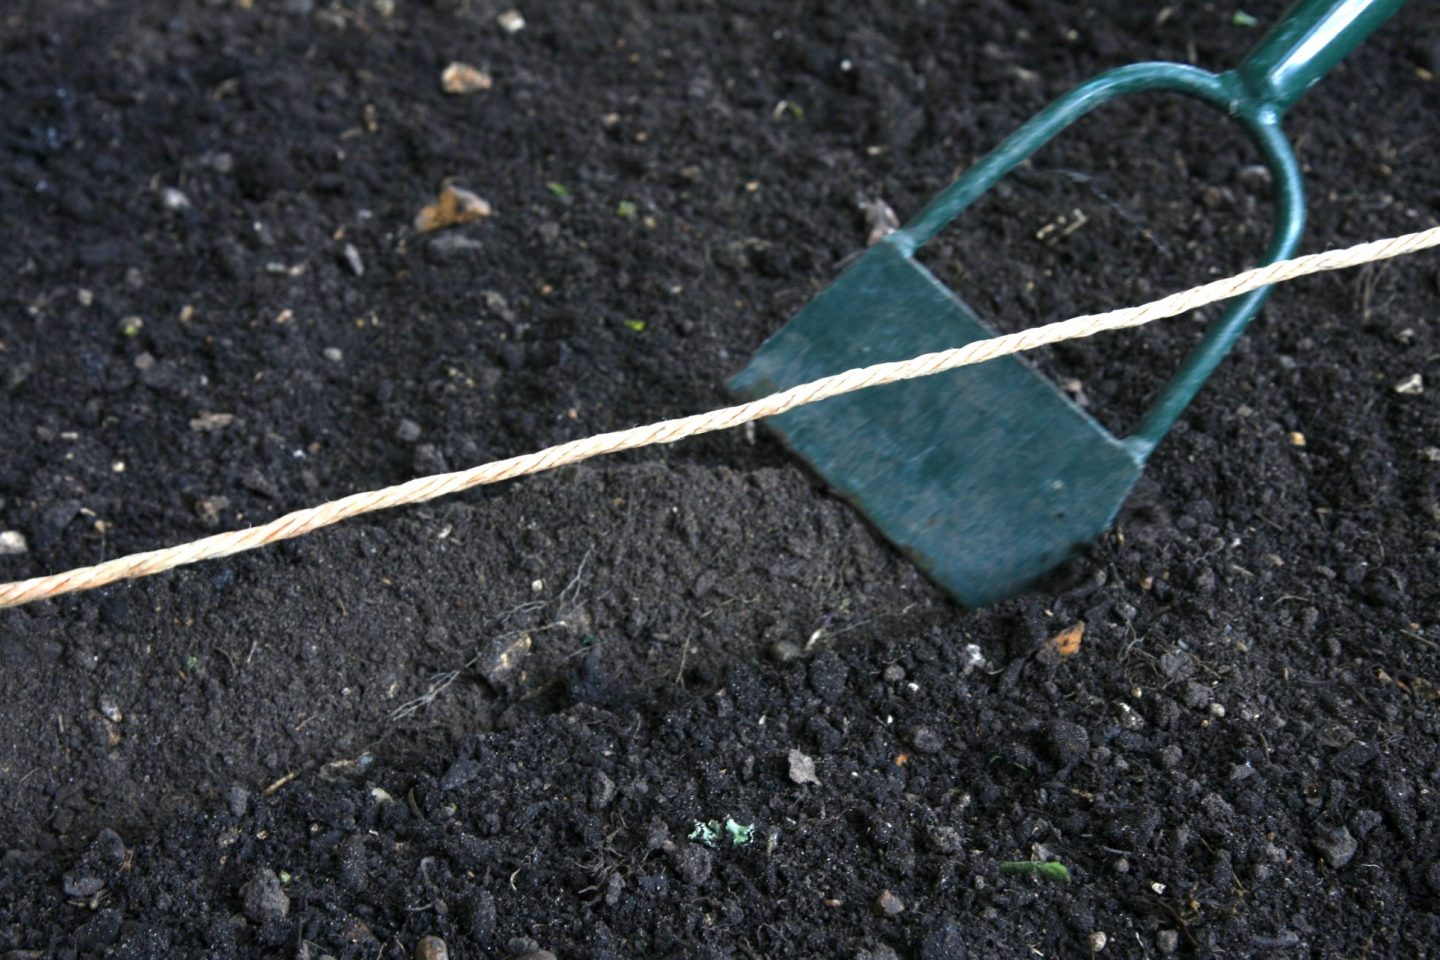
Make your drill line alongside your string line / wooden plank. There are lots of different tools you could use for this, such as a garden hoe or bamboo cane. Make sure the drill is deep enough for your seeds – generally, the bigger the seed the deeper the drill. Check the seed packet for specific advice.
You want to avoid overreaching when making a drill in a bed. If possible, create half the drill from one side of the bed. Then, go to the other side of the bed to create the other half.
If you are sowing in a raised bed or are kneeling, you could use a trowel or hand fork to create drills.
Step 4: Sow your seeds

Most seeds need to either be thinly sprinkled in one long line along the drill or spaced at equal distances.
Once done, gently cover the seeds back up again with the soil. Press along the drill line with your hand to firm the seeds in. You should be left with a nice, flat surface.
Gently water using a watering can with rose attachment.
Sowing seeds is enjoyable, but can be a bit fiddly. There are a number of ways to make it easier to do.
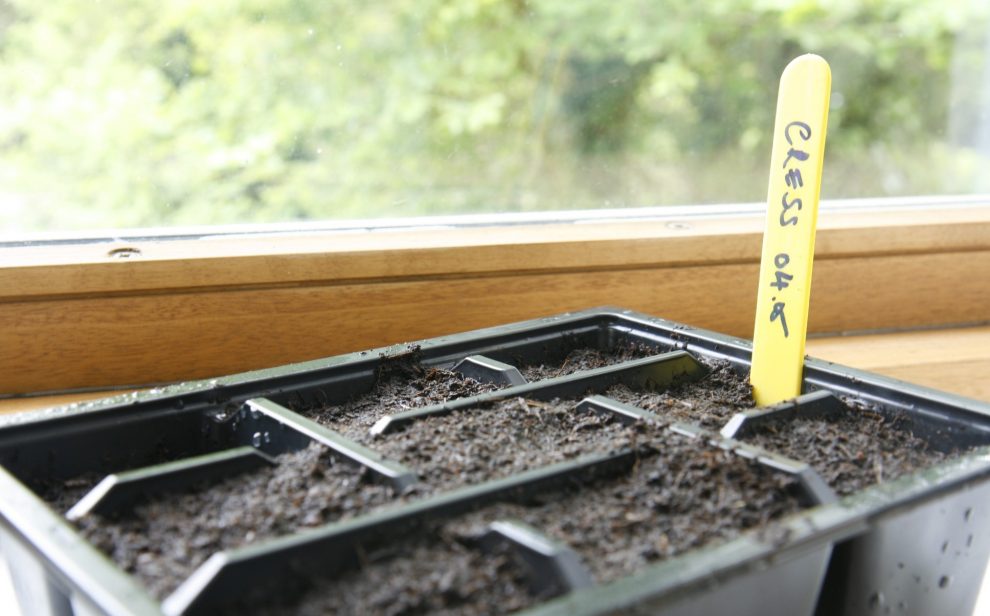
Step 5: Put in plant labels

It can be all too easy to forget what you’ve sown and where! Pop a plant label or cane in the ground before covering them to identify where you’ve planted.
An easy way to add a plant label is just to place the plant packet on a stick in the ground. You may want to tape the packet to the stick so it doesn’t blow off in the wind.
If you have sight loss, there are a variety of options available to help you create larger or easier to read labels.
Some gardening companies produce extra-large labels. A range of large clear print, coloured, tactile and braille labels are available from the RNIB.
Step 6: Cover seeds with soil and gently firm in

Cover your seeds using compost or soil from the bed. Press down. This will make sure your seeds have good contact with the soil.
You could use the flat end of a rake or a long-handled trowel to firm in seeds instead of your hand. This is helpful if you have difficulty bending or with upper body strength.
Use fresh compost to cover seeds. This will make it easier to see exactly where you have sown them.
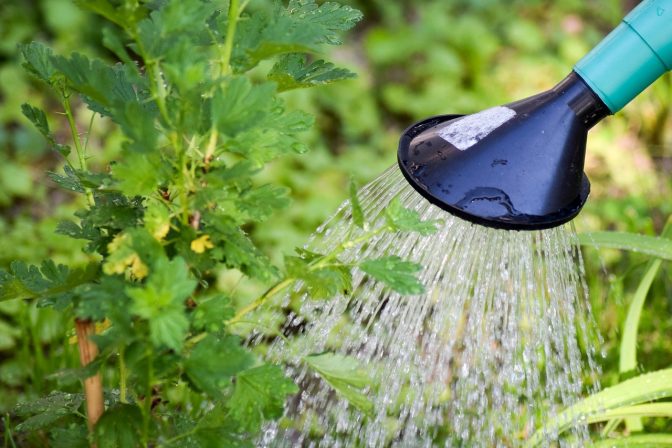
Step 7: Lightly water your drill rows

Use a watering can with a rose or hose with spray attachment to gently water your seeds. Be careful not to disturb the soil as you water.
Read our guide to watering plants outdoors for tips and tools for easier watering.
You have now successfully sown your seeds in the ground! Enjoy a refreshing drink, sit back and congratulate yourself on your efforts.
You will need to regularly water the soil where you sowed your seeds. This is especially important when it is hot and sunny. This will help them germinate.
As the seedlings grow, their first proper (‘true’) leaves will appear. If your plants start to look a bit crowded you can remove some of them (thin them out). Gently pull unwanted seedlings out by hand. Leave the strongest looking ones to keep growing.
Remove any weeds as they grow. They should be easy to spot as they will look different from shoots of plants growing in a straight line.
Hopefully, you will soon enjoy a mass of colour and life!
Don’t worry if not all your seeds germinate, or if some don’t grow very well. This is normal in gardening! You could always try different seeds or a different spot next time.
Growing plants from seed is a joy to experience. Follow our step-by-step guide to sowing small seeds in trays, including ways to make it easier.

For as little as £1 a week, you could be in with the chance of winning up to £25,000 every week!
Play now