Helpful information
Timing: Autumn (to get flowers in winter)
Where to do it: Indoors
Garden space: Indoors

Timing: Autumn (to get flowers in winter)
Where to do it: Indoors
Garden space: Indoors
There are a number of bulbs that can be grown in pots indoors. These include:
The bulb you choose will affect where you need to put it after planting. Some will grow in the light, while others need a cool, dark spot. See below for detailed advice.
Optional items
It is a good idea to wear gloves when handling bulbs, as some may cause skin irritation.
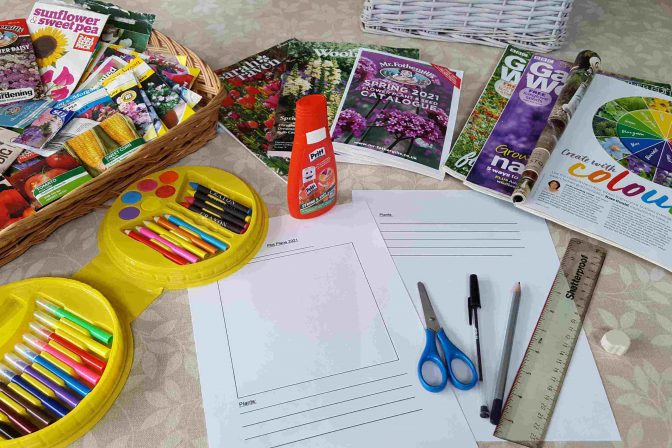
Step 1. Gather your equipment

Find a spot where you can comfortably do this.
Step 2. Fill your container with compost

There are lots of options for containers. You could use a small pot, a big shallow bowl or a long container. What you choose will effect how much compost you need and how many bulbs you can fit in it.
Check to see if your container has any drainage holes in the bottom. If so, you may want to cover these up with stones or crocks (pieces of pot).
Fill your container almost to the top with compost. Leave some space to add more once the bulbs are in place and for any decorative moss or gravel if you are using it.
Step 3. Plant the bulbs

Place the bulbs in the compost with the pointy end facing up. Push them down gently so the bottom of the bulb is firmly in the compost.
You can put the bulbs close together, but not quite touching. The more bulbs, the more flowers you should get!
Step 4. Add more compost

Gently add some more compost. You want just the tips of the bulbs to be showing.
Step 5. Add decorative moss or gravel if wished

You could add some moss, gravel, decorative glass, or stones to the top of your container. You don't need to do this, but you might decide you to make it more attractive. This is a nice touch if it is going to be a gift.
Step 6. Water gently

You want the soil to be damp, but not soggy.
Step 7. Put them in a suitable place
You have now succesfully planted your bulbs! Now, you can enjoy watching them grow.
Different bulbs need to be kept in different conditions so they grow successfully.
Remember to check the soil every so often. Give a bit of water if it has dried out.
Now, all you need to do is enjoy watching your bulbs grow and flower!
Once your bulbs are finished flowering, you could either add them to the compost pile or try planting them outside in your garden.
Some bulbs, like hyacinths and paperwhites, are not very likely to flower again outside. You could always just give it a go and see what happens!

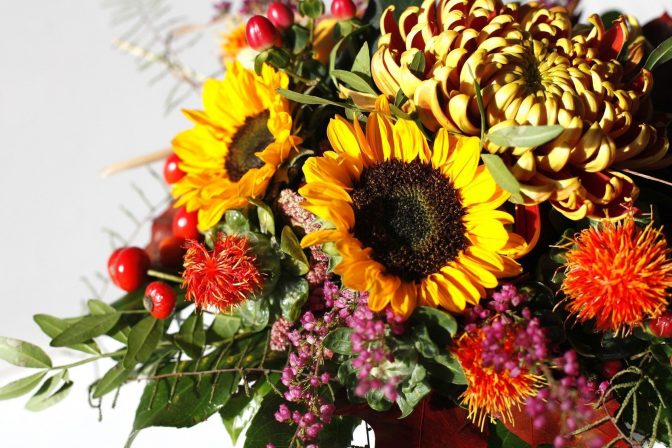
Paperwhite narcissus bulbs can be grown in a vase for a beautiful indoor flower display during winter.

For as little as £1 a week, you could be in with the chance of winning up to £25,000 every week!
Play now