Helpful information
Timing: Winter / early spring
Where to do it: Indoors
Garden space: Large garden, small garden, balcony, greenhouse

Timing: Winter / early spring
Where to do it: Indoors
Garden space: Large garden, small garden, balcony, greenhouse
Essential items
Optional items

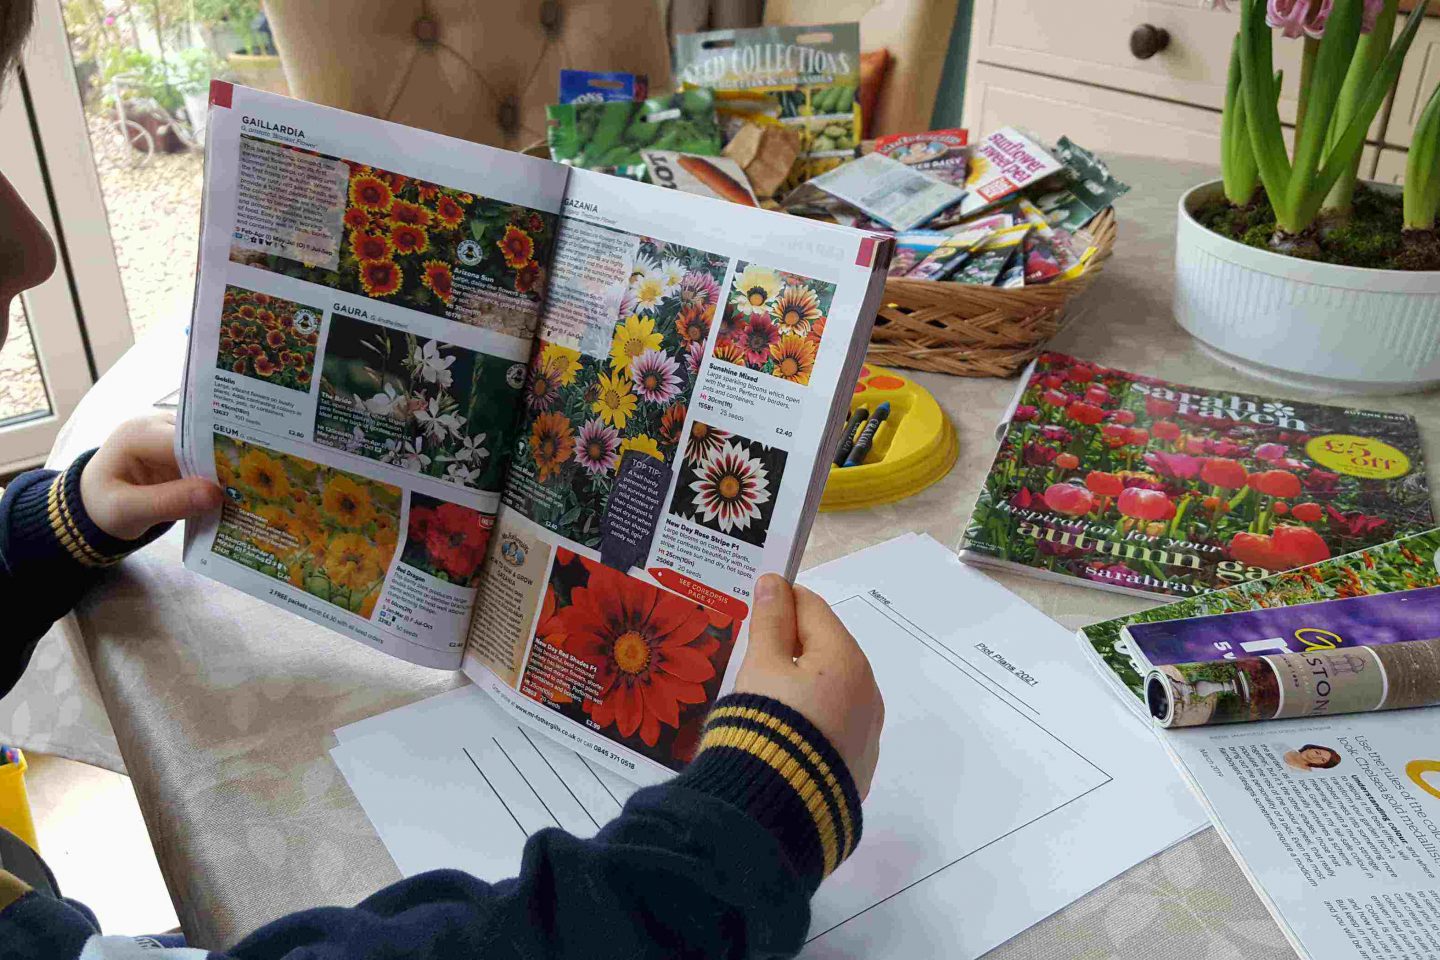
Before you start creating your new year garden plan, take time to immerse yourself in sources of inspiration. You could looking through garden magazines, catalogues or websites of your choice.
Planning plants
Think about any plants you would like to grow in your garden. There are thousands of possibilities! Some questions to think about, to help your selection, include:
Dreaming and planning is all part of it in mid-winter.
Survey respondent, gardening with lung conditions
Other features
As well as plants to grow, you could think about any other changes you may like to make to your garden. This doesn't have to mean big, expensive alterations. You could, for example:
Follow these steps to create your garden plan with ease
Step 1. Gather everything you need
Create a pile of garden magazines and catalogues, or have your favourite websites ready to browse. Along with these, have paper (or a plot plan template) and any drawing materials you would like to use (coloured pencils, pens etc.)
Step 2. Cut out pictures (optional)

You may choose to create a collage for your garden plan. To do this, carefully cut out any pictures of plants you love from your magazines using scissors. Place all the pictures in a pile.
You do not have to create a plan this way. You could equally just use your pencil and any pens / coloured pencils to draw plants you like on your paper.
Step 3. Roughly plan your garden
Take your piece of blank paper and decide how you would like to plan your garden.
You could divide your piece of paper into sections first, for different areas of the garden. This will help show all the different elements, like lawn, flower beds and patio areas. Don't worry if it doesn't look exactly like your garden space. You don't need to become a professional garden designer! It should just help give you a bit of an idea of what's there now and what you want to grow.
This will help you to get an idea of how everything will look before you glue it down. If required you can move them around, to see how they will fit, and decide which ones are your favourite.
Step 4. Add details and features including plants

Now, you can start adding the details to your rough garden plan.
If you are using magazine cuttings, carefully glue pictures in place. Add a little glue to the back of the picture and gently press and hold until secure.
You can now use pens, crayons or coloured pencils to add other features. If you couldn't find the plants you wanted, or don't have magazines, you could try drawing the plants yourself.
Step 5. Make a list of plants and features
As well as the picture, it may be helpful to write down all the plants and features you have included. This will help you identify the plants. You could add notes about the growing conditions the different plants need and how big they may get.
Step 6. Put it on display

Once you have completed your garden collage, you might like to display it somewhere at home. You can admire your garden plan and enjoy it all season long. Hopefully, you will see bits of it come to life in your own outdoor space over time!