Helpful information
Timing: Winter / any time the temperature drops below freezing overnight
Where to do it: Indoors & partly outdoors
Garden space: Balcony, Small garden, Large garden

Timing: Winter / any time the temperature drops below freezing overnight
Where to do it: Indoors & partly outdoors
Garden space: Balcony, Small garden, Large garden
Essential items
This is a great activity to do when you know the temperature will fall below freezing at night. It is also best done on a day that is not too windy.
Follow these steps to create your frozen plant art with ease.
Step 1: Gather what you need

Gather all you need to do this activity. This may first mean a short trip into the garden or walk around the local area to find a few leaves or other items.
Once you have your plant material, gather everything else and find a comfortable spot to work. At a table inside is ideal.
Step 2: Arrange plant material in your dish

Position your plant material on your shallow dish or bowl. You want the plant material to sit fairly flat. This is because you want to be able to cover the plant material partly or fully with water.
You could decide to snip off individual leaves to make them easier to arrange. Berries can also be arranged individually.
There is no real right or wrong here. Just enjoying trying different arrangements and see what happens.
Step 3: Add water

Once you are happy with your arrangement, gently pour water into the dish. Depending on how deep your dish or bowl is will depend how much water you are able to add. If you have a very deep dish, it will make the frozen artwork thicker. This may make it harder to see the plant material. But, you can enjoy experimenting.
You want all your plant material to be at least partly covered by the water. The plant material may move a little bit when you add water. You can simply move it gently back into place once the water is added.
You could choose to add the water first and the plant material second. If you do this, try to push the plant material so it is partly under the water and not just floating on top.
Step 4: Position your dish outside

Very carefully carry your dish with plant material and water outside. Find a flat, sheltered spot where it can sit overnight.
If you have a shallow dish, carrying it outside once filled with water can be tricky. You are likely to spill some!
You could carry the dish outside and then add water once it's in place. Make sure to wrap up warmly, including wearing suitable gloves.
Step 5: Add a loop of string

Take a length of string or twine. Place the two ends in the dish, making sure they are in the water. Leave the loop dangling over the edge of the dish. You could gently tuck the loop underneath the dish so the string doesn't blow away.
Now, leave your arrangement overnight for the magic to happen!
Step 6: Hang your artwork

If the temperature has been cold enough, hopefully when you check your arrangement in the morning it will have frozen solid.
Use the loop of string to gently remove it from the dish. Hopefully, it will come out without any issue. If it seems a bit stuck, bring the artwork inside. As it warms, that should make it easier to remove. Don't leave it inside for too long though!
Now you can hang it from any branch, bird feeder or hook in the garden. Depending on the weather, it may stay frozen for several days. Or, you may enjoy the sight of it gradually dripping through the day as it melts.
Congratulations, you have created a beautifully temporary artwork! Now, you can look forward to the next freezing day and the opportunity to try a different arrangement.
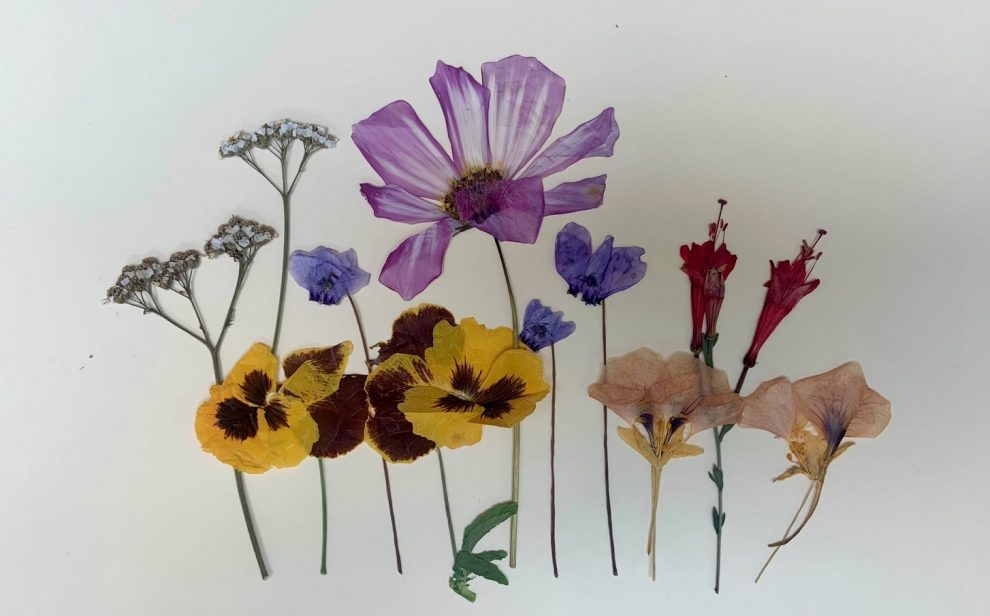
Flower pressing is a wonderful way to create art from your own garden. We share a step by step guide.