Helpful information
Timing: November / December (although you could make a seasonal display any time of the year!)
Where to do it: Indoors

Timing: November / December (although you could make a seasonal display any time of the year!)
Where to do it: Indoors
Essential items
Optional items
If you're using holly and ivy be aware of sharp leaves and toxic berries. Keep your display out of reach of young children and pets.
Follow these steps to create your festive tabletop decoration with ease.
Step 1. Gather your equipment together
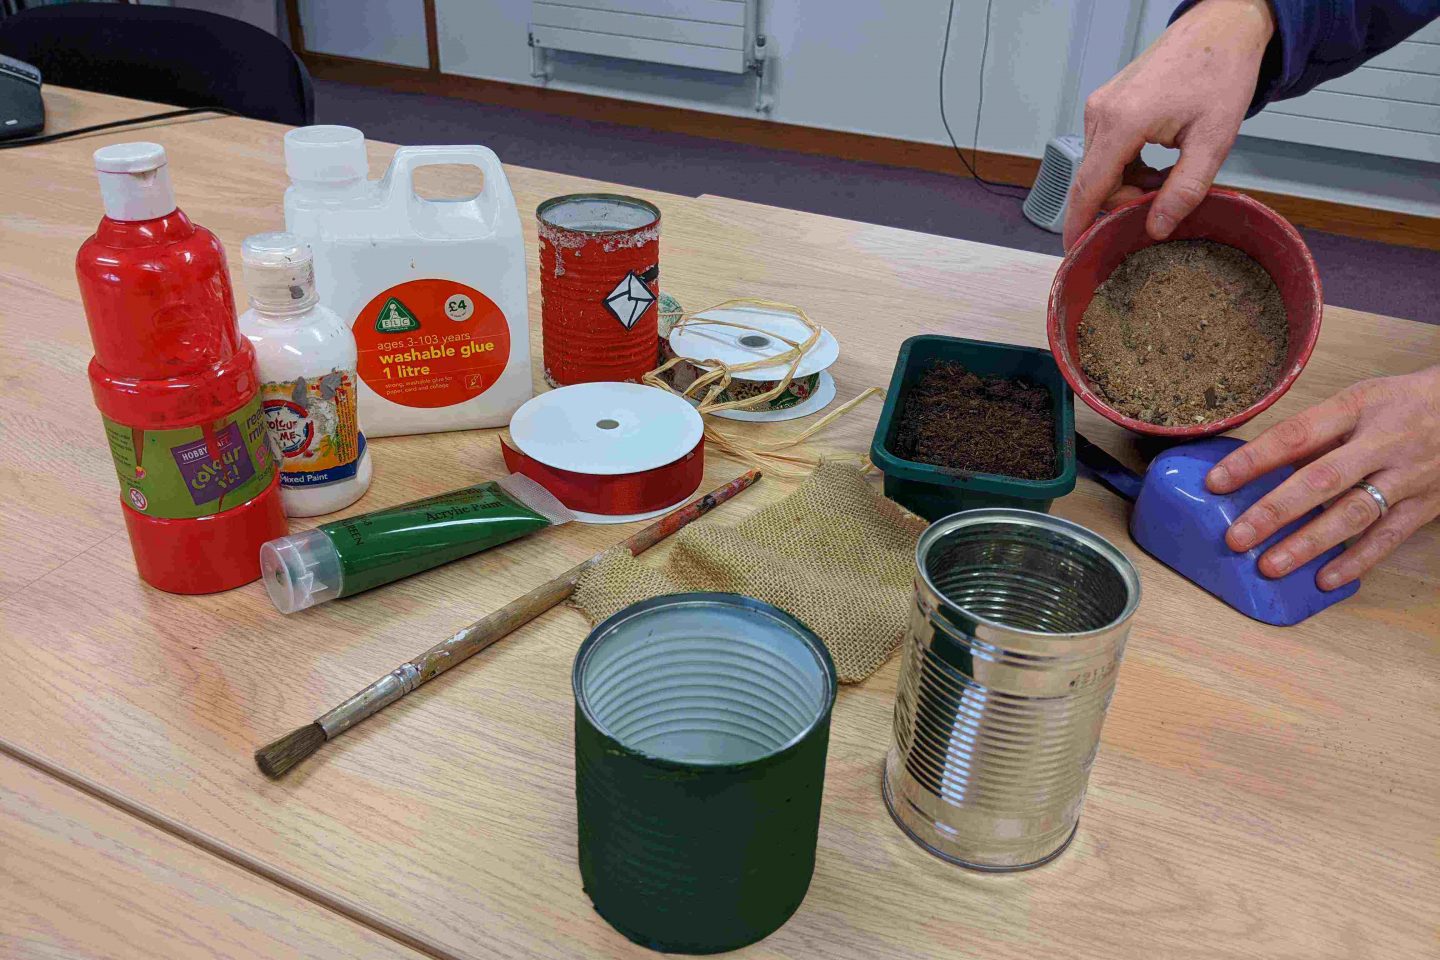
Find a suitable space to work. Have everything within easy reach.
Step 2. Decorate the tin can (optional)
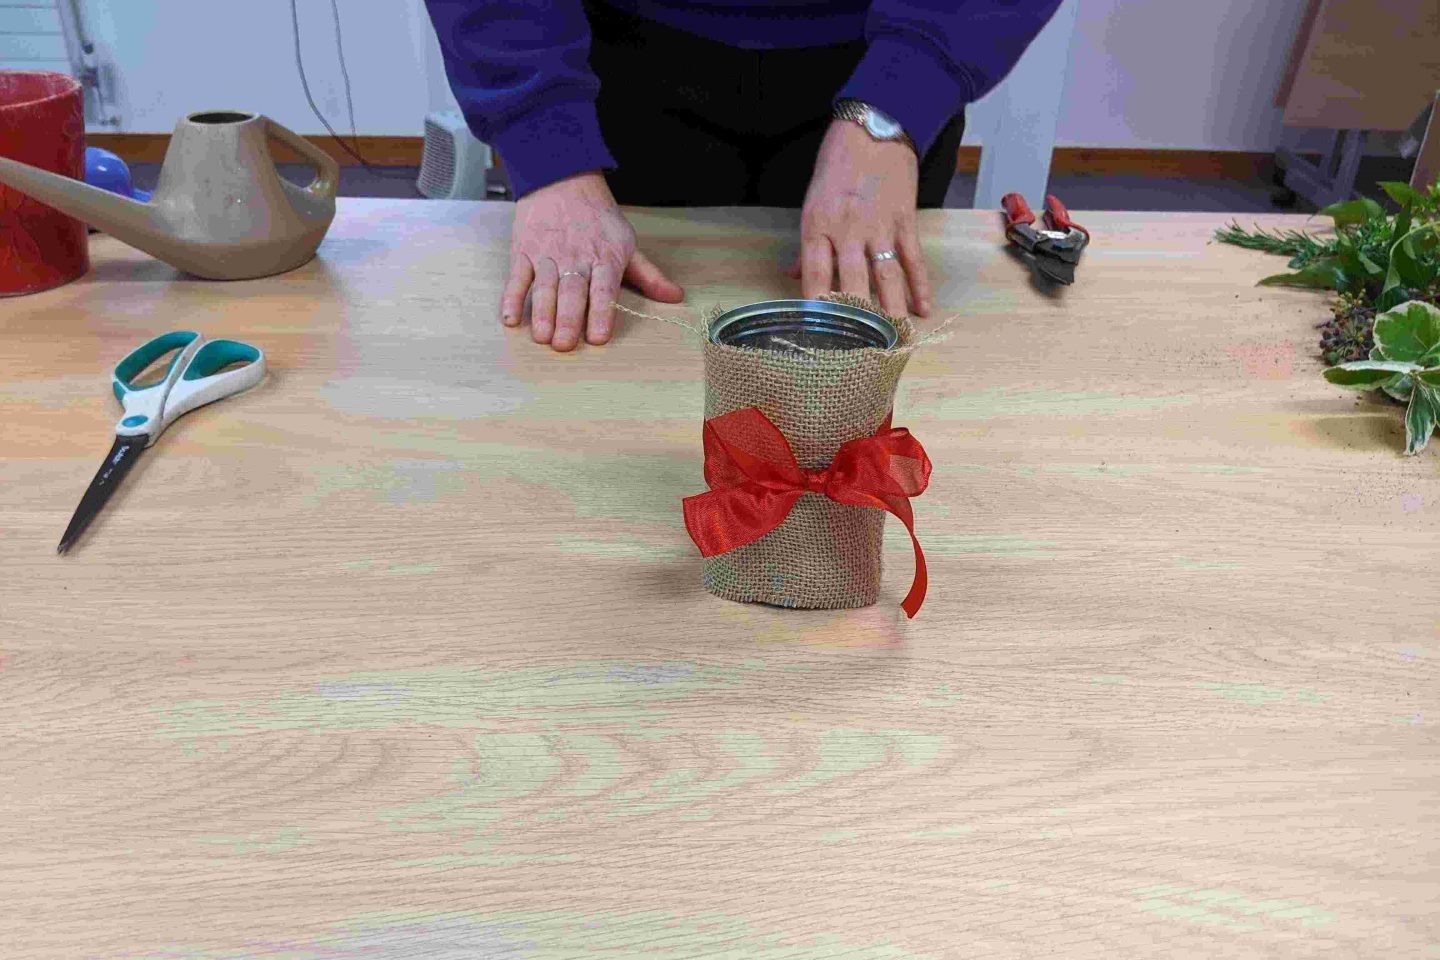
You may like to leave the tin can undecorated. It will still make an attractive display!
You could also choose to decorate the outside. There are lots of ways you could do this. You could:
Step 3. Put some sand or water in the empty tin
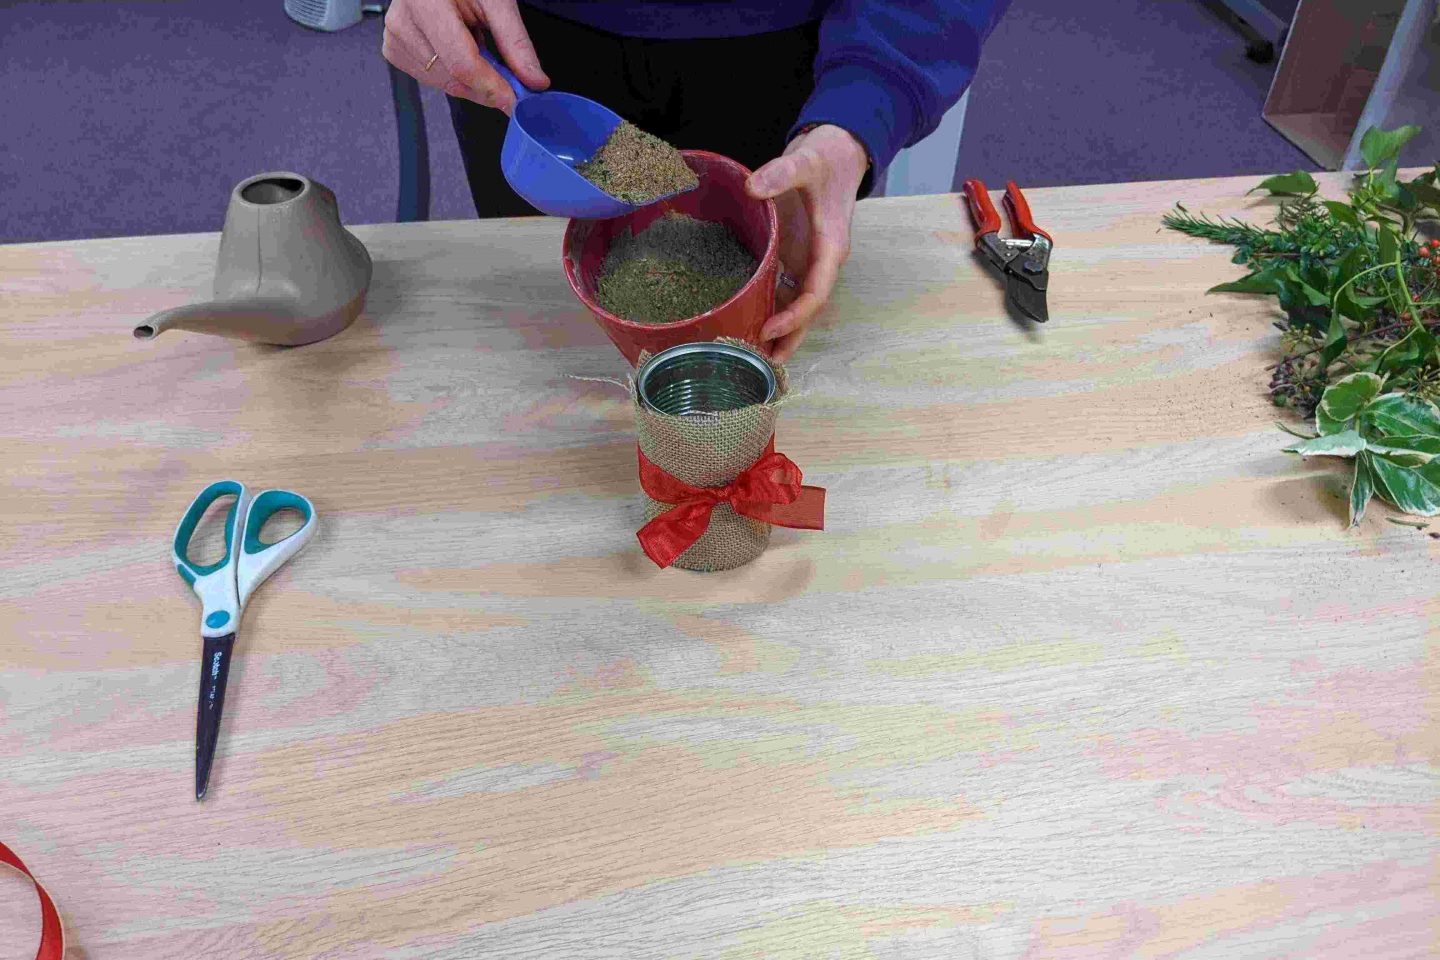
Add some sand or compost to the bottom of the tin.
Fill the tin to around half way with sand or compost. Add a little water once in the tin. You want your sand or compost to be damp, so it will hold your greenery, but not waterlogged.
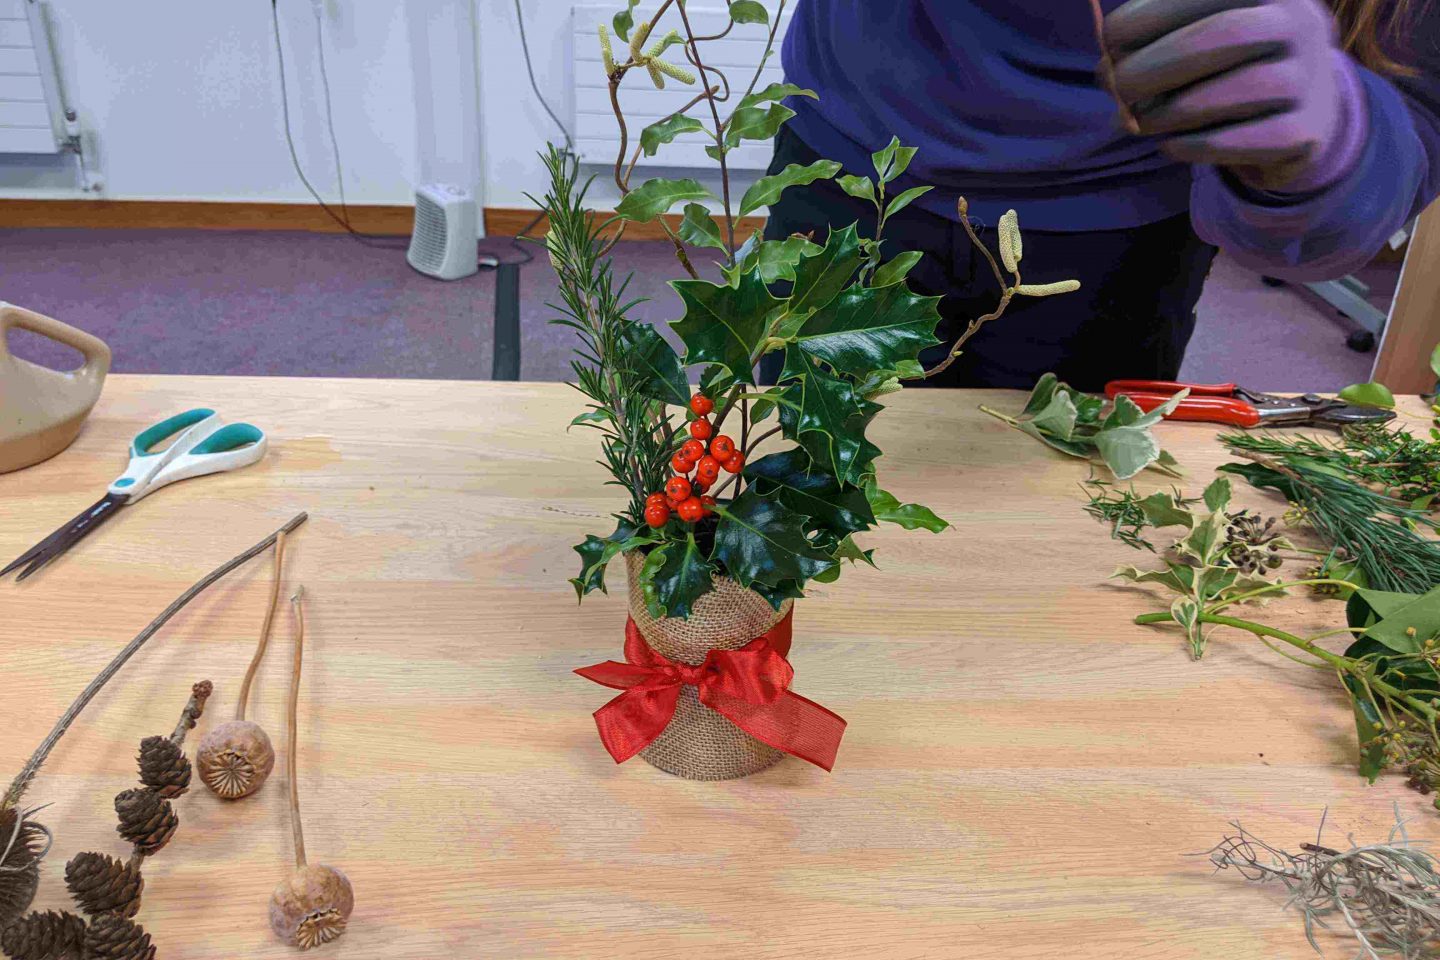
Step 4. Arrange the foliage cuttings in the tin can
You may want to wear gloves for this stage, especially if you are using greenery with sharp leaves, like holly.
Arrange the foliage in the tin. Try not to use pieces that are so big that the tin can could fall over. If necessary, cut smaller using secateurs or scissors if the branches are not too thick. Remove some of the bottom leaves so that you have a clean stem to stick into the sand or compost.
Gradually build up the arrangement by adding different pieces of foliage until you are happy you have enough. Keep stepping back and looking at it to make sure you are happy with the decoration.
Step 5. Put it on display

Once you are happy with the arrangement, place it somewhere for all to admire. A shelf or the middle of a table are both good ideas.
Keep the water topped up in the tin can over the festive period. This will help keep the foliage fresh. If you can keep it somewhere a bit cooler, this will help it last longer. You can also remove and replace any pieces of dried out foliage with fresh pieces as and when required.
After Christmas, the foliage can go on the compost pile if you have one and the tin can in the recycling bin. Remove any non-recyclable material from around it first.

A homemade festive wreath is a lovely addition to the front door or home at Christmas. Here we show a simple method for creating a moss free wreath.