Helpful information
Timing: Once any seedlings are big enough to move
Where to do it: Indoors or Outdoors
Garden space: Large garden, small garden, balcony, indoors

Timing: Once any seedlings are big enough to move
Where to do it: Indoors or Outdoors
Garden space: Large garden, small garden, balcony, indoors
Pricking out seedlings is also available as an easy read PDF guide. Find our easy read guides here.

If you are growing plants from seed, you may need to prick them out as they get bigger. This means moving them from their seed tray into individual pots.
When you grow something from seed to the plate, there’s a real sense of achievement.
Mark, Thrive gardener
If seedlings are left growing in seed trays, they risk not having space to grow properly. There is also a fungal disease called damping off that can affect seedlings that are squashed close together.
Wait until your seedlings are big enough before pricking out. This is generally once their ‘true leaves’ grow. True leaves are the second set of leaves after the 'seed leaves’. They look different, having the characteristic shape of the mature plant.
When you sow seeds in modular seed trays instead of one big tray, each plant has its own section of soil. This makes plants easier to move without damaging the roots.
Essential items
Optional items
Our guide to how to prick out seedlings will help you do it with ease.
Step 1: Gather everything you need
Find a comfortable spot to work. Get all the equipment you will need in one place.
Avoid strain by choosing a working location that leaves your back neutral, not bent. This could be sitting at a tabletop at a comfortable height, or standing next to a workbench.
Step 2: Add compost to pots

Fill the individual pots with compost. Tap the pots gently so the compost is level.
Step 3: Make a hole in the compost

Use your finger to make a hole in the compost. You want the hole to be in the centre of each pot. Make the hole about as deep as your first finger joint.
If you prefer, you could use a dibber to make holes.
Step 4: Gently remove seedlings from tray
This is the delicate stage. You want to try and gently lift out individual seedlings. One approach is to hold a seedling gently by the leaf. Use a dibber to carefully make a hole around it until you are able to lift it. Press back down the roots of nearby seedlings using the dibber.
You may find a kitchen fork better for this, especially if holding seedlings carefully is difficult. Use the fork to lift each seedling from the tray by going underneath it.
Step 5: Carefully separate seedlings if needed

It’s likely you will lift some clumps from the tray with more than one seedling in. Gently separate these into individual plants using your hands.
Step 6: Place and firm seedlings in pots

Place seedlings into the holes you have prepared earlier in your pots. You only want one seedling in each pot.
Press the soil gently around the top to firm the roots in place.
You probably have more seedlings than you need in your seed tray. Choose the strongest seedlings to move into pots. They should be easier to hold and plant. If you lose a few weaker plants at this stage, it doesn’t matter.
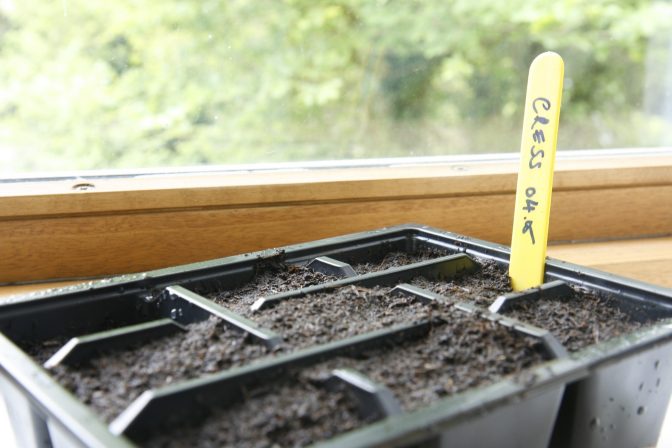
Step 7: Label your plants

Add plant labels. A lollipop stick is a good option. If possible, it’s helpful to label each pot. Or, write one label but group your pots so it's easy to tell they are all the same plant. Place the label at the edge of the pot away from the roots.
If you have sight loss, you can find extra-large or easier to read labels. A range of large clear print, coloured, tactile and braille labels are available from the RNIB.
Step 8: Gently water

Place your seedlings in pots in a large tray or washing up bowl. Gently water from above using a watering can with rose (round attachment that helps the water come out as a gently shower)
Step 9: Put pots in place
Choose somewhere light and warm so the seedlings can keep growing.
Pricking out seedlings involves a lot of concentration. Take your time. Ideally, try not to leave seedlings with loosened soil. But, you could do this over a day or two.

Keep watering your plants as they grow. A good way to tell if they need water is to carefully lift the pot. If the pot feels light, the plant probably needs watering.
In time, your plants will get too big for these small pots. They may need to be potted on into larger pots so they can keep growing.
It may also be possible to move them into their final spot in the garden. This is called planting out.
Pricking out has given me the incentive to think I can manage. I'm not as bad as I think I am.
Participant, Thrive Just 30! Initiative

Potting on young plants gives them the extra room they need to grow. Follow our step-by-step guide to simpler potting on.

For as little as £1 a week, you could be in with the chance of winning up to £25,000 every week!
Play now