x
Banana fertiliser
In this article, Jason 'The Cloud Gardener' Williams shows us 3 different methods of using banana skins to fertilise your garden.
  • An activity that involves little equipment and can increase your confidence as a gardener
  • Supporting the environment and balance of nature through a non-chemical method of producing fertiliser
  • The satisfaction of making something useful from kitchen waste

If you’re interested in using natural fertilisers for your garden, then banana skins are a good starting point. This is because they contain:

  • Potassium to help encourage big and bright blooms;
  • Phosphorus for roots and shoots; and
  • Magnesium to help photosynthesis

There are a few different methods you could try to create your banana skin fertiliser.

Video guide

Watch the video guide on YouTube if preferred

Making banana skin fertiliser video
  1. Wash some banana skins. Pop them into the oven to bake for about 3 hours at 100 degrees. Baking at a low heat helps to get rid of the moisture in the skins. It also ensures that you don’t lose any precious nutrients.
  2. Remove the skins from the oven. If you hear a crunching sound as you break them up, you’ll know all the moisture has been removed.
  3. Grind the pieces of baked banana skins to a really fine powder. Use a pestle and mortar or do it in a blender.
  4. The powder acts as a slow release organic fertiliser and as it helps to encourage blooms, you can mix it into cut flowers when potting them up for your garden. Tomatoes and peppers will also do well with this fertiliser.
  5. Store the fertiliser in an airtight container, such as an empty herb or spice jar. This will prevent any fungus or mould getting in.

Make it easier

Grinding banana skins by hand can require quite a bit of strength and stamina. You may find it easier to use a blender.
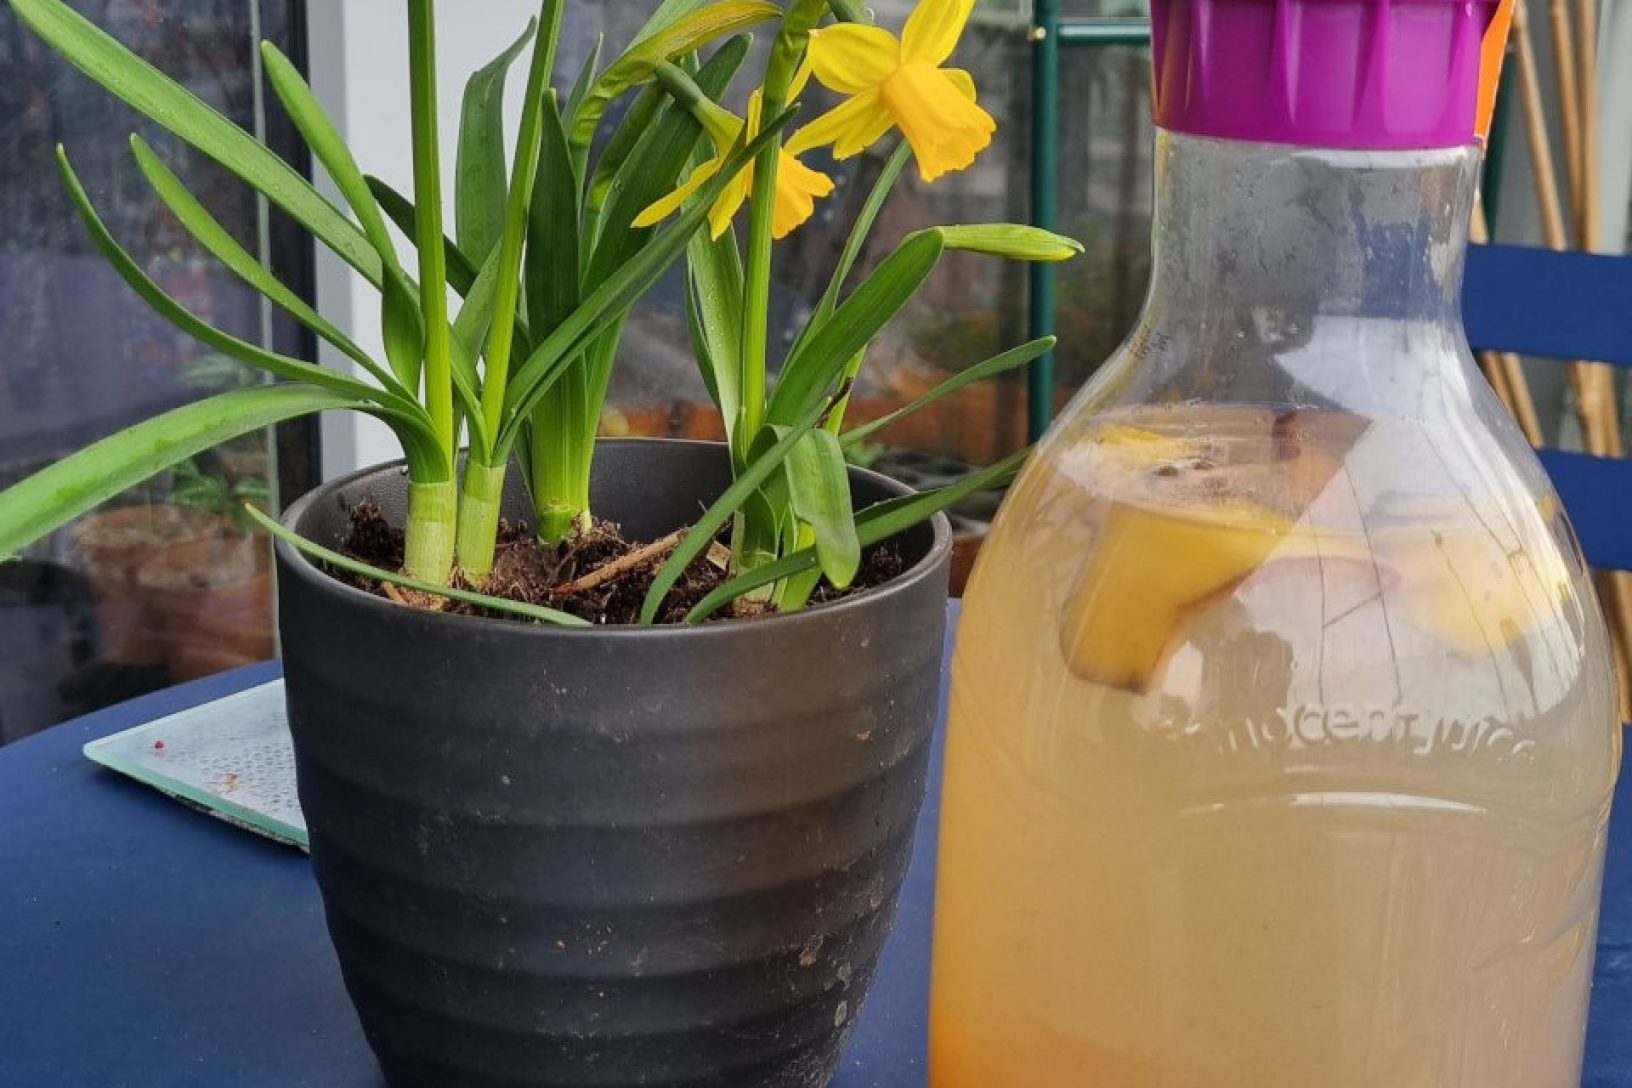
  1. Wash some banana skins, chop them up and place them in a lidded container such as a recycled plastic bottle
  2. Fill the container with water, then seal it and put to one side for 5-7 days.
  3. Check the banana liquid periodically to make sure the banana skins are fully submerged int the water and that no mould has formed on top. If it has, unfortunately you’ll have to throw away the liquid and start again.
  4. If on day 7 the liquid looks fine, then separate the soaked banana skins from the liquid.
  5. Chop the skins into fine pieces to help break them down quicker and then add these to your compost (NB This is the best method of using your banana skins)

Thrive Gardening Club

Join our free Gardening Club community to enjoy seasonal tips, inspiration and entertainment.

Find out more
  1. Once the banana skins have been sifted out to use in the compost, pour the remaining liquid (aka banana tea) back into the container and place the lid back on.
  2. Pierce a hole in the container's lid so that the container can double up as a homemade watering can.
  3. Use this to water your indoor and outdoor plants and flowers. This especially works great for indoor seedlings as you can control the direction of the water and make sure you don’t get too much water on the leaves of the young plants.

Make it easier

Some watering cans can be awkward to carry. A lighter option is a bottle top waterer. This allows you to turn a used plastic bottle into a lightweight watering device.

See more of Jason's accessible and fun video guides by following his social media channels.

Help us continue to make gardening accessible for all. Make a donation to Thrive today. Thank you.

Make a donation

Sign up to receive gardening inspiration and tips to get the most out of your own gardening space, and improve your health and wellbeing at the same time